I’ve been wanting to build a wooden kayak for over 25 years ever since I worked on the Charles River in Massachusetts and saw a guy commute to work with a kayak. A bucket list item is to view The 4th of July fireworks on the Charles River at the Hatch Shell Esplanade in Boston M.A. for an incredible view above with the Boston Pops playing in the background.
I’ve kayaked on Quincy Bay in Massachusetts to Boston and the Harbor Islands in a 17’ sea kayak with rudder control. Great for beginners like myself. It can be peaceful at times and downright frightening.
I purchased Nick Shades’ of Guillemot Kayaks “Petral Play “ strip version plans. It’s been a great journey so far thanx to the well detailed and informative Guillemot youtube video series, “Crafting a handmade kayak” along with the book, “Building Strip-Planked Boats” by Nick Shade. Below is my build experience. The hardest part is not obsessing over the quality of construction keeping in mind the goal is to get out on the water. It’s not a boat until she’s on the water and gets scratched up. The river table epoxy techniques I learned and vowed not to work with again will be helpful when using epoxy and fiberglass on the hull and deck inside and out.
-
![]()
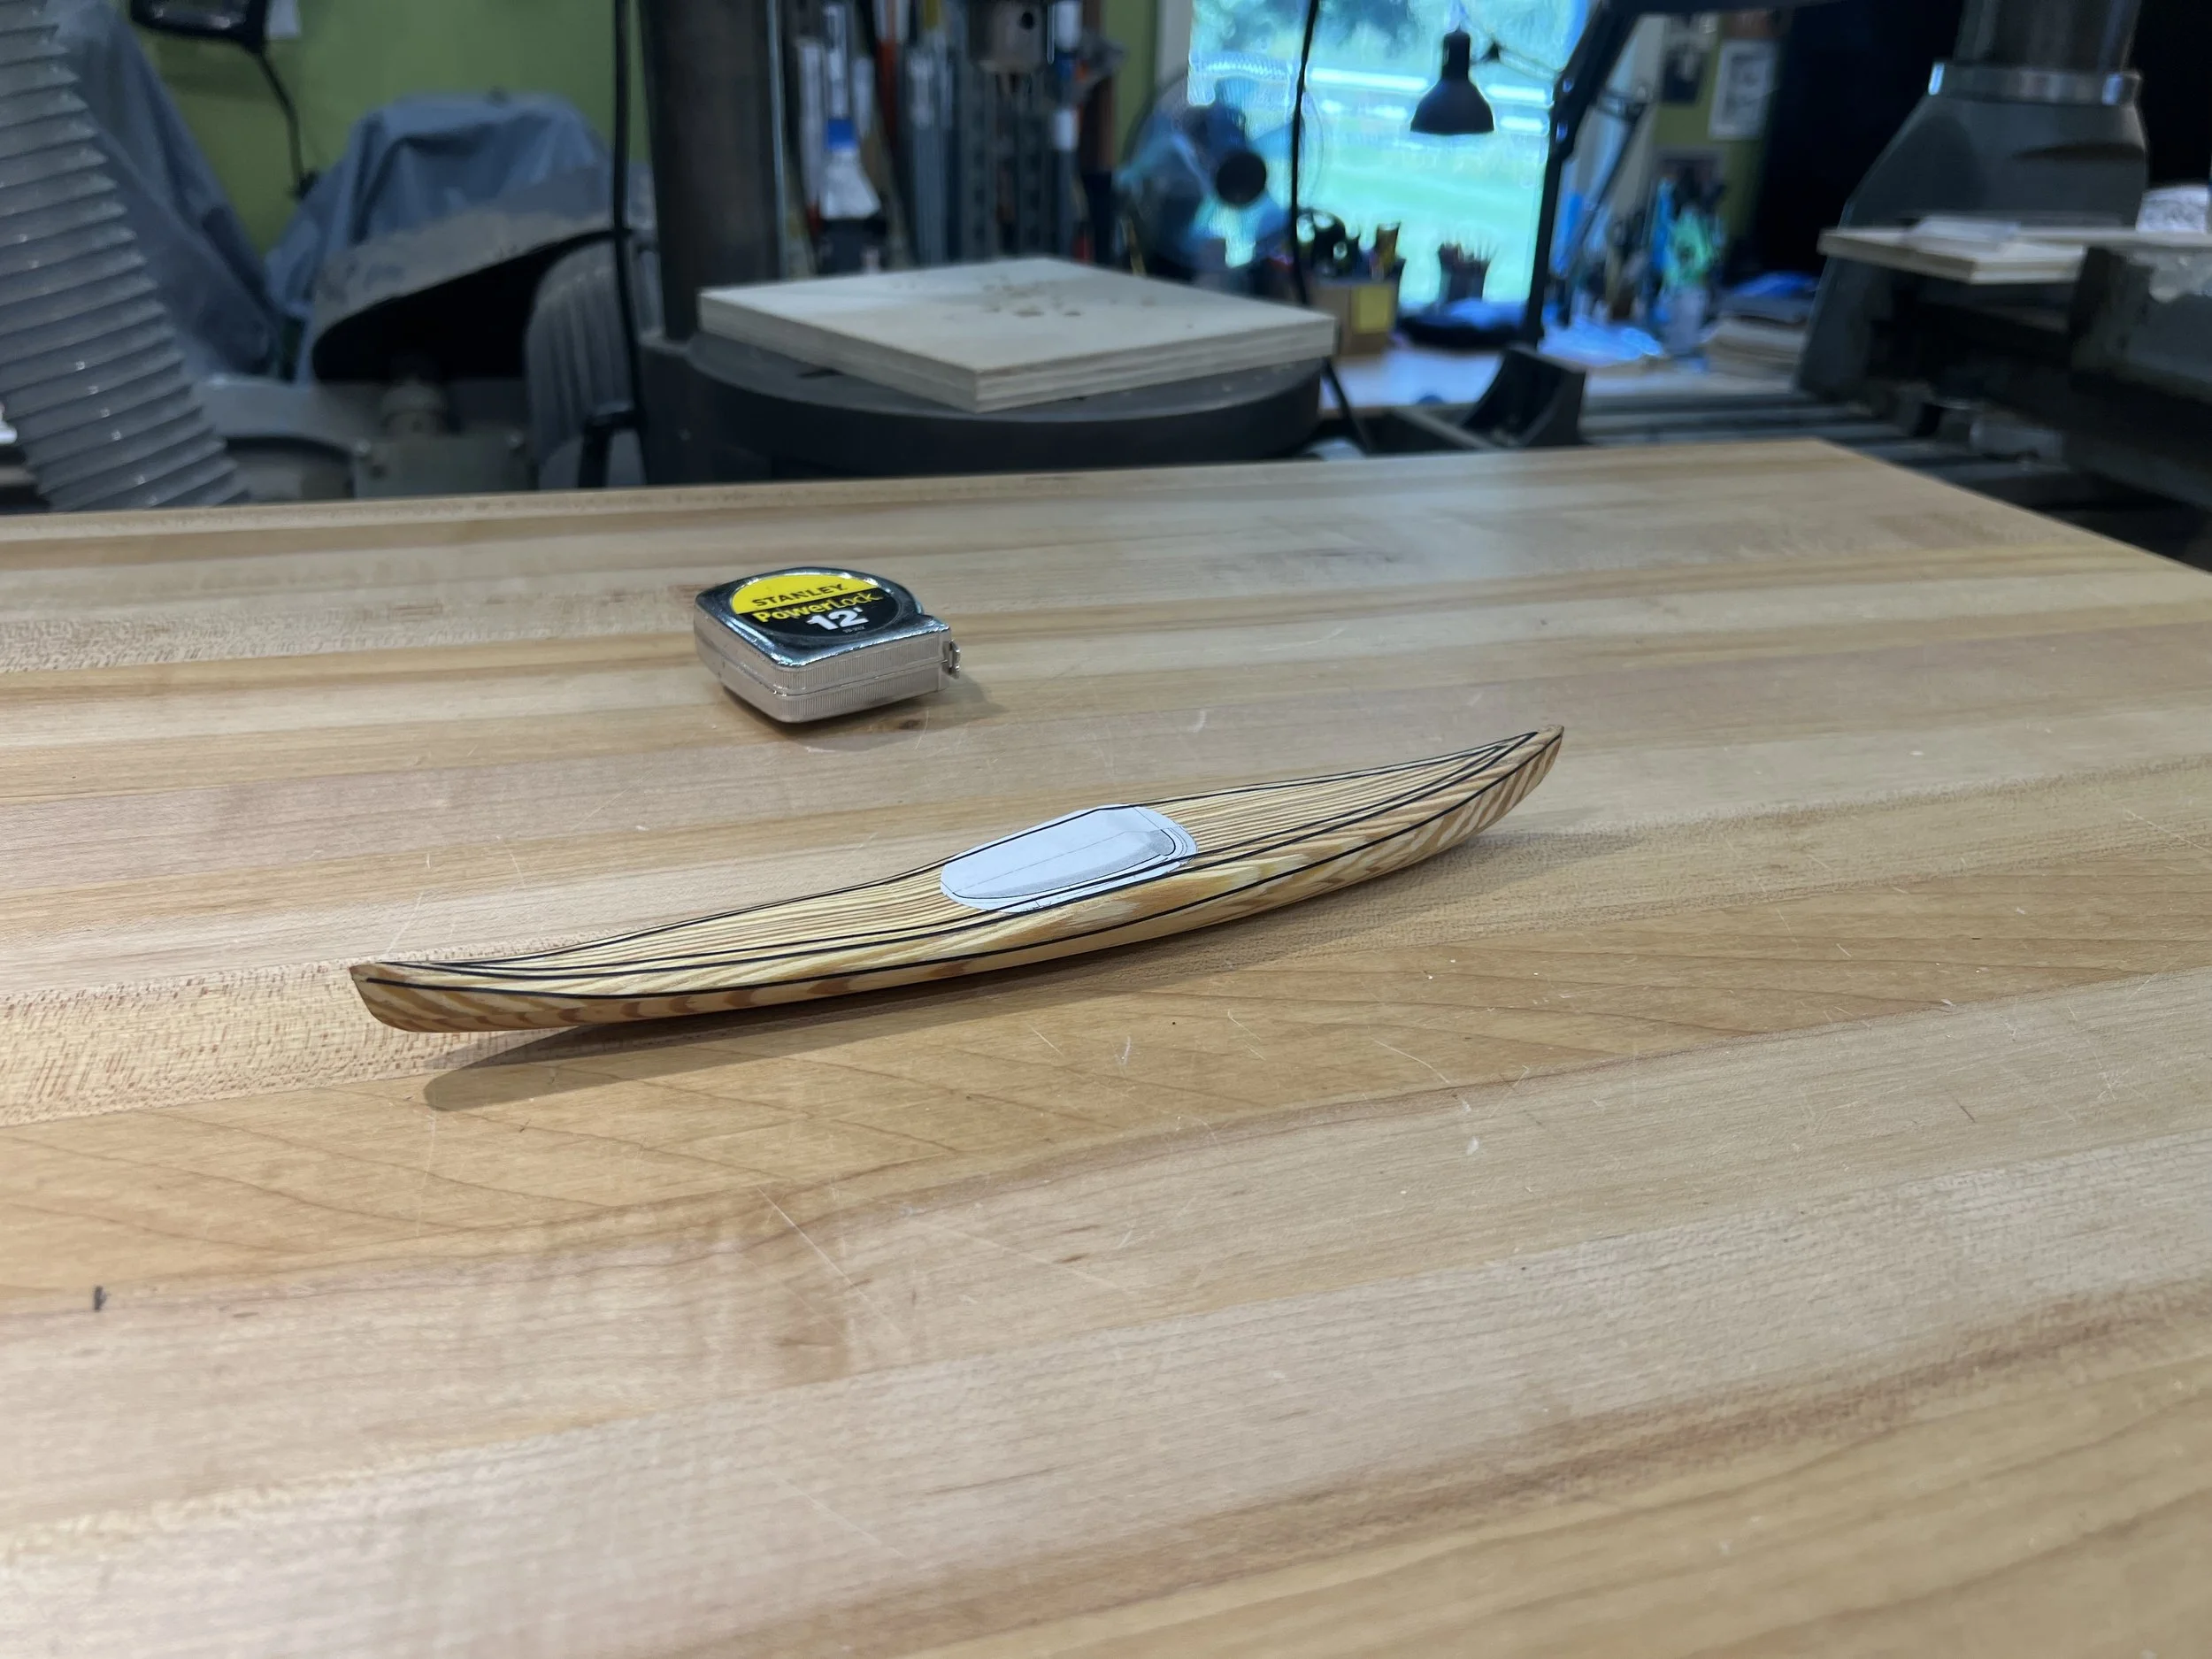
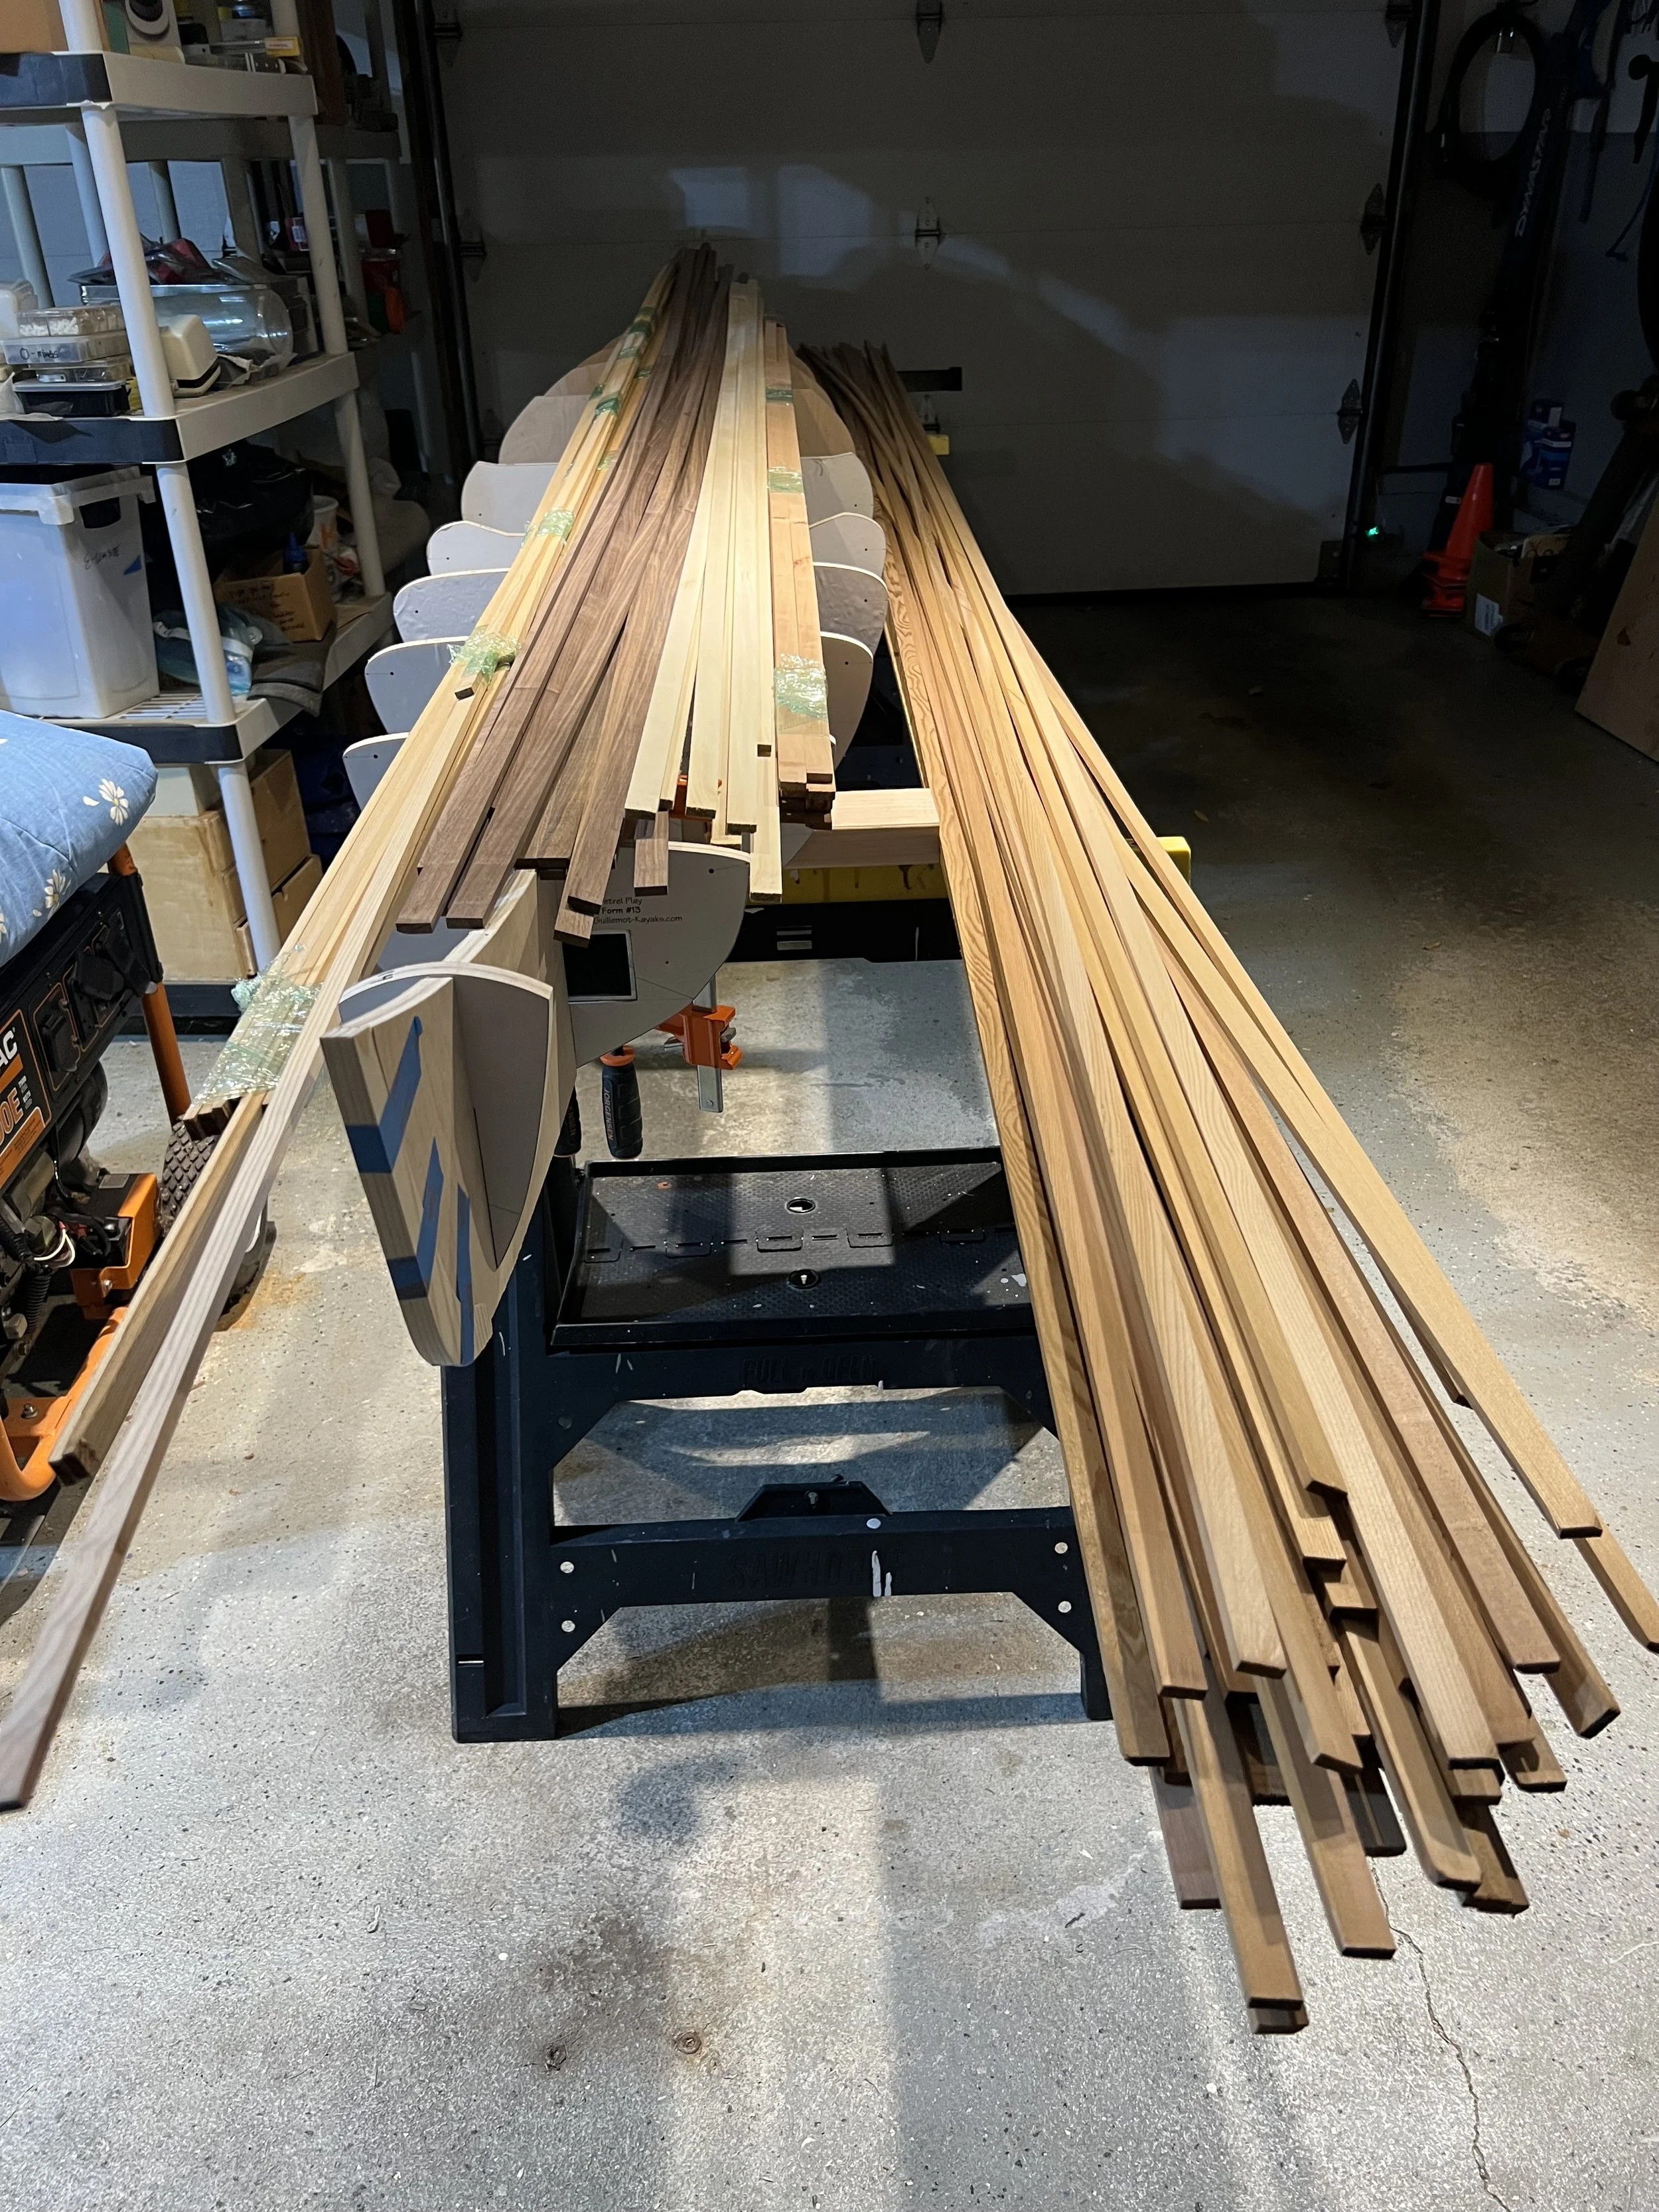
MAKING THE FORM, SELECT THE WOOD, MILLING, SHAPING, AND SOME STEAMING OF WESTERN RED CEDAR AND ACCENT WOODS. Above is a rough scale model of Nick Shade 14' high performance Petrol Play kayak to workout pattern of western red cedar,eastern white cedar and mahagony.
-
![]()
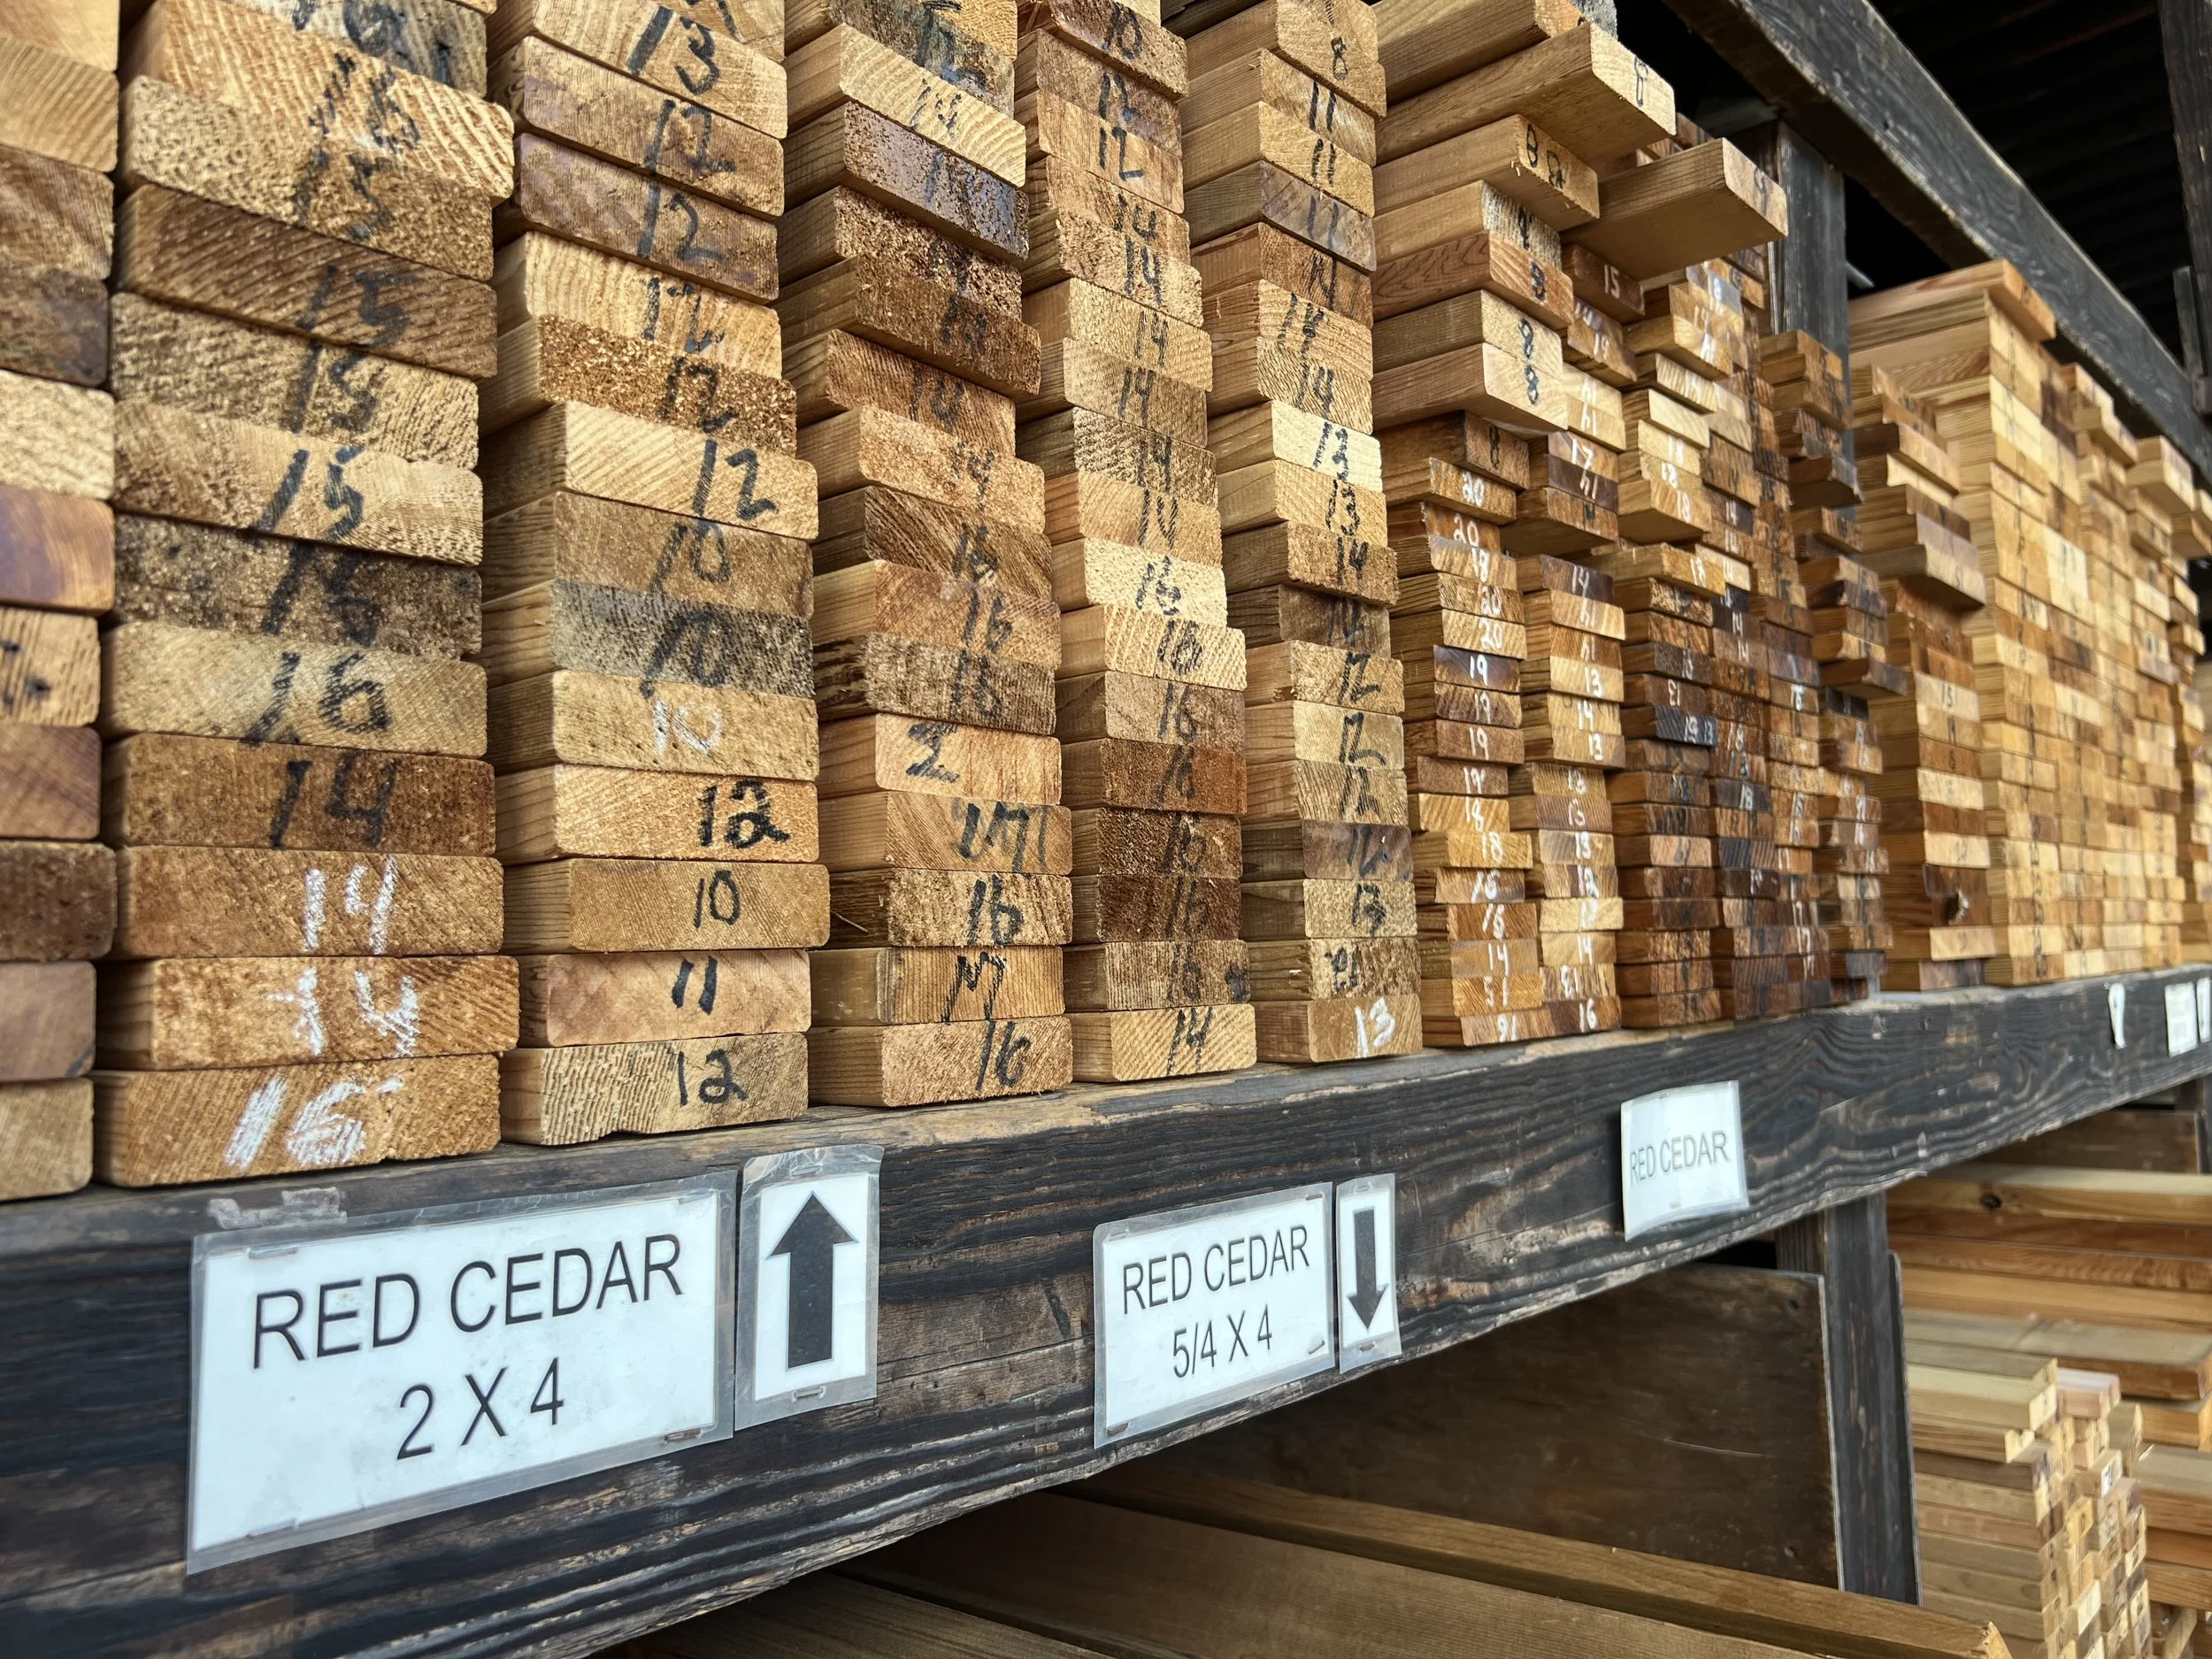
M.L. Condon Company Inc. Whitehouse, N.Y. source for Western Red Cedar.
-
![]()
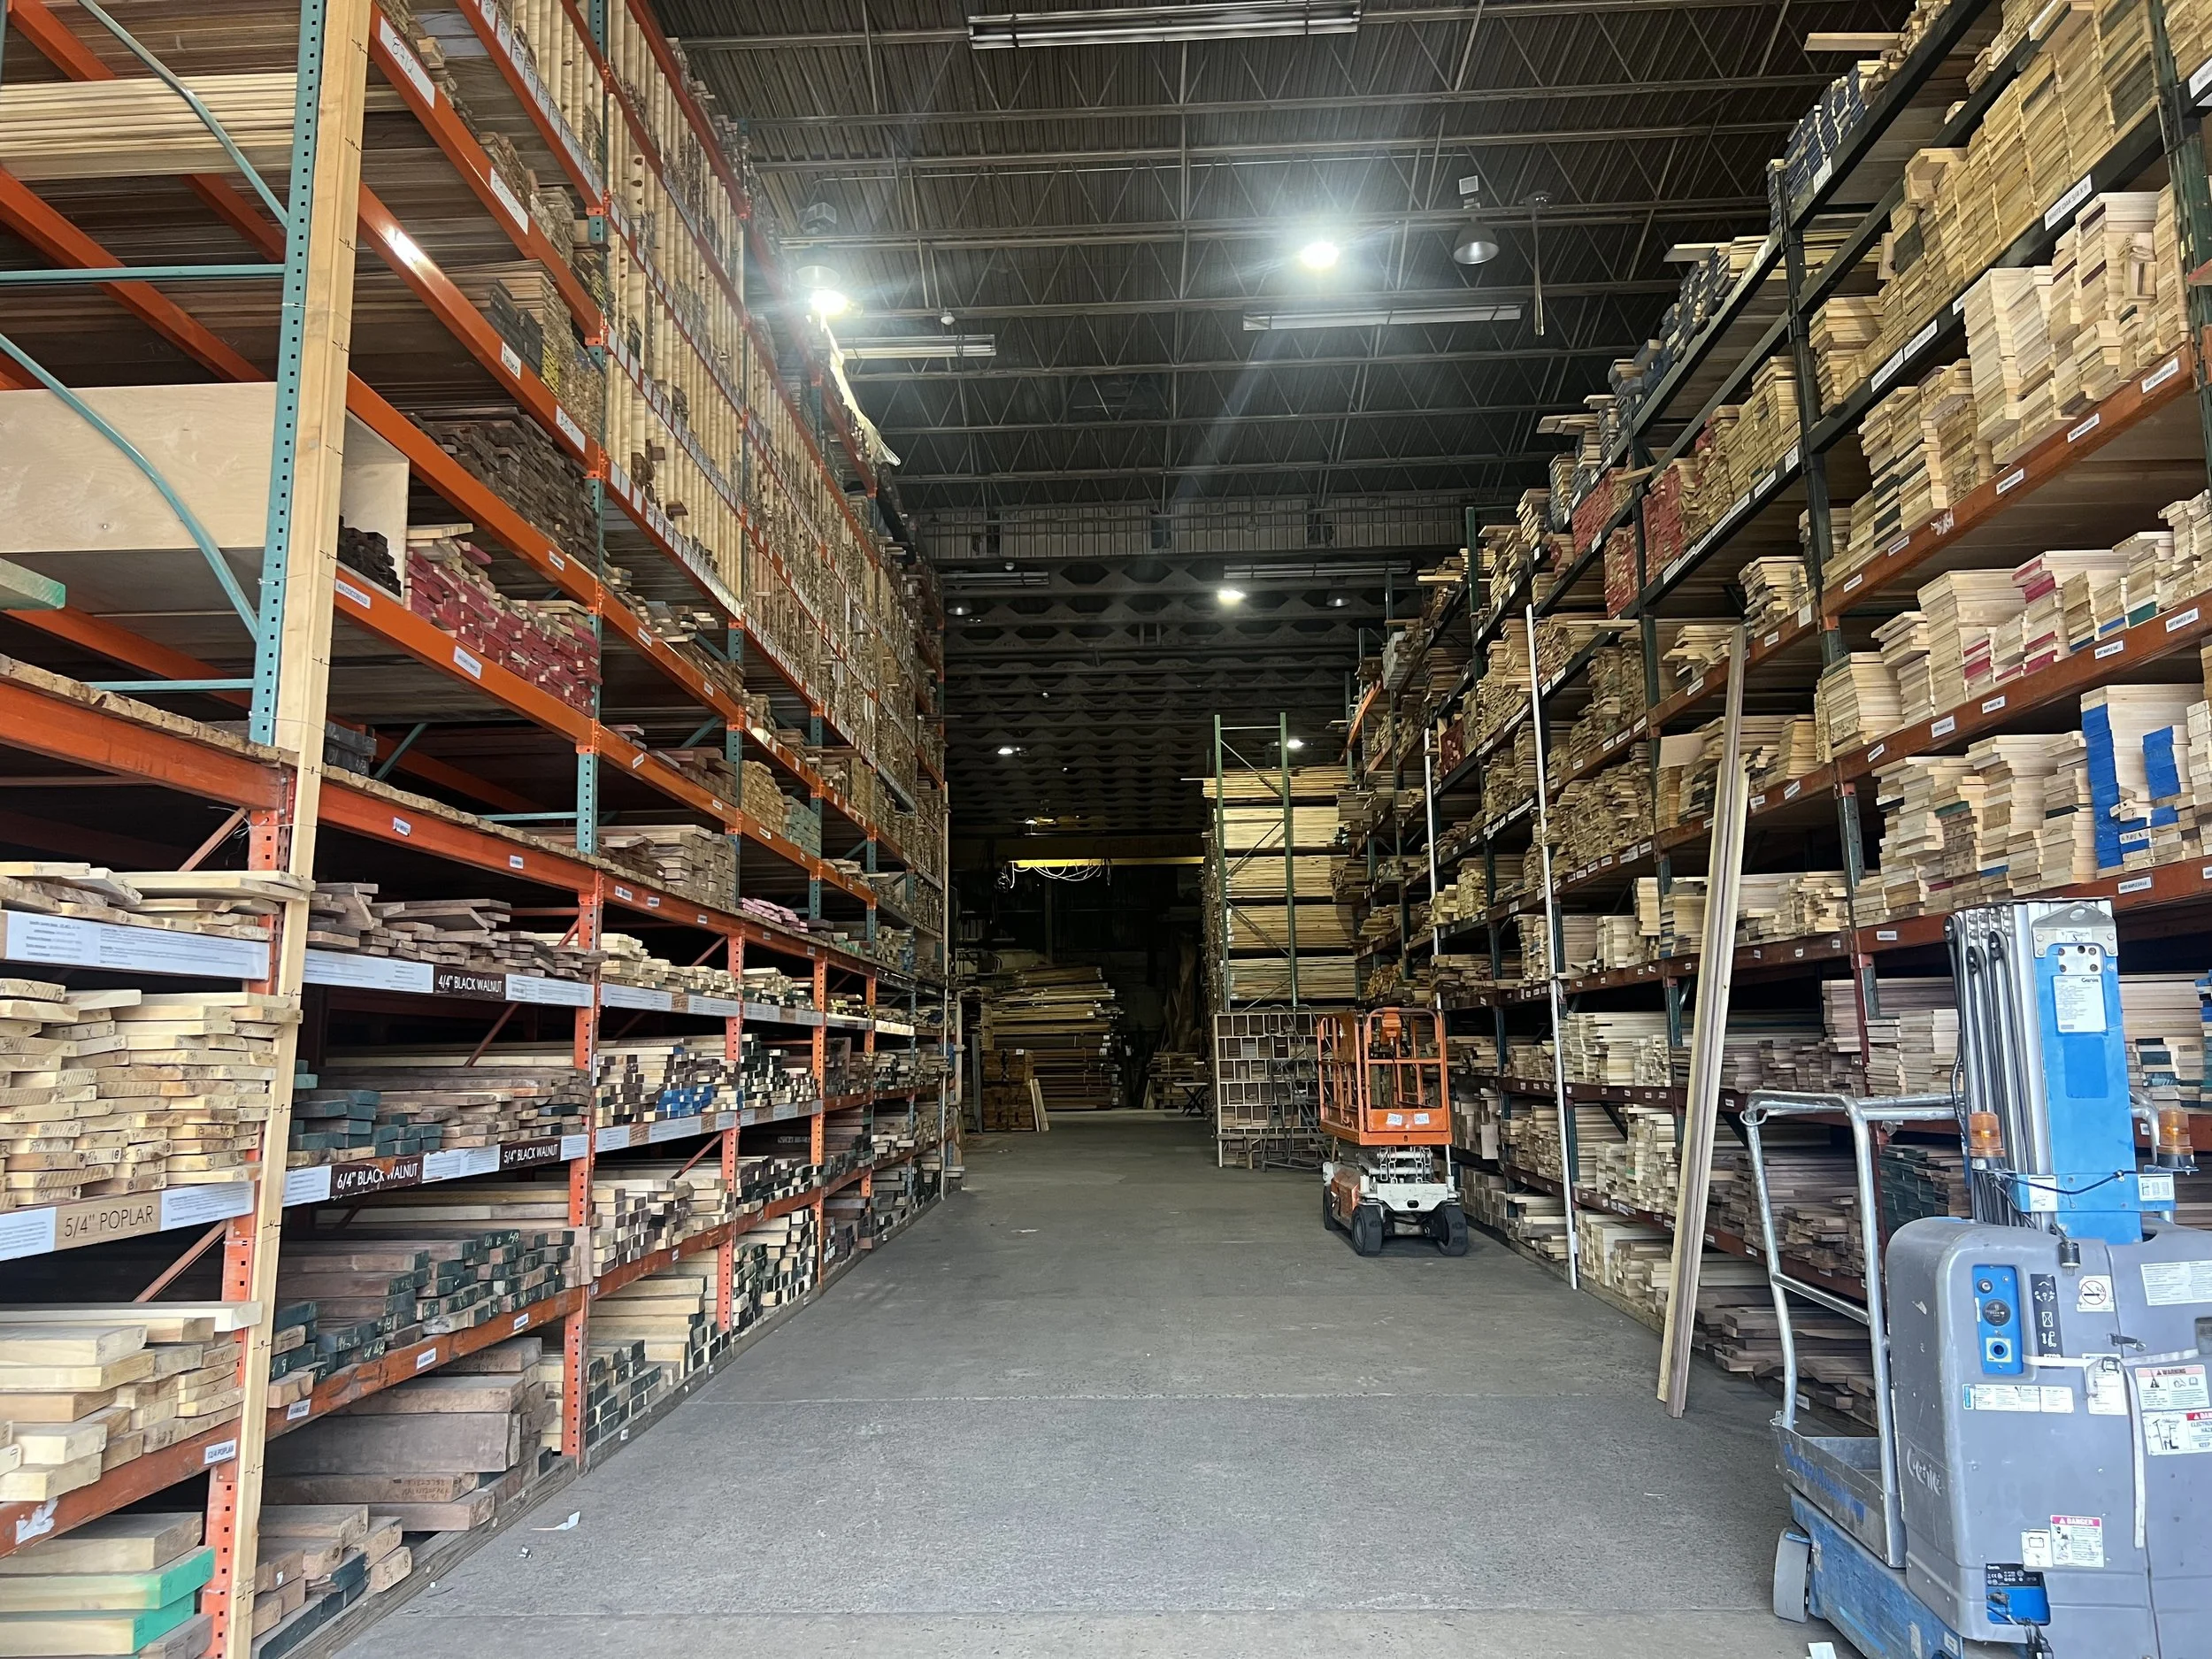
Wood paradise. Boards and Beams in Fairfield, N.J. for accent woods.
-
![]()
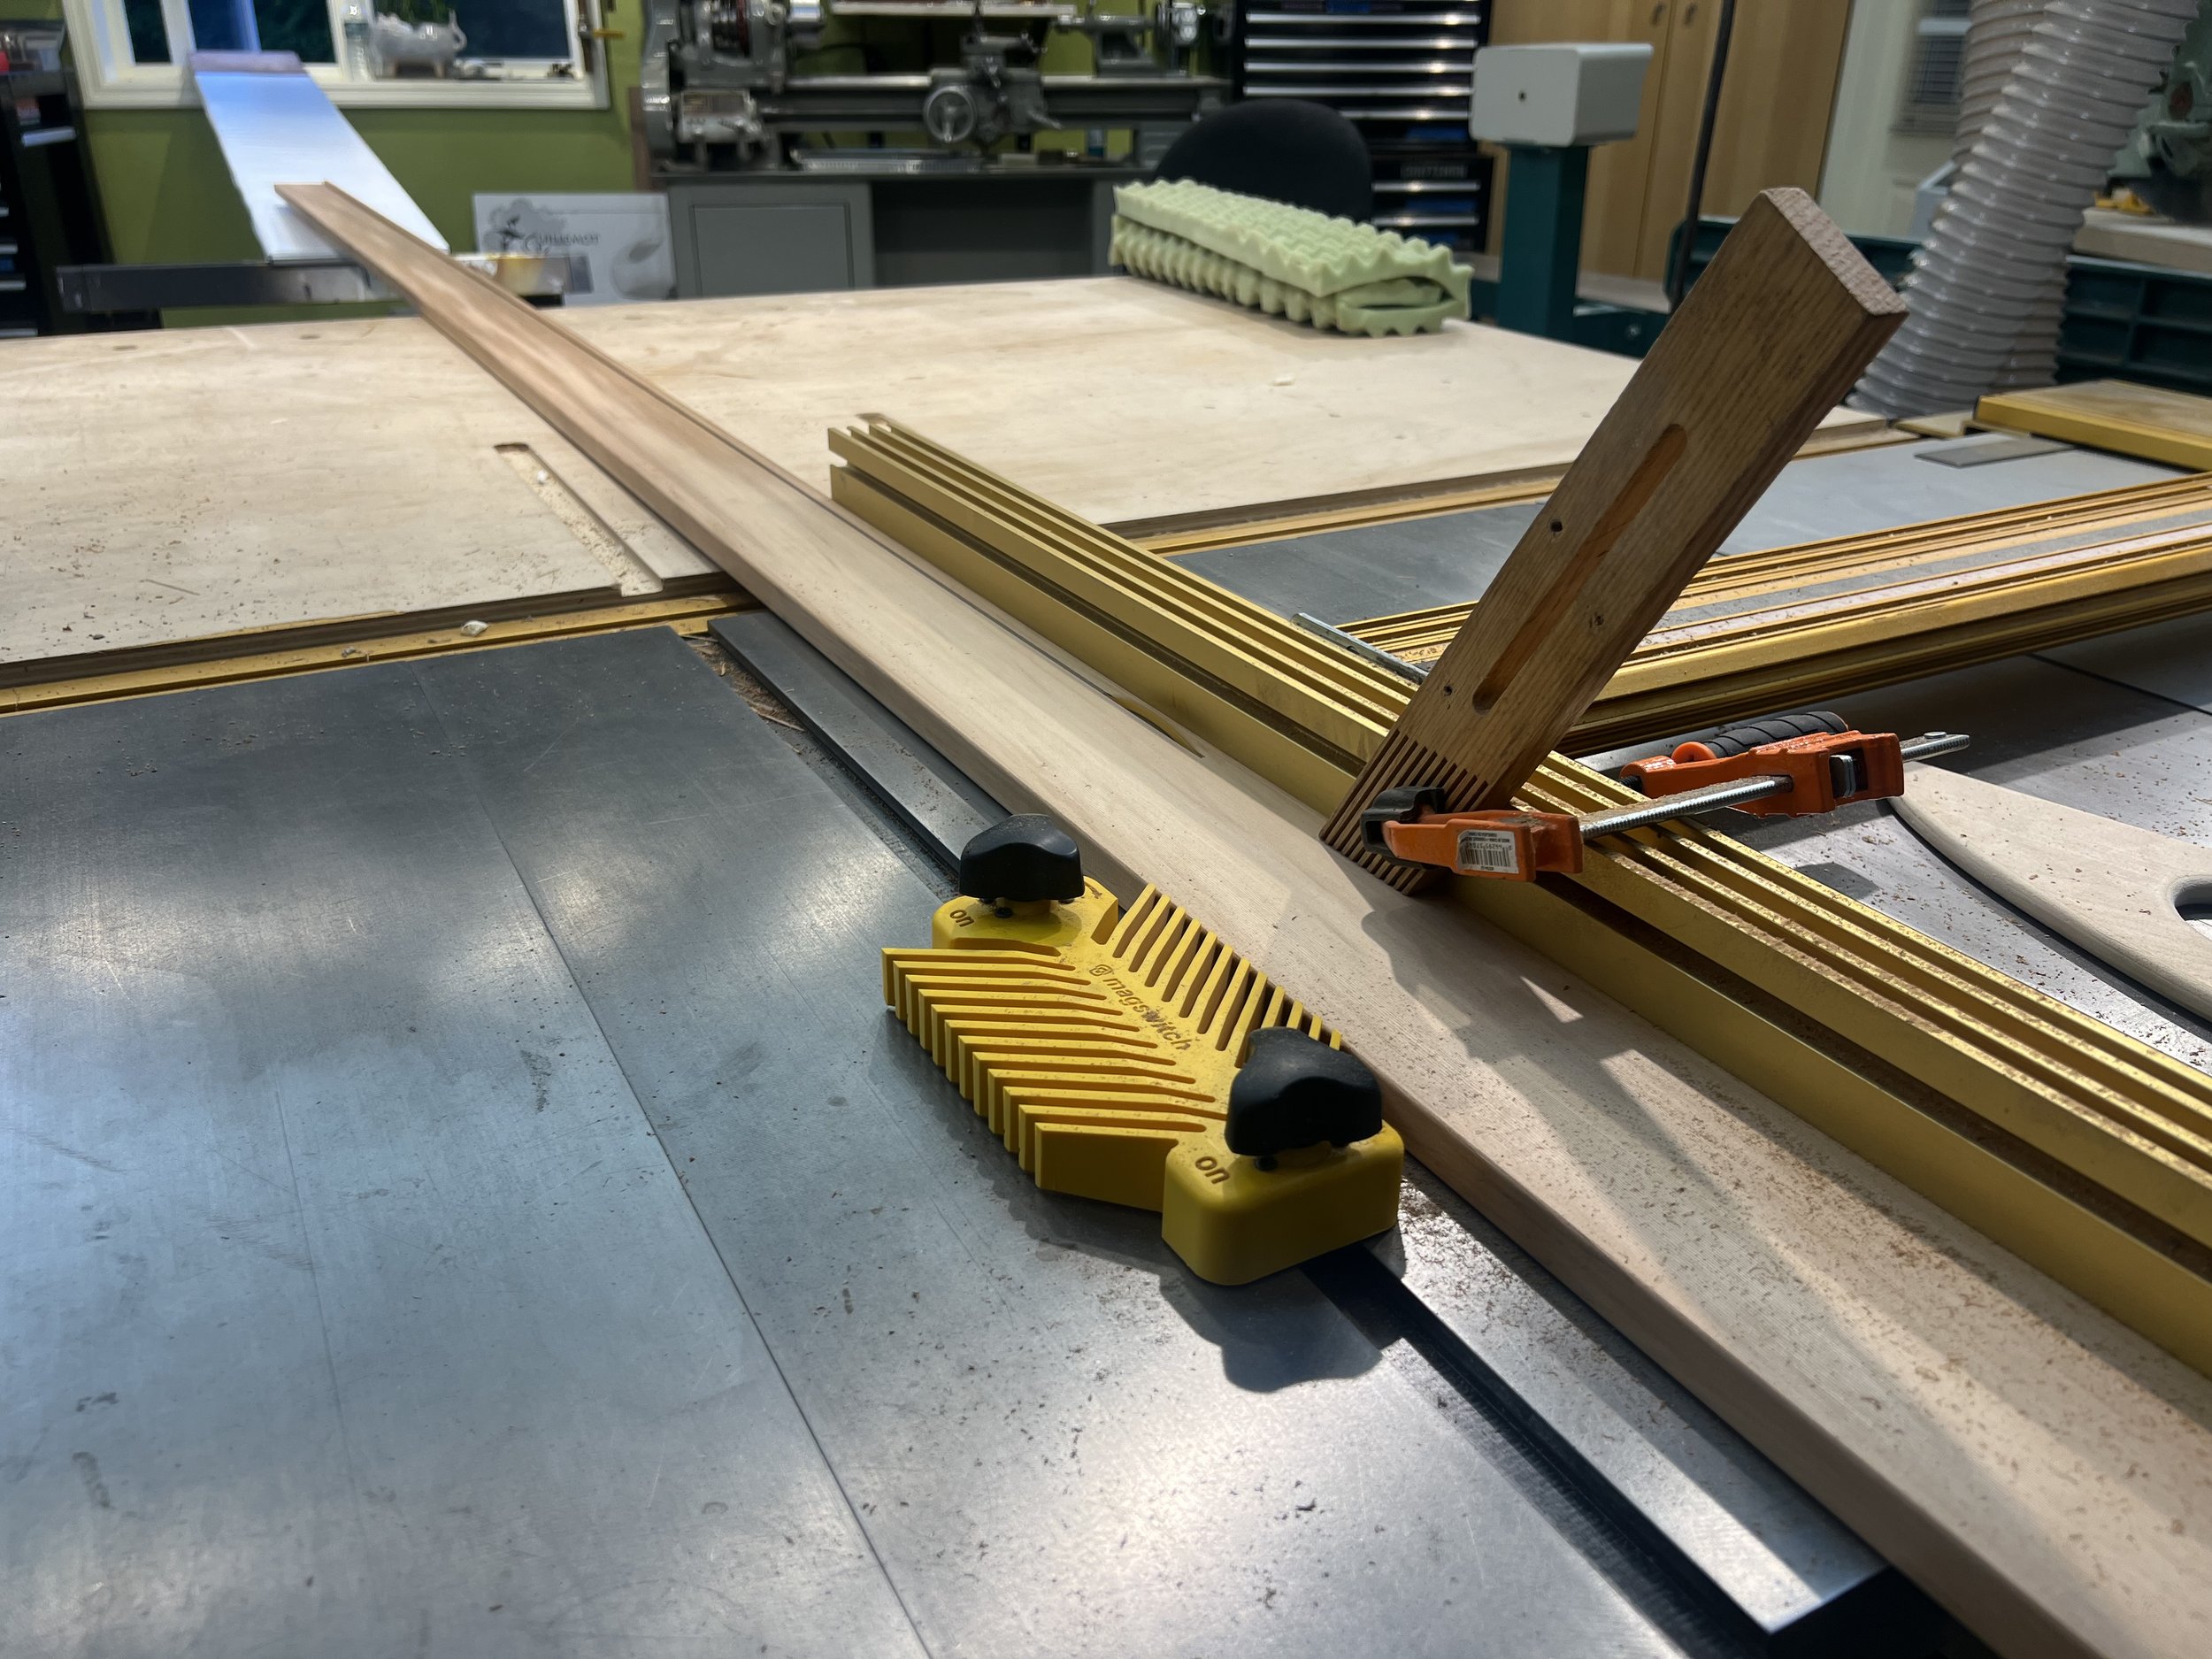
Tablesaw set up for ripping 16' strips. Placement of tablesaw lines up with window. Instead of roller stands a scrap piece of plywood with scrap vinyl for gliding surface.
-
![]()
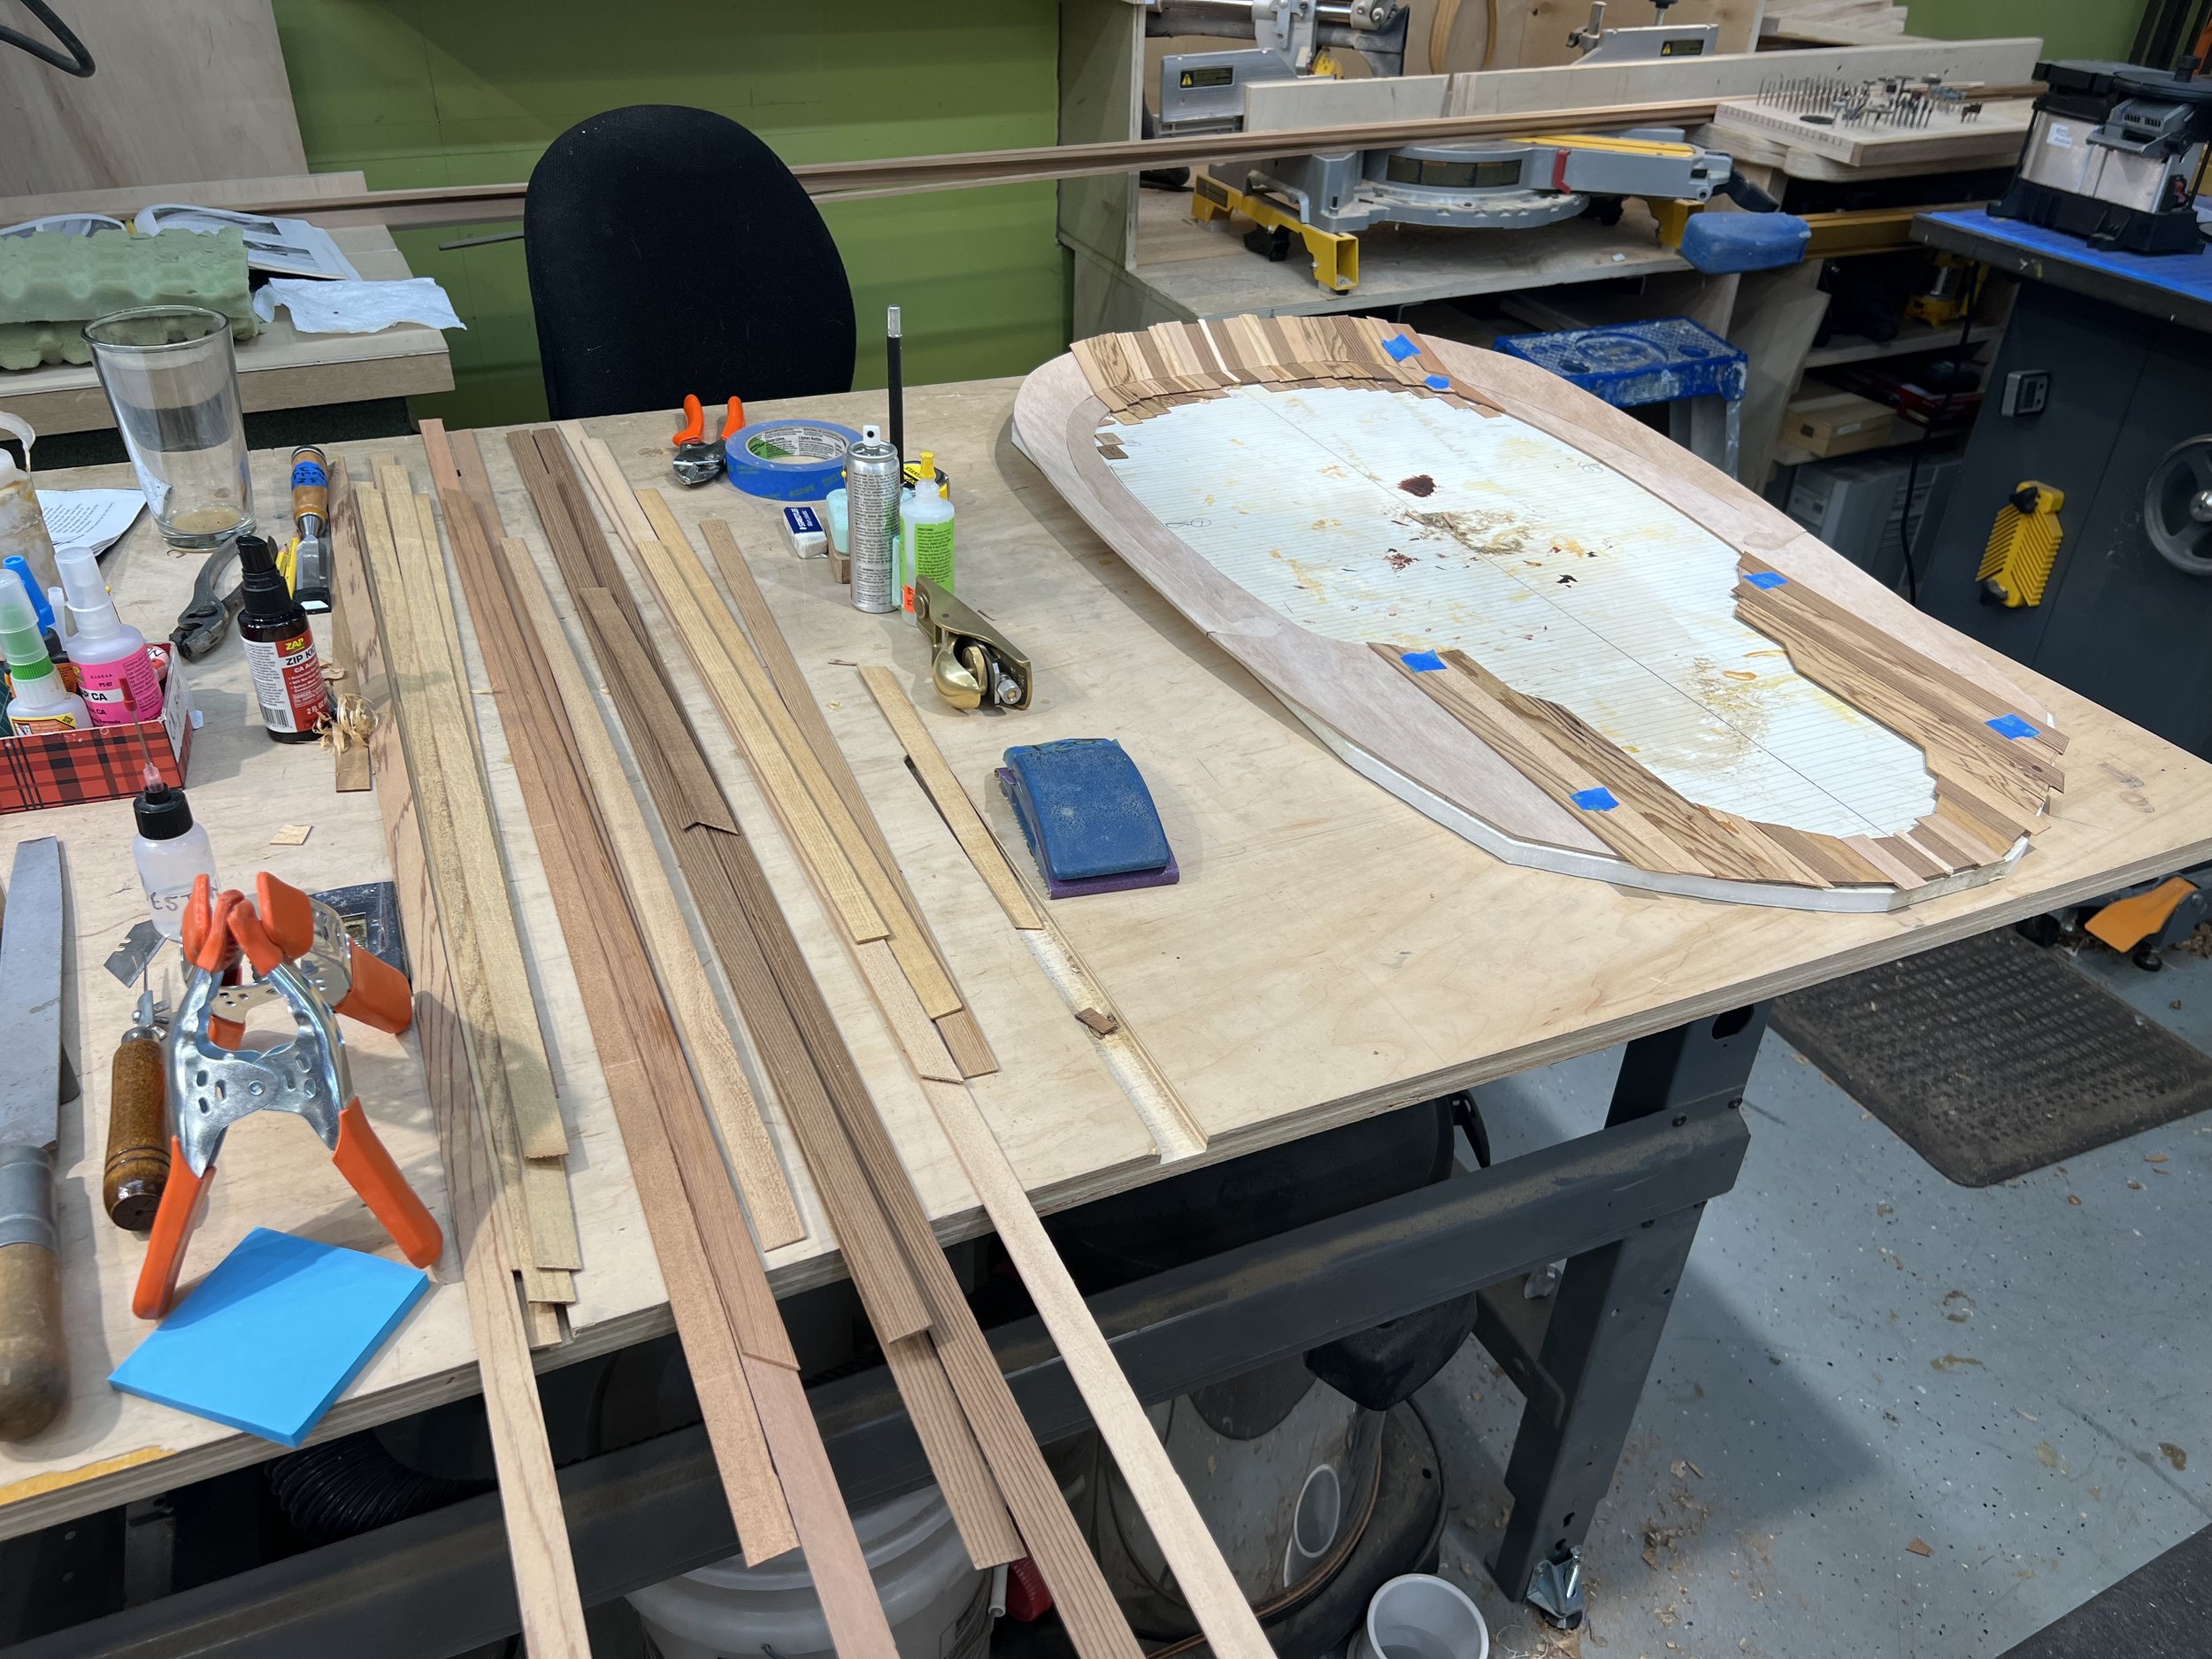
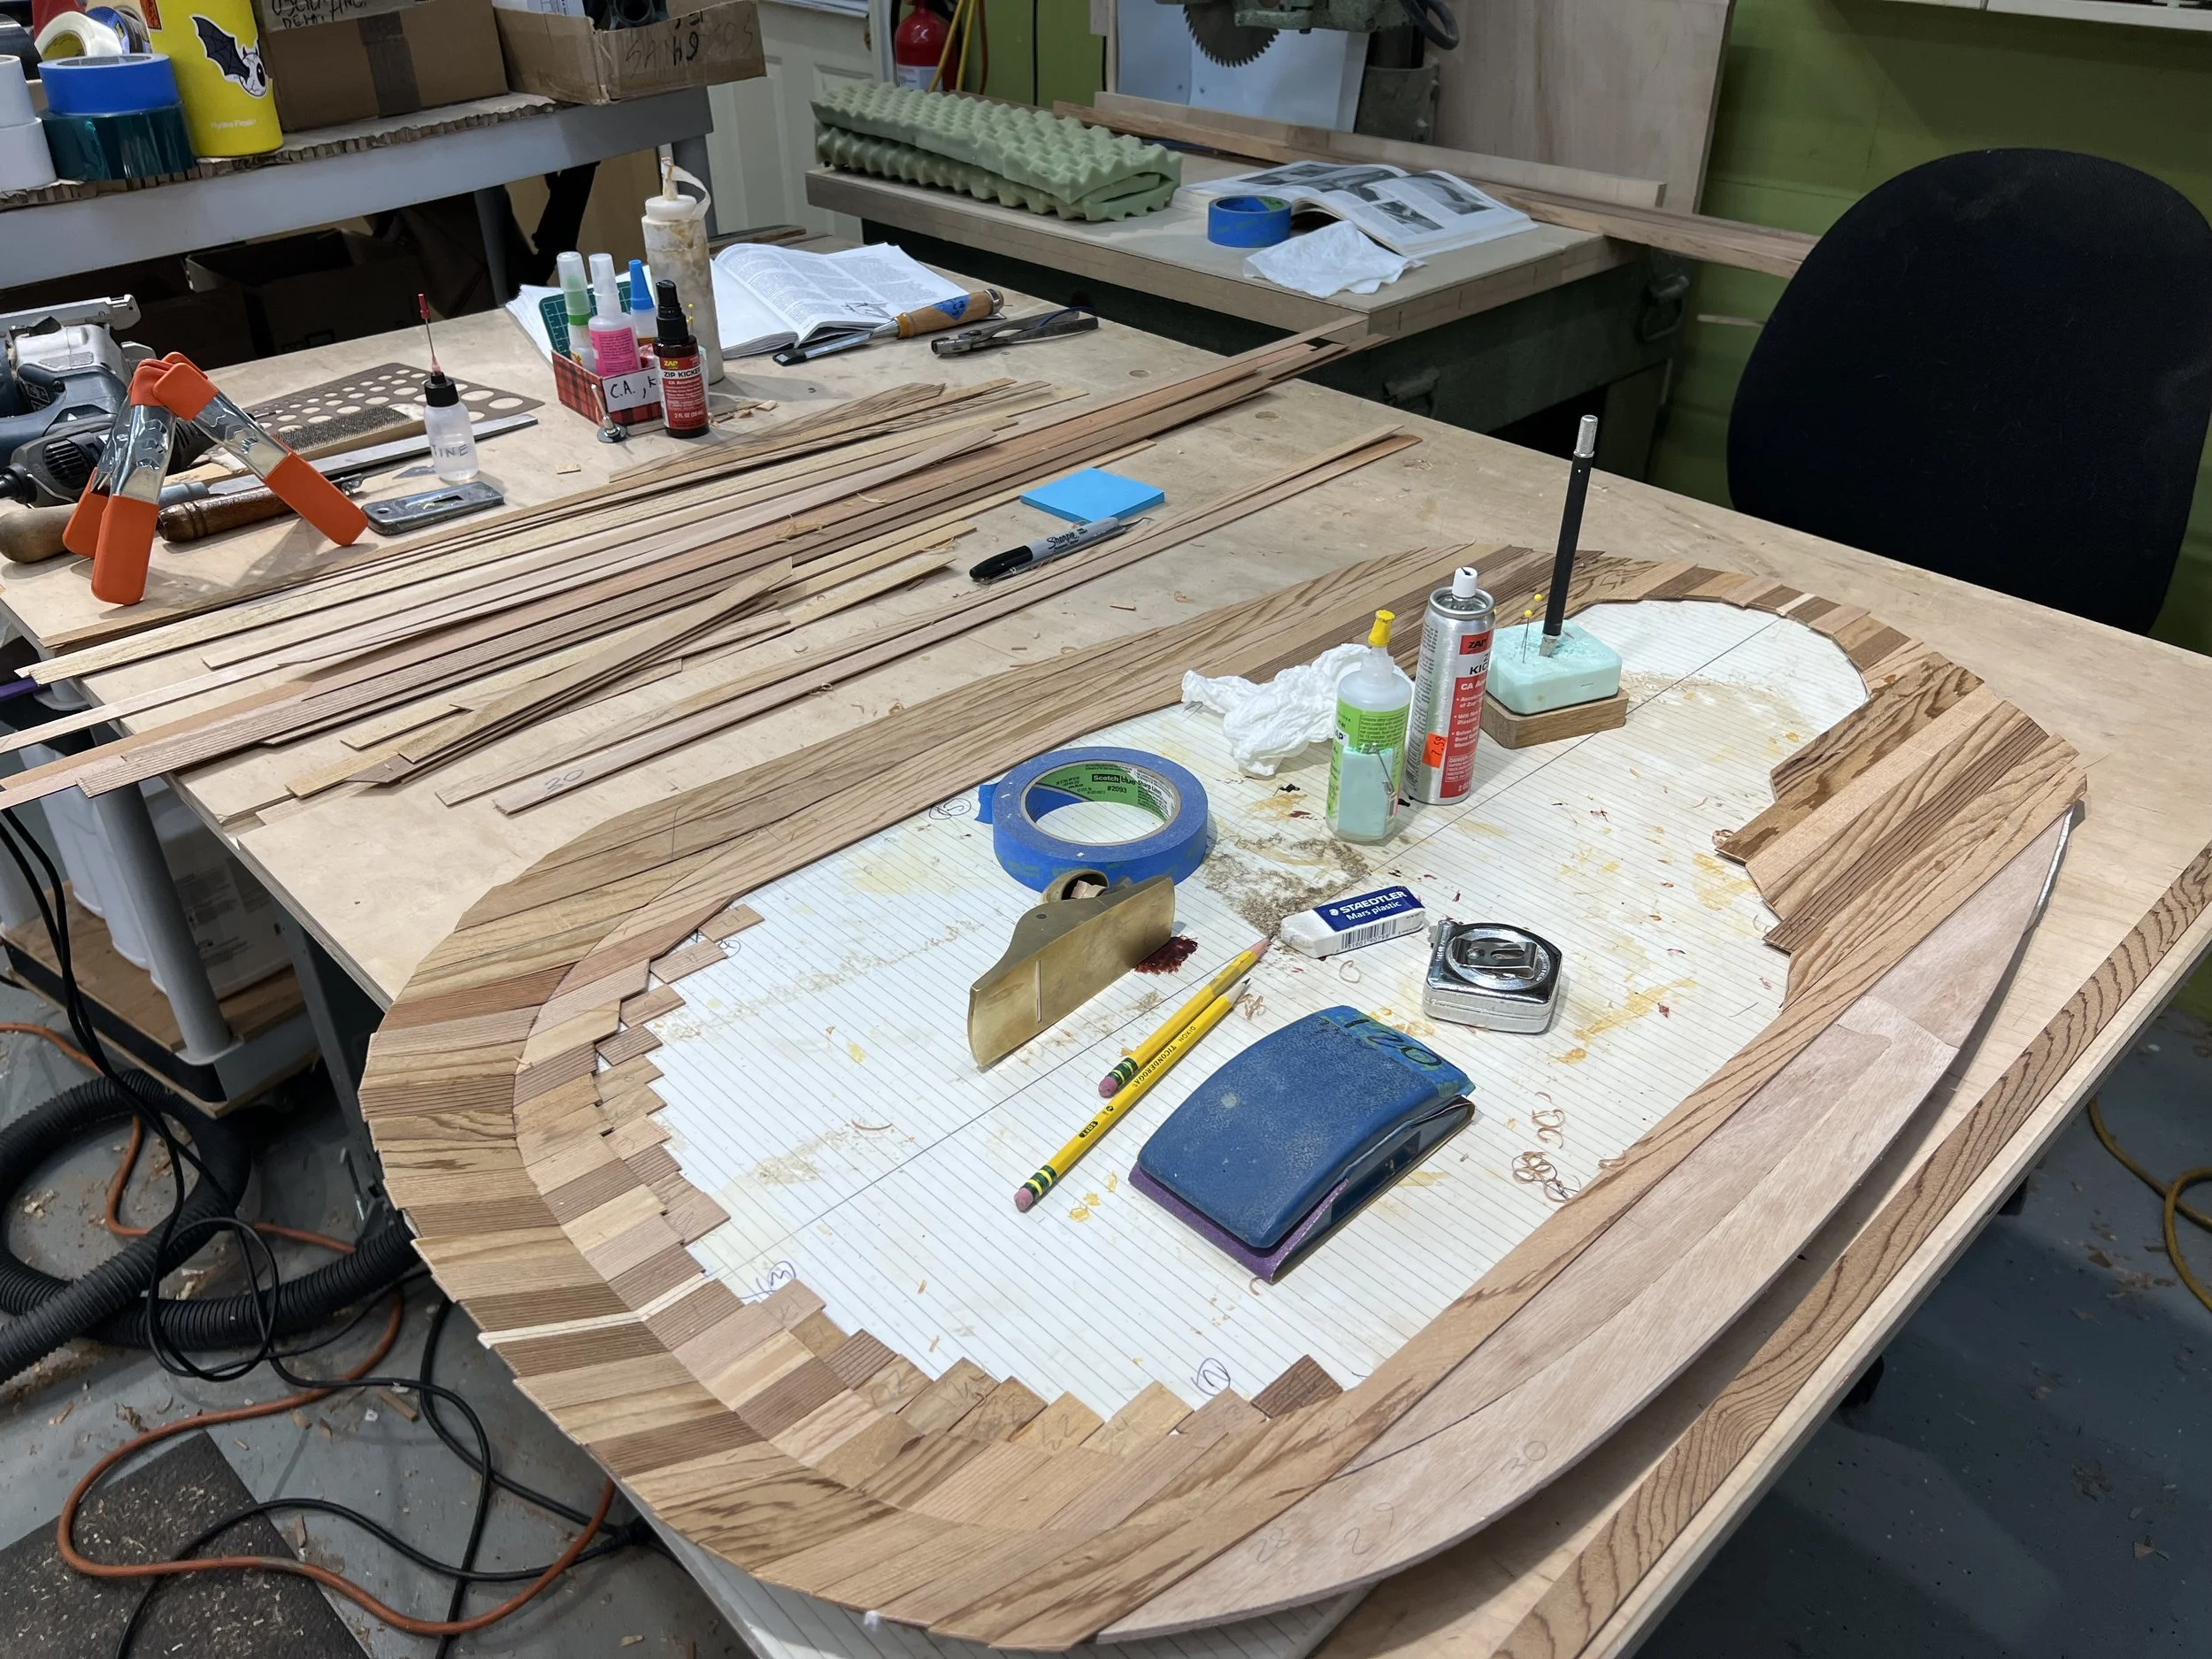
Lots of 3/4"x1/4" strips of northern white cedar, mahogany, basswood, cherry and western red cedar.
-
![]()
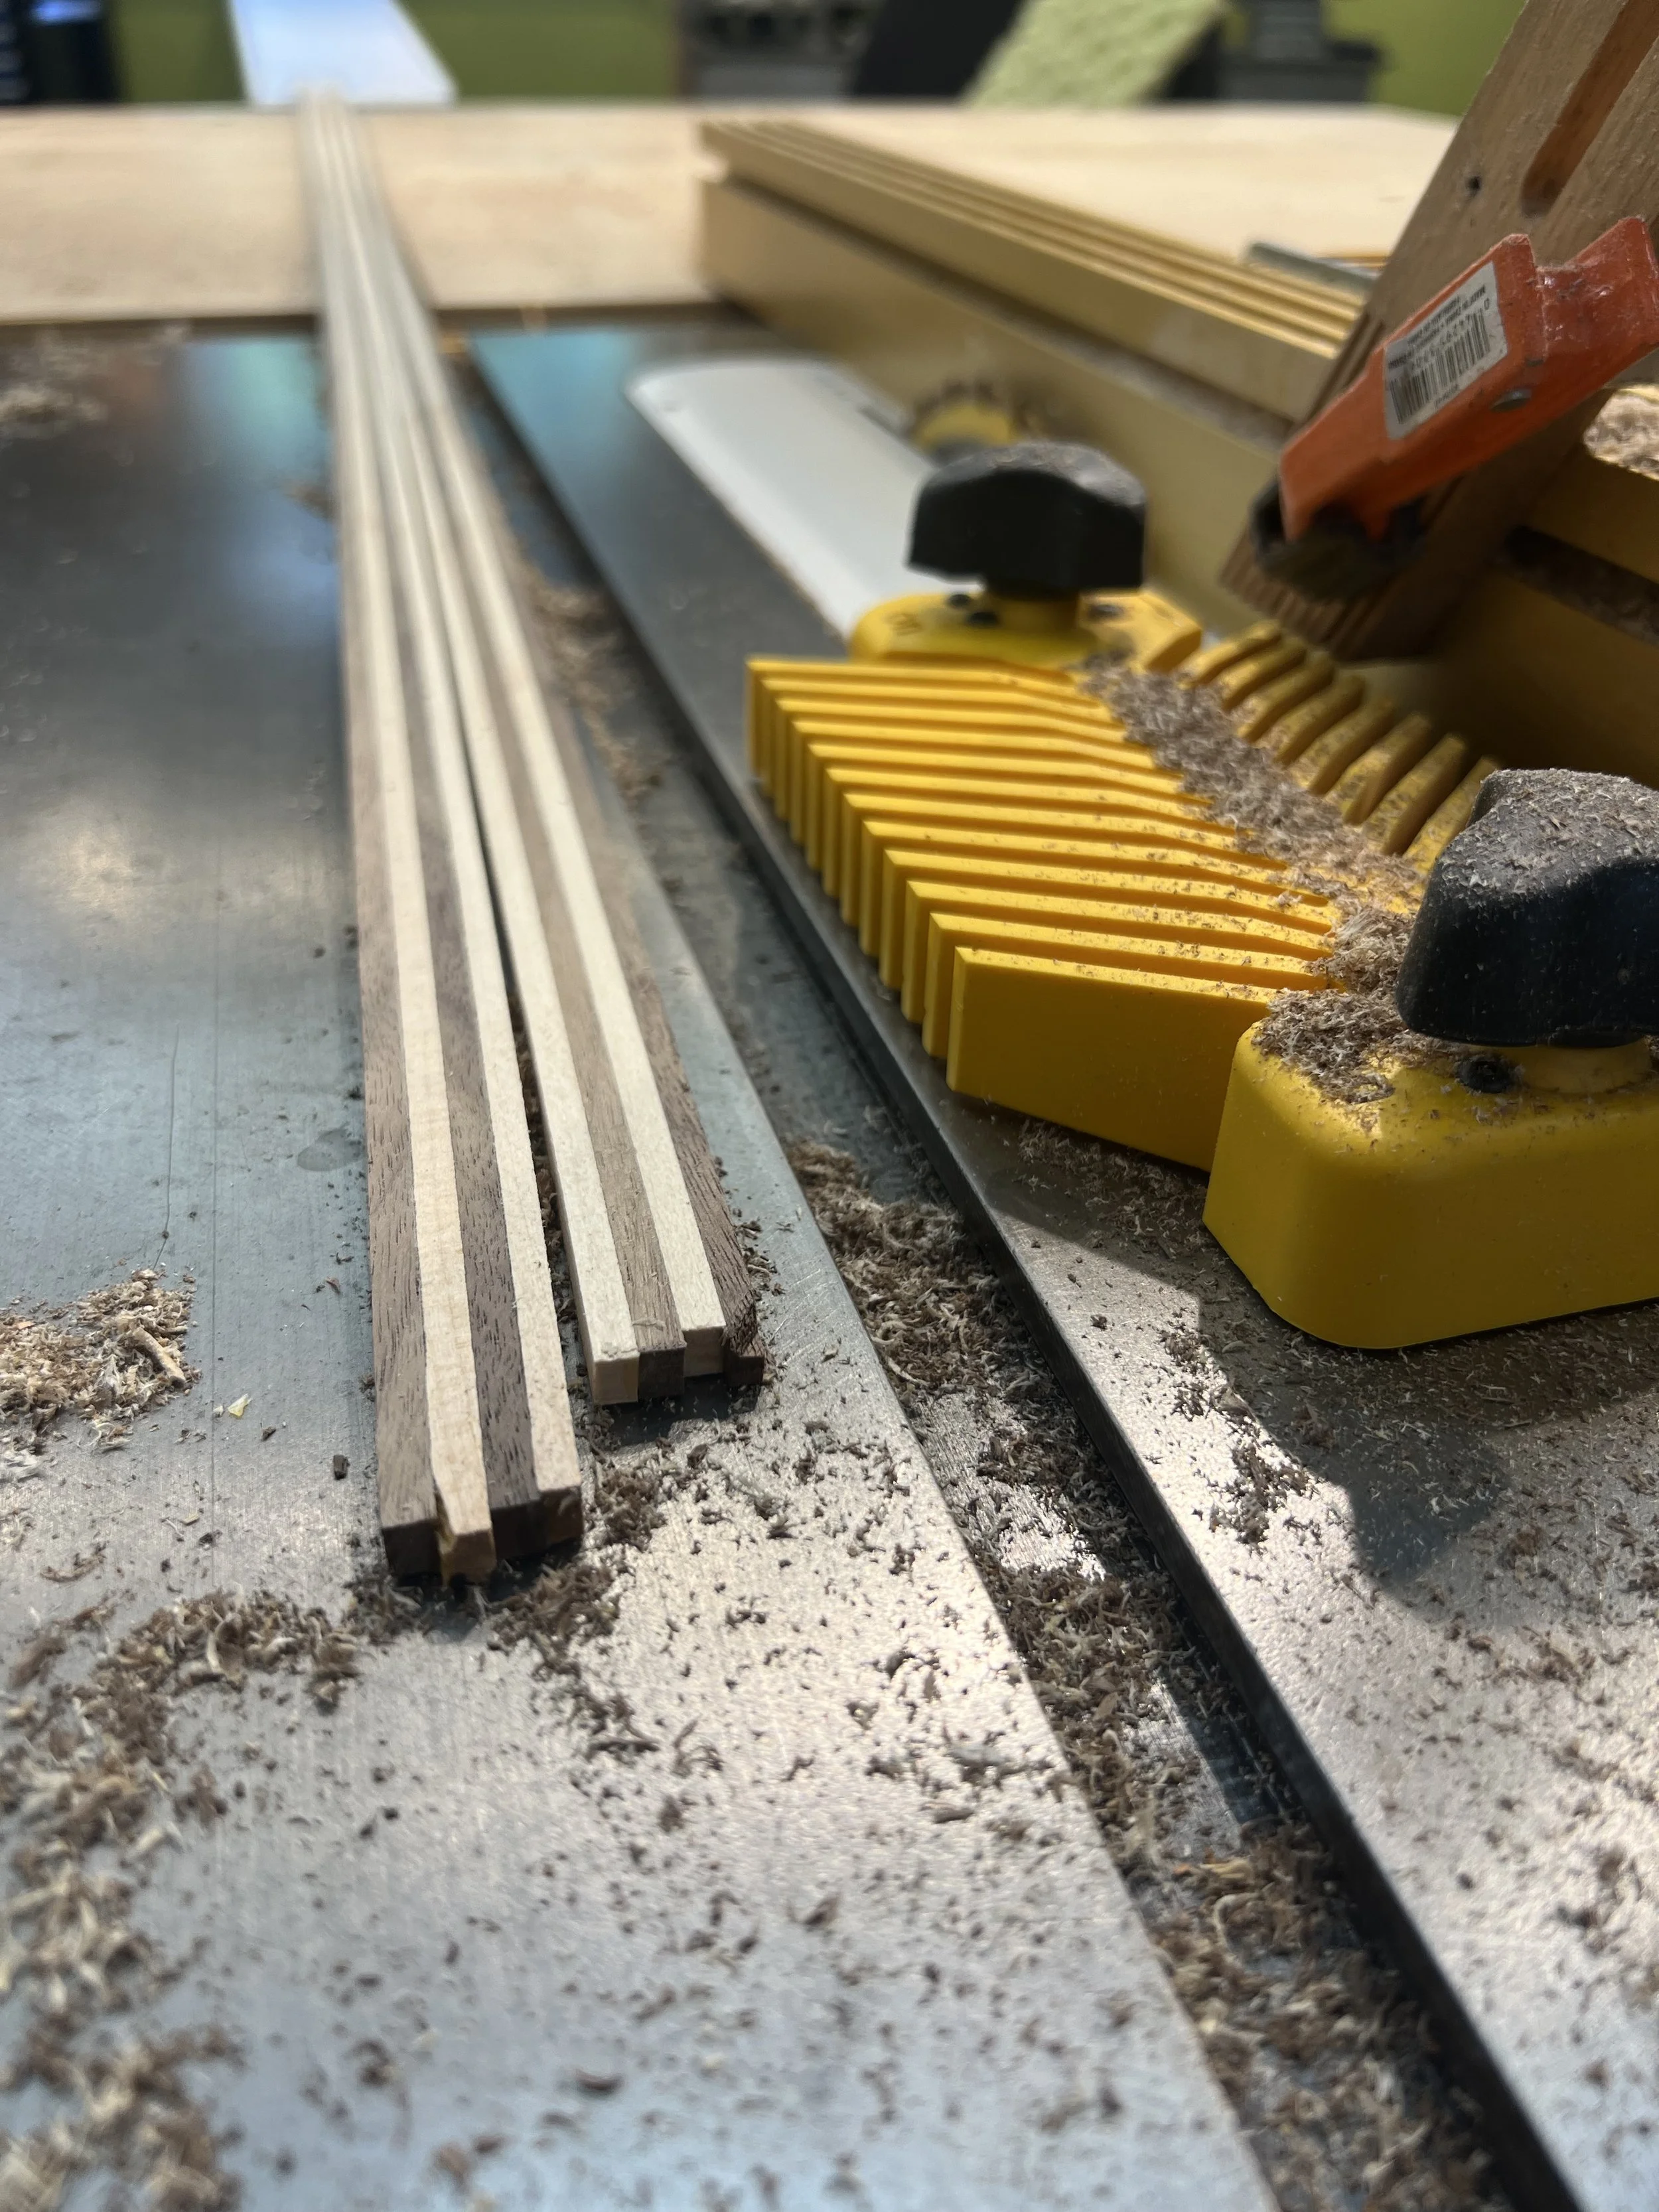
Mahogany and basswood glue up.
-
![]()
Close up of mahogany and basswood strips after ripped on tablesaw after glueup.
-
![]()
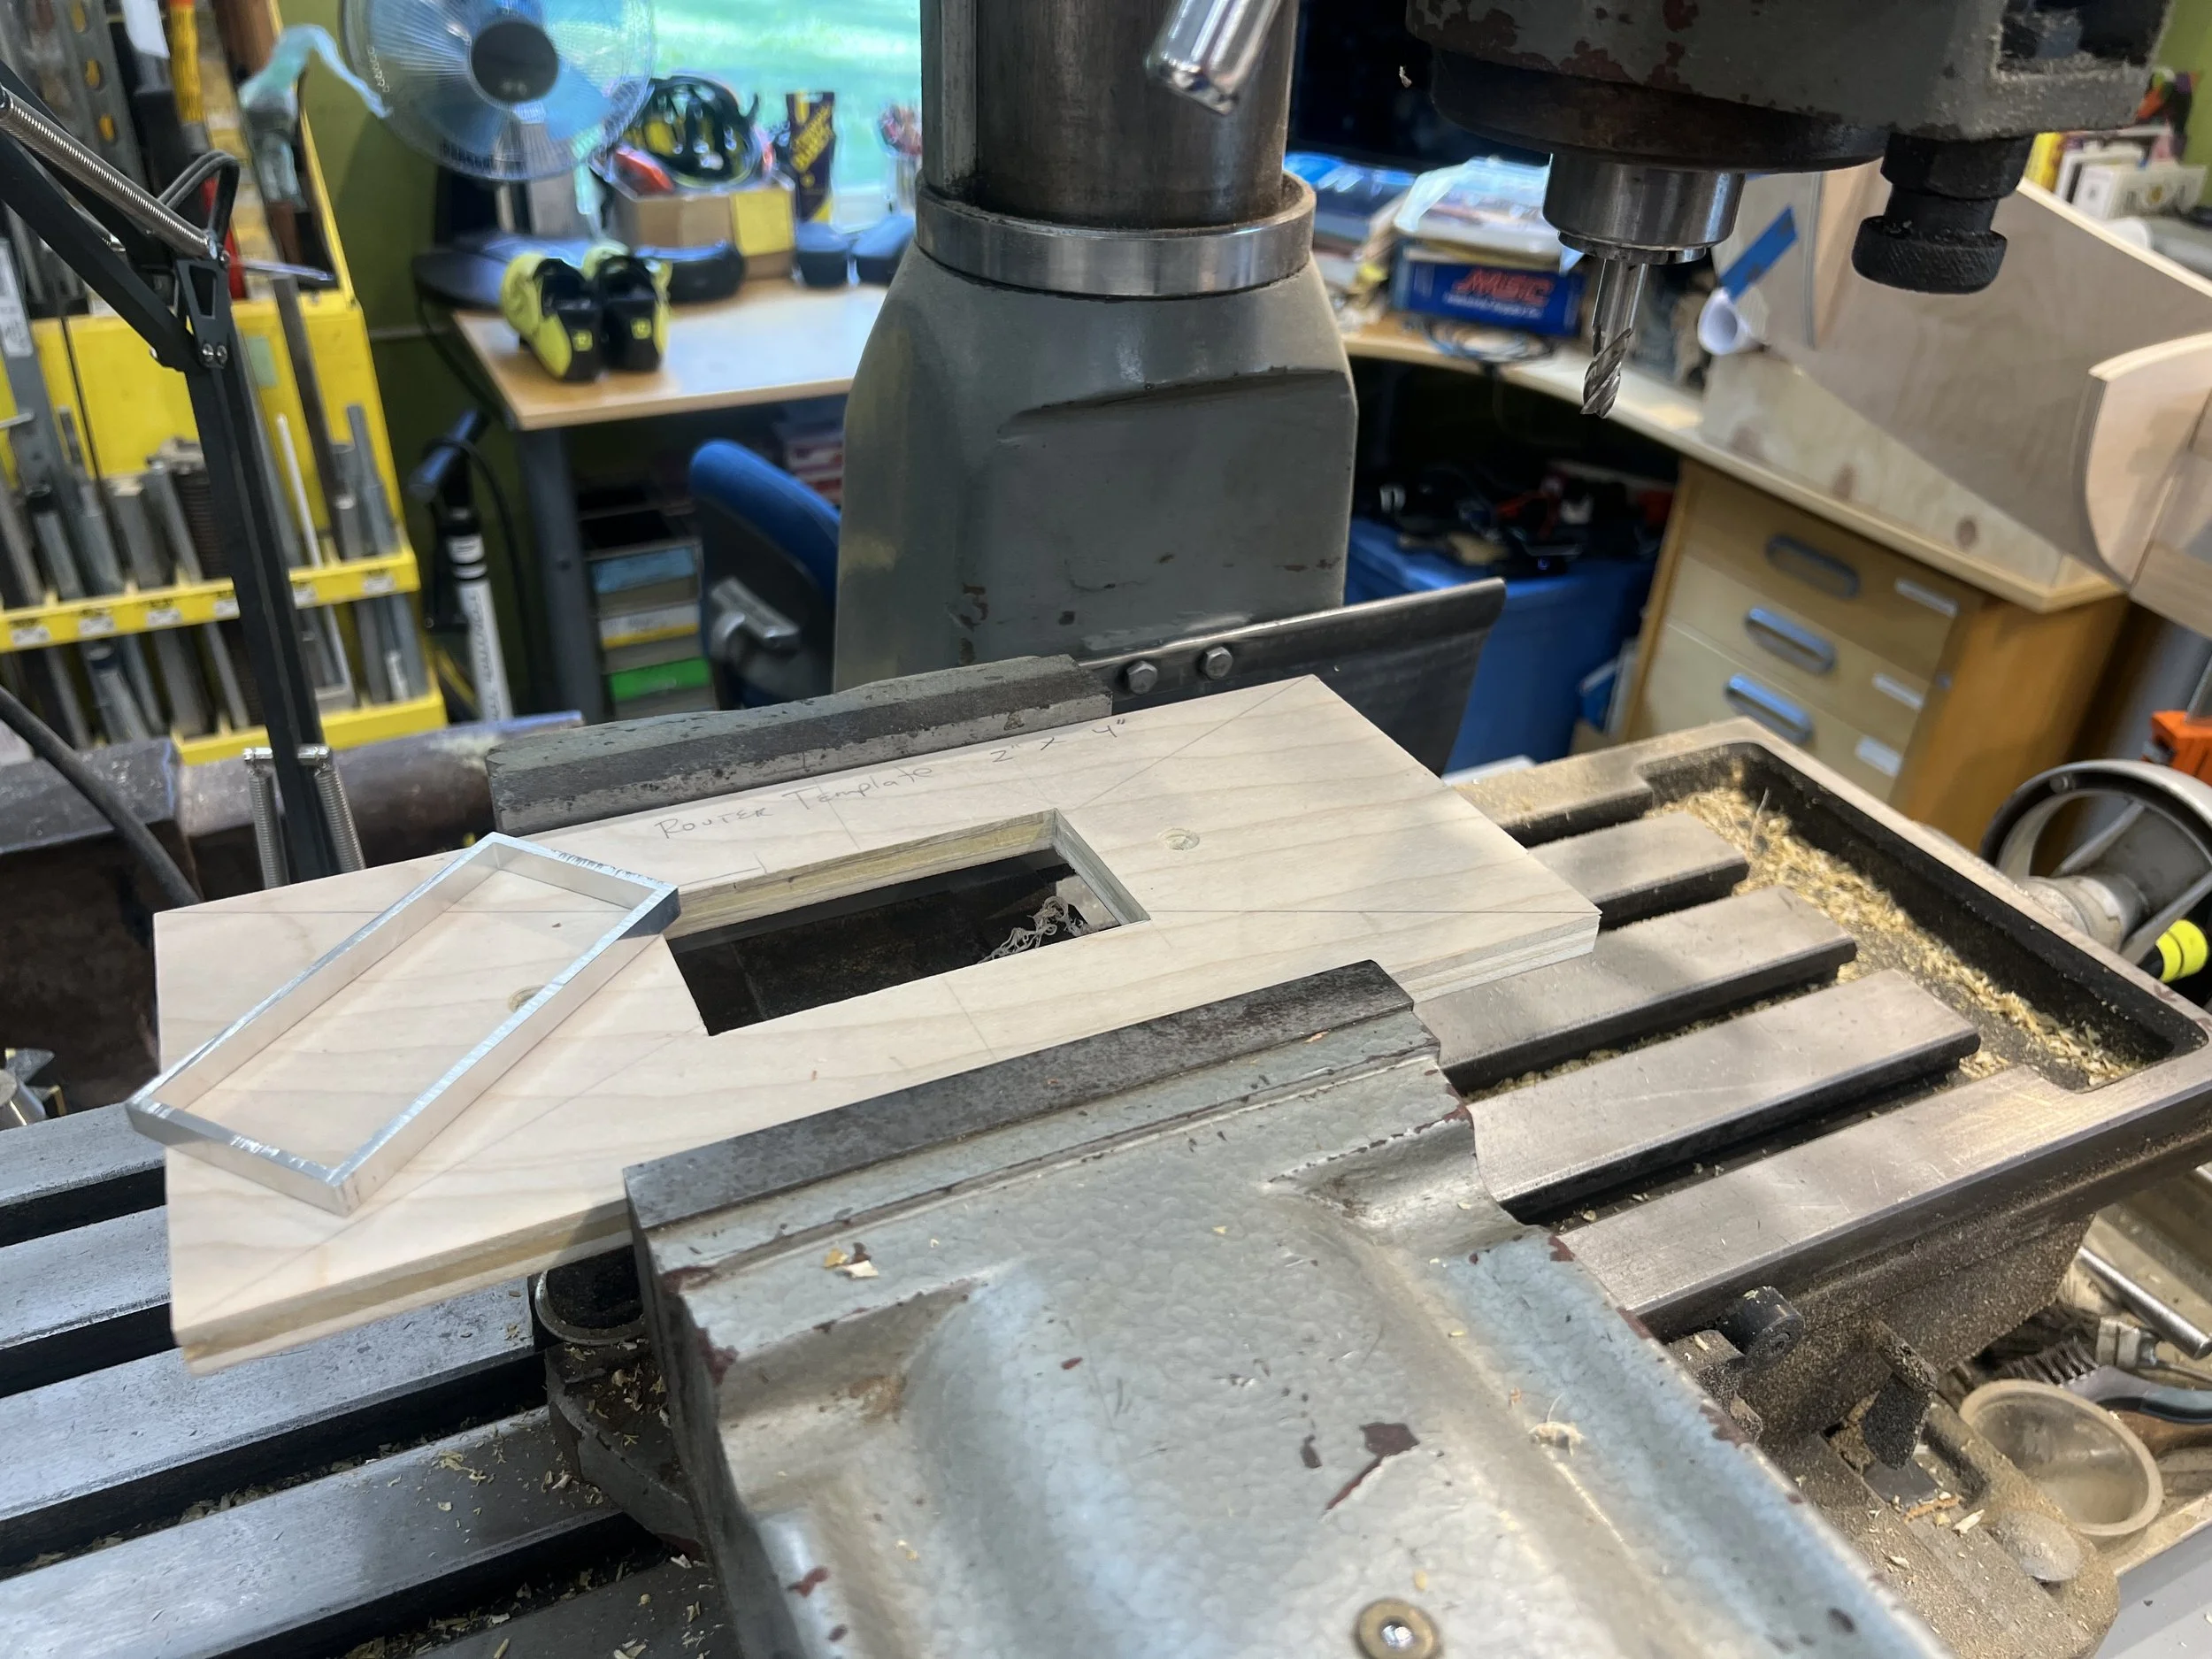
Template for strongback cutout for each stem form.
-
![]()
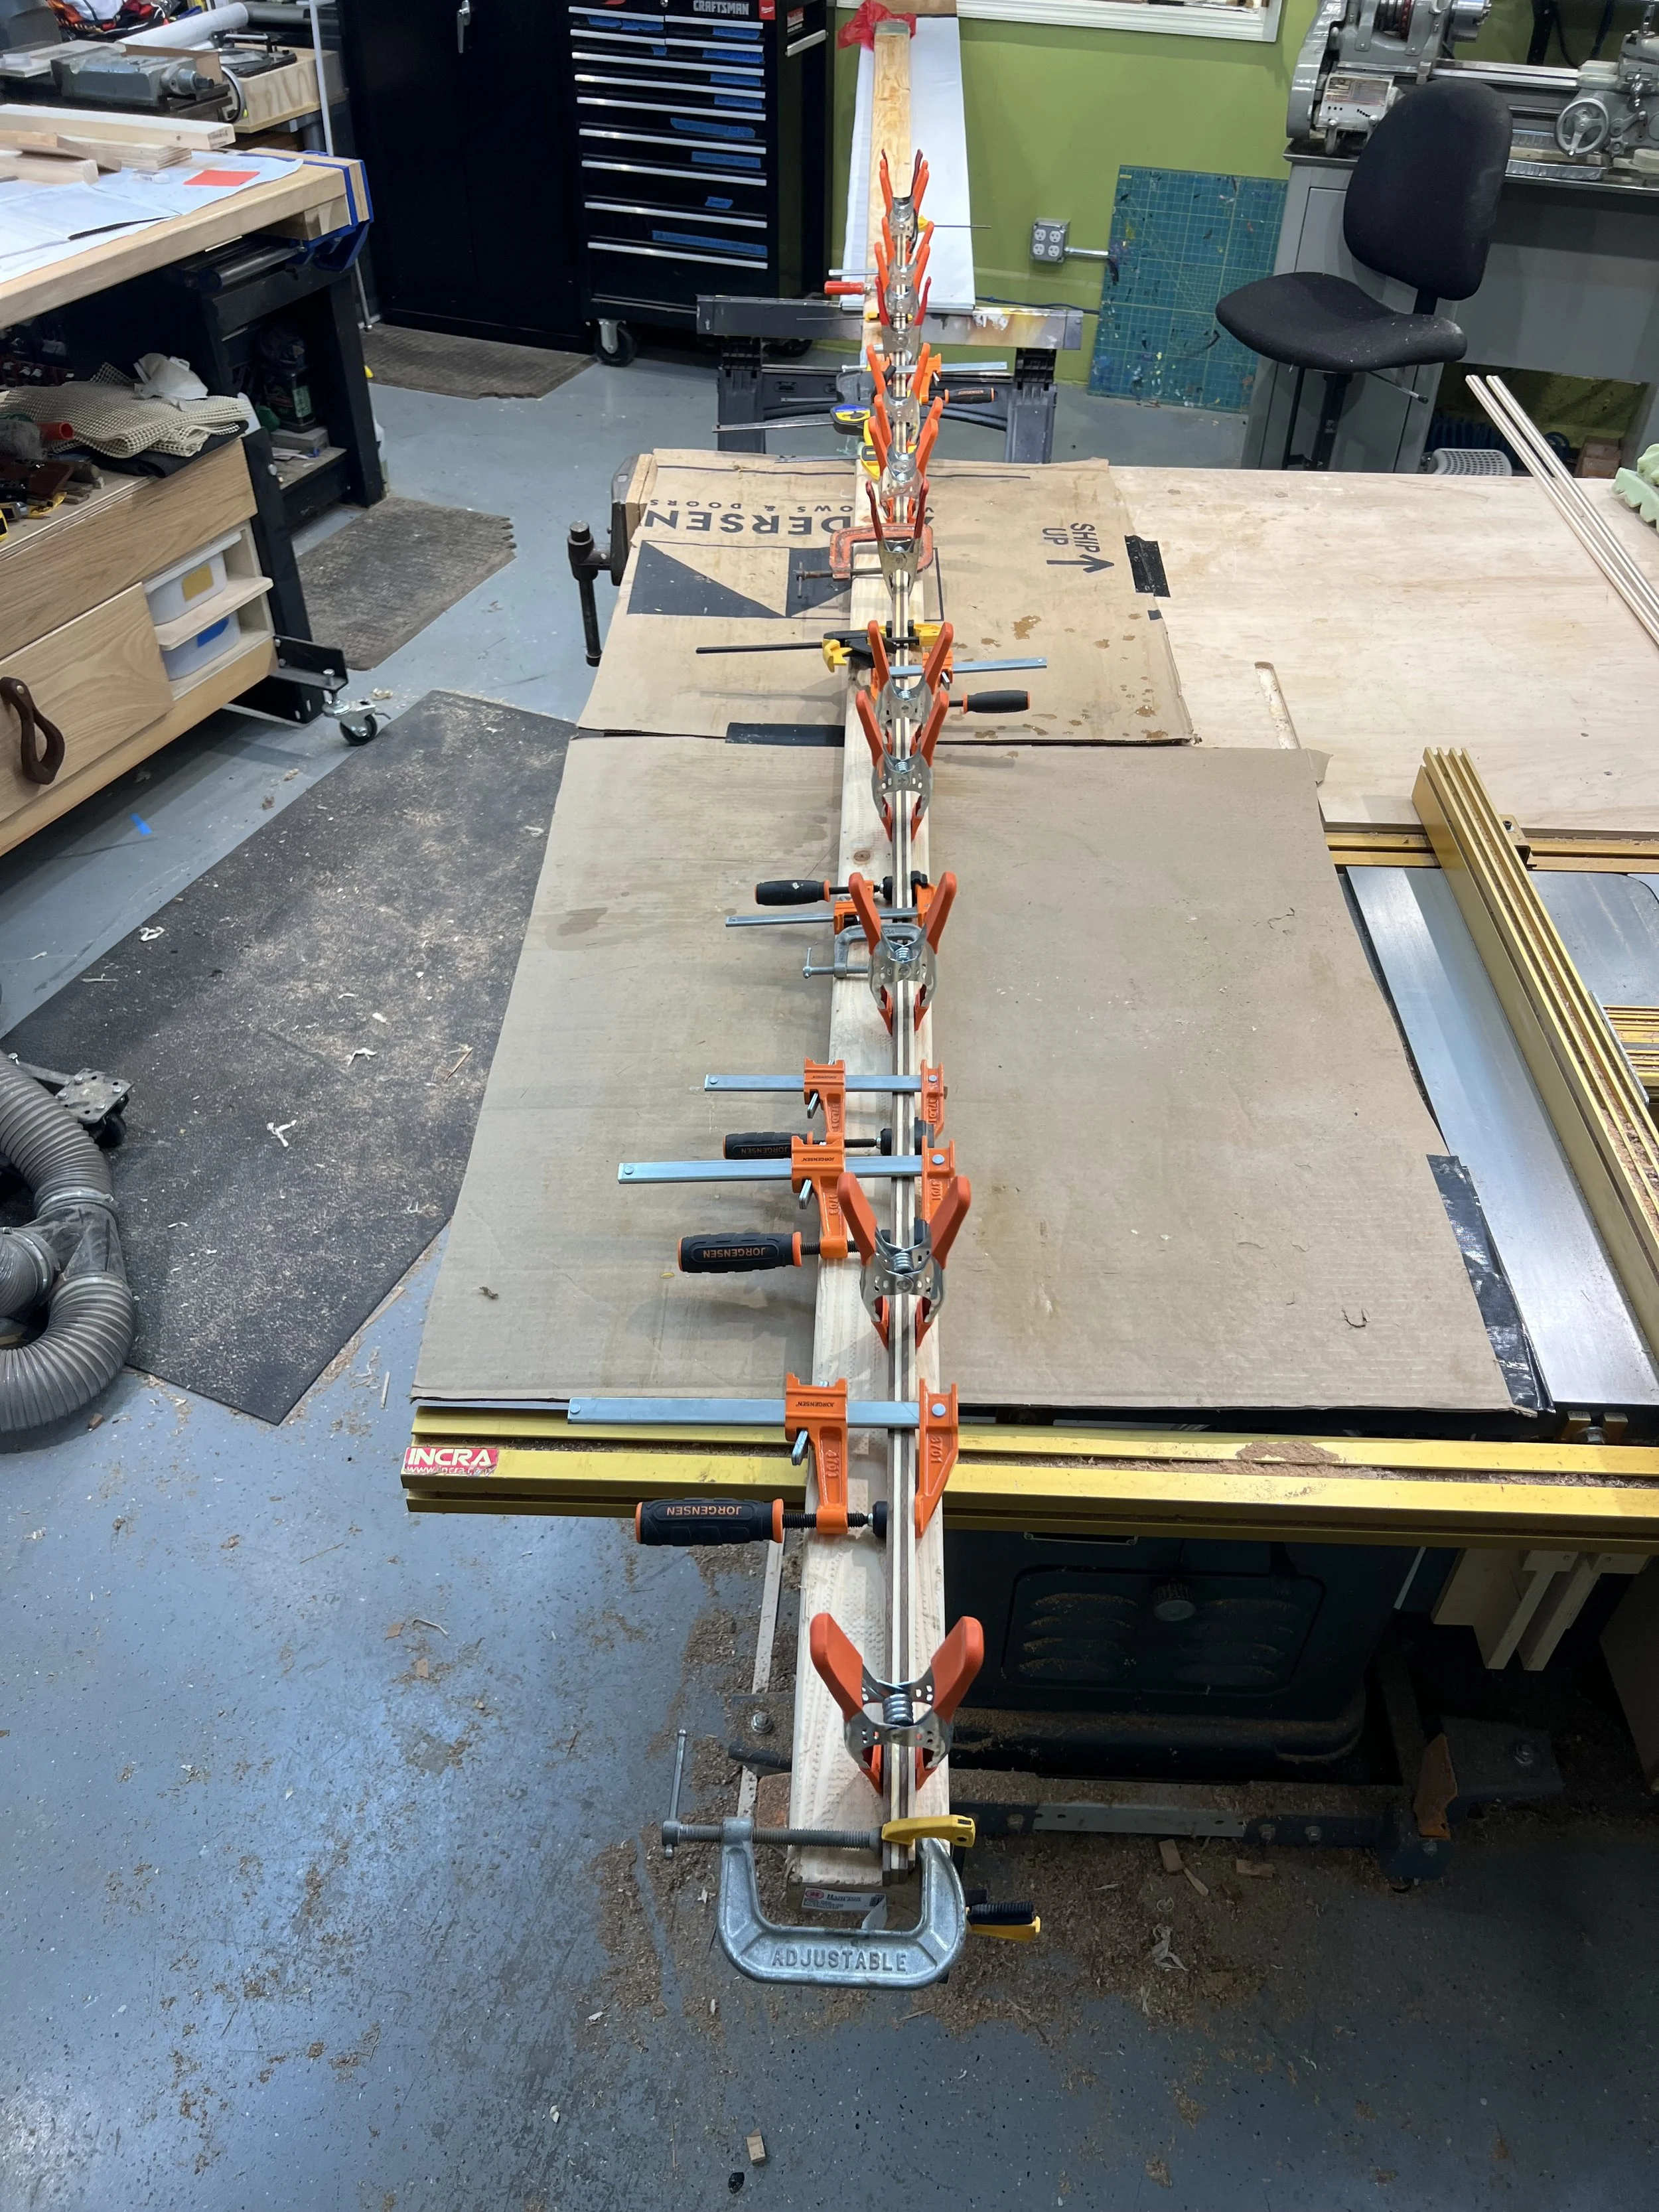
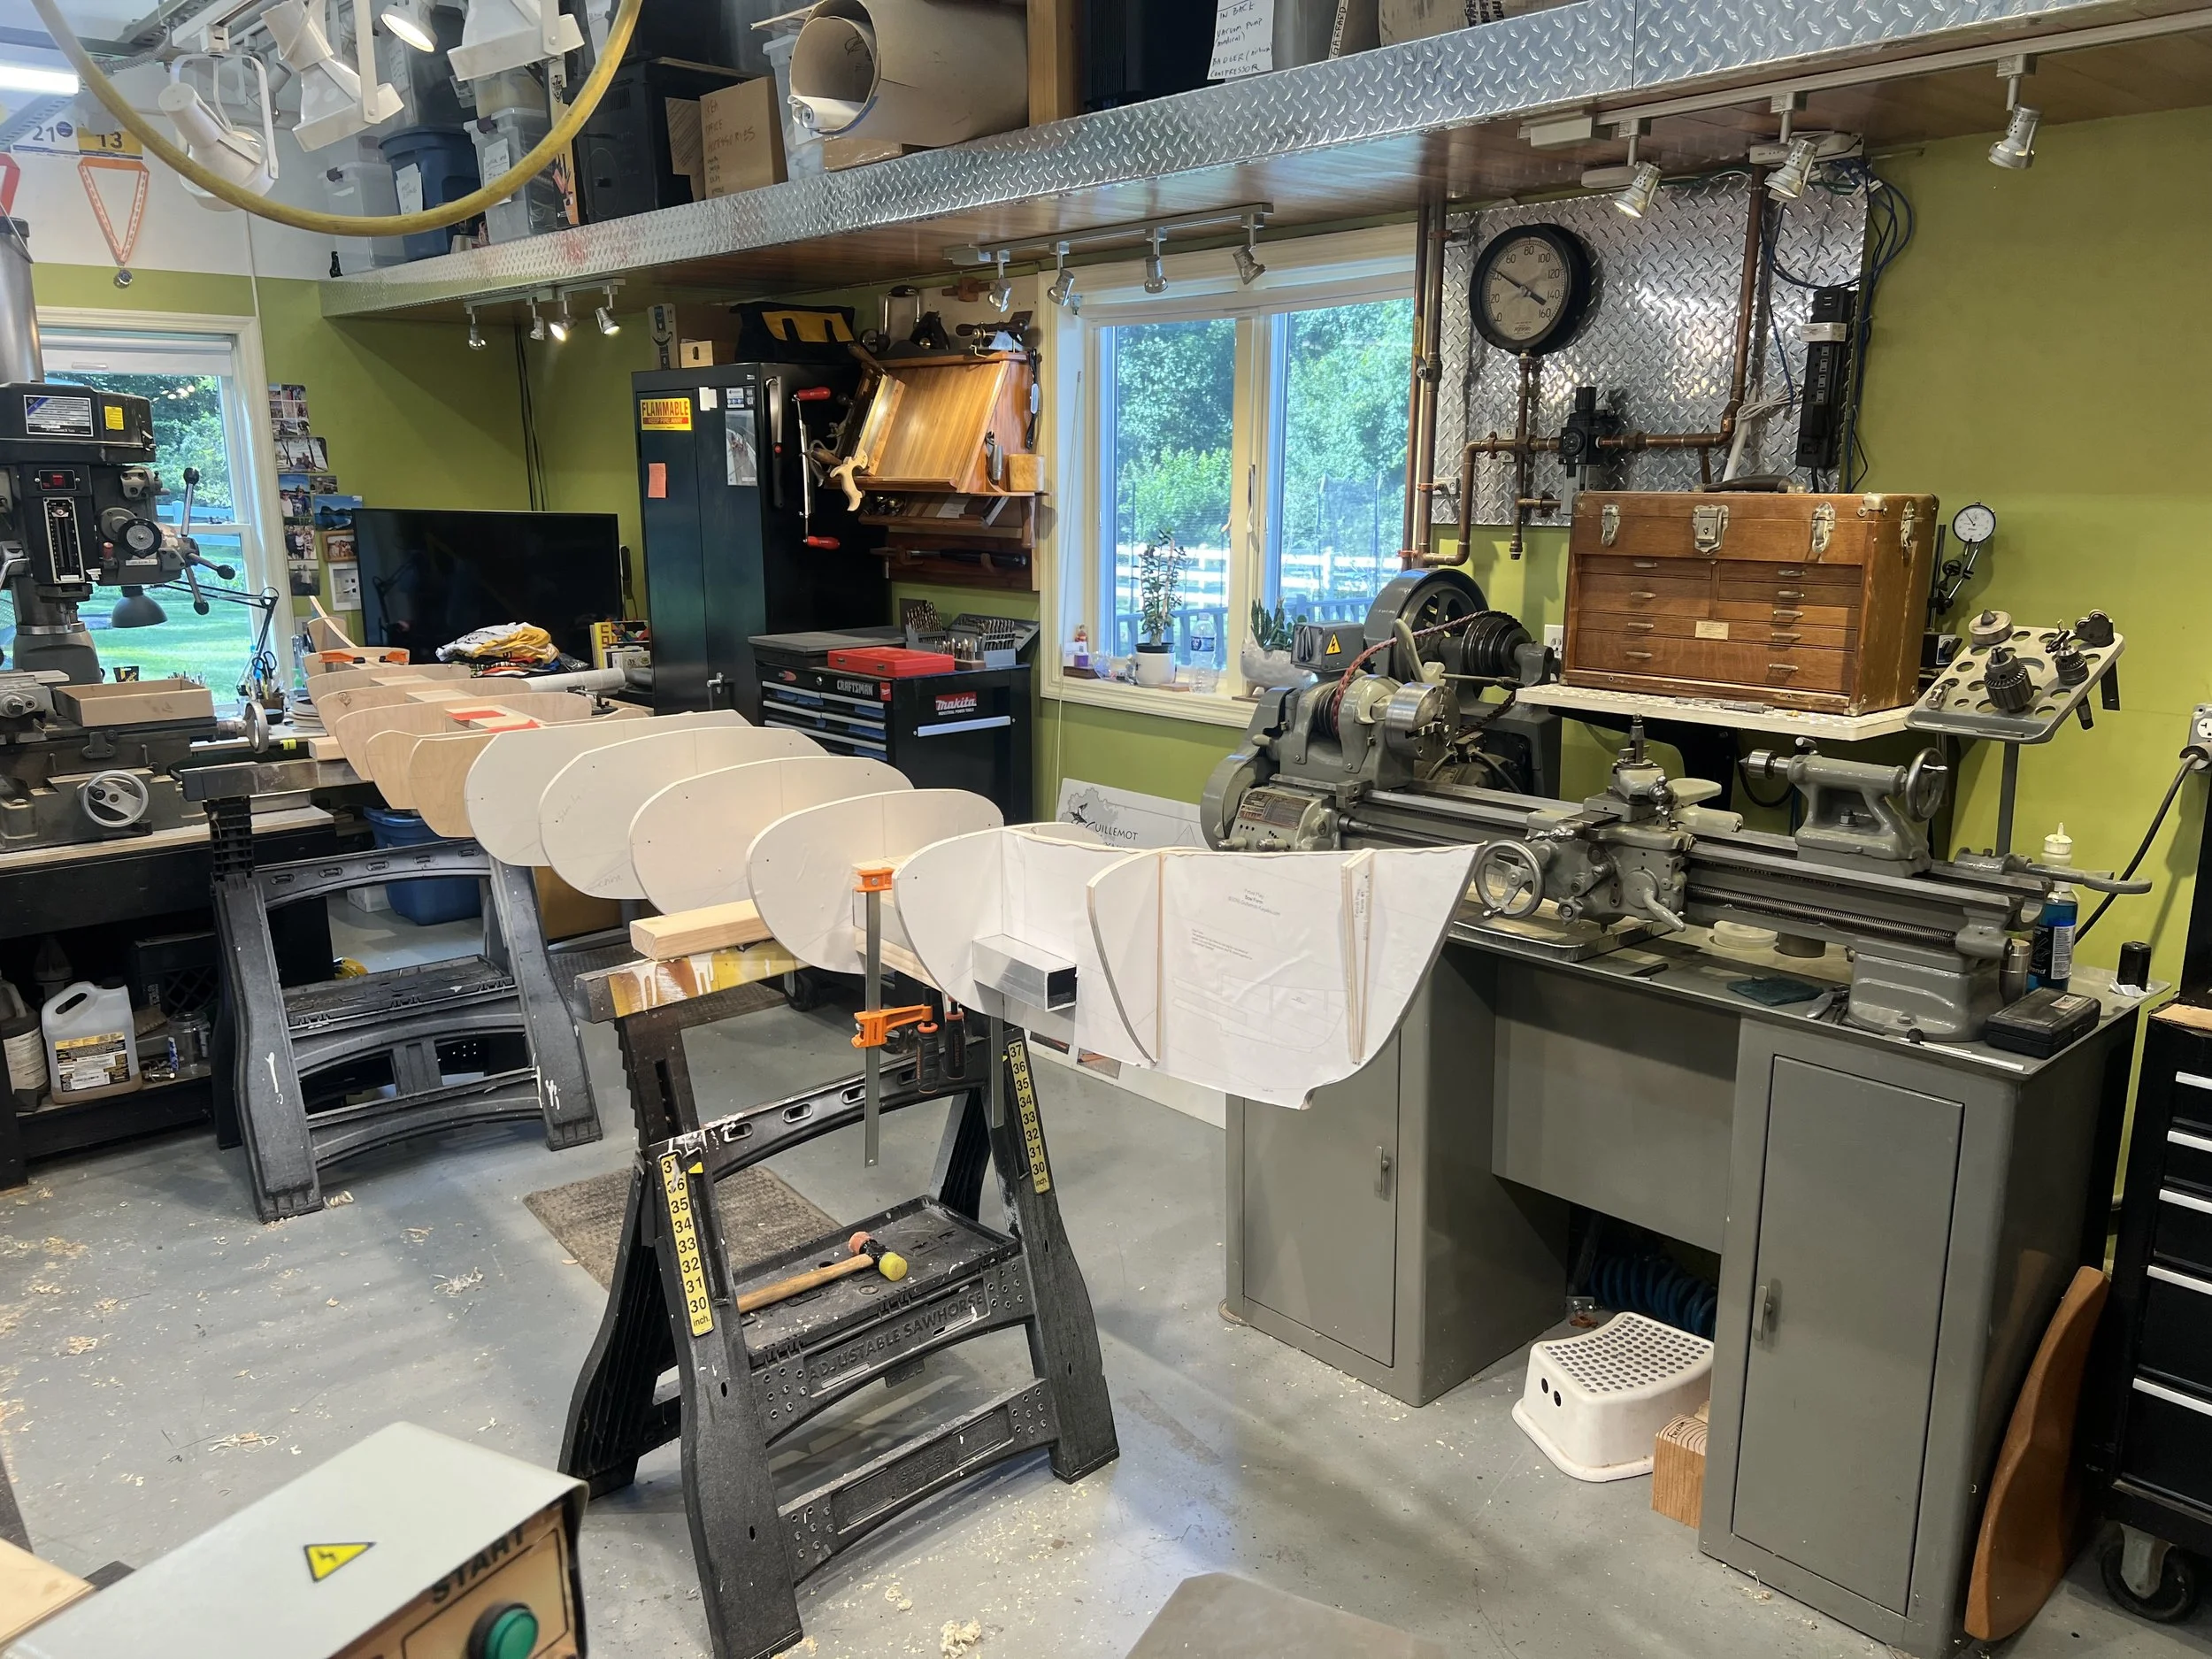
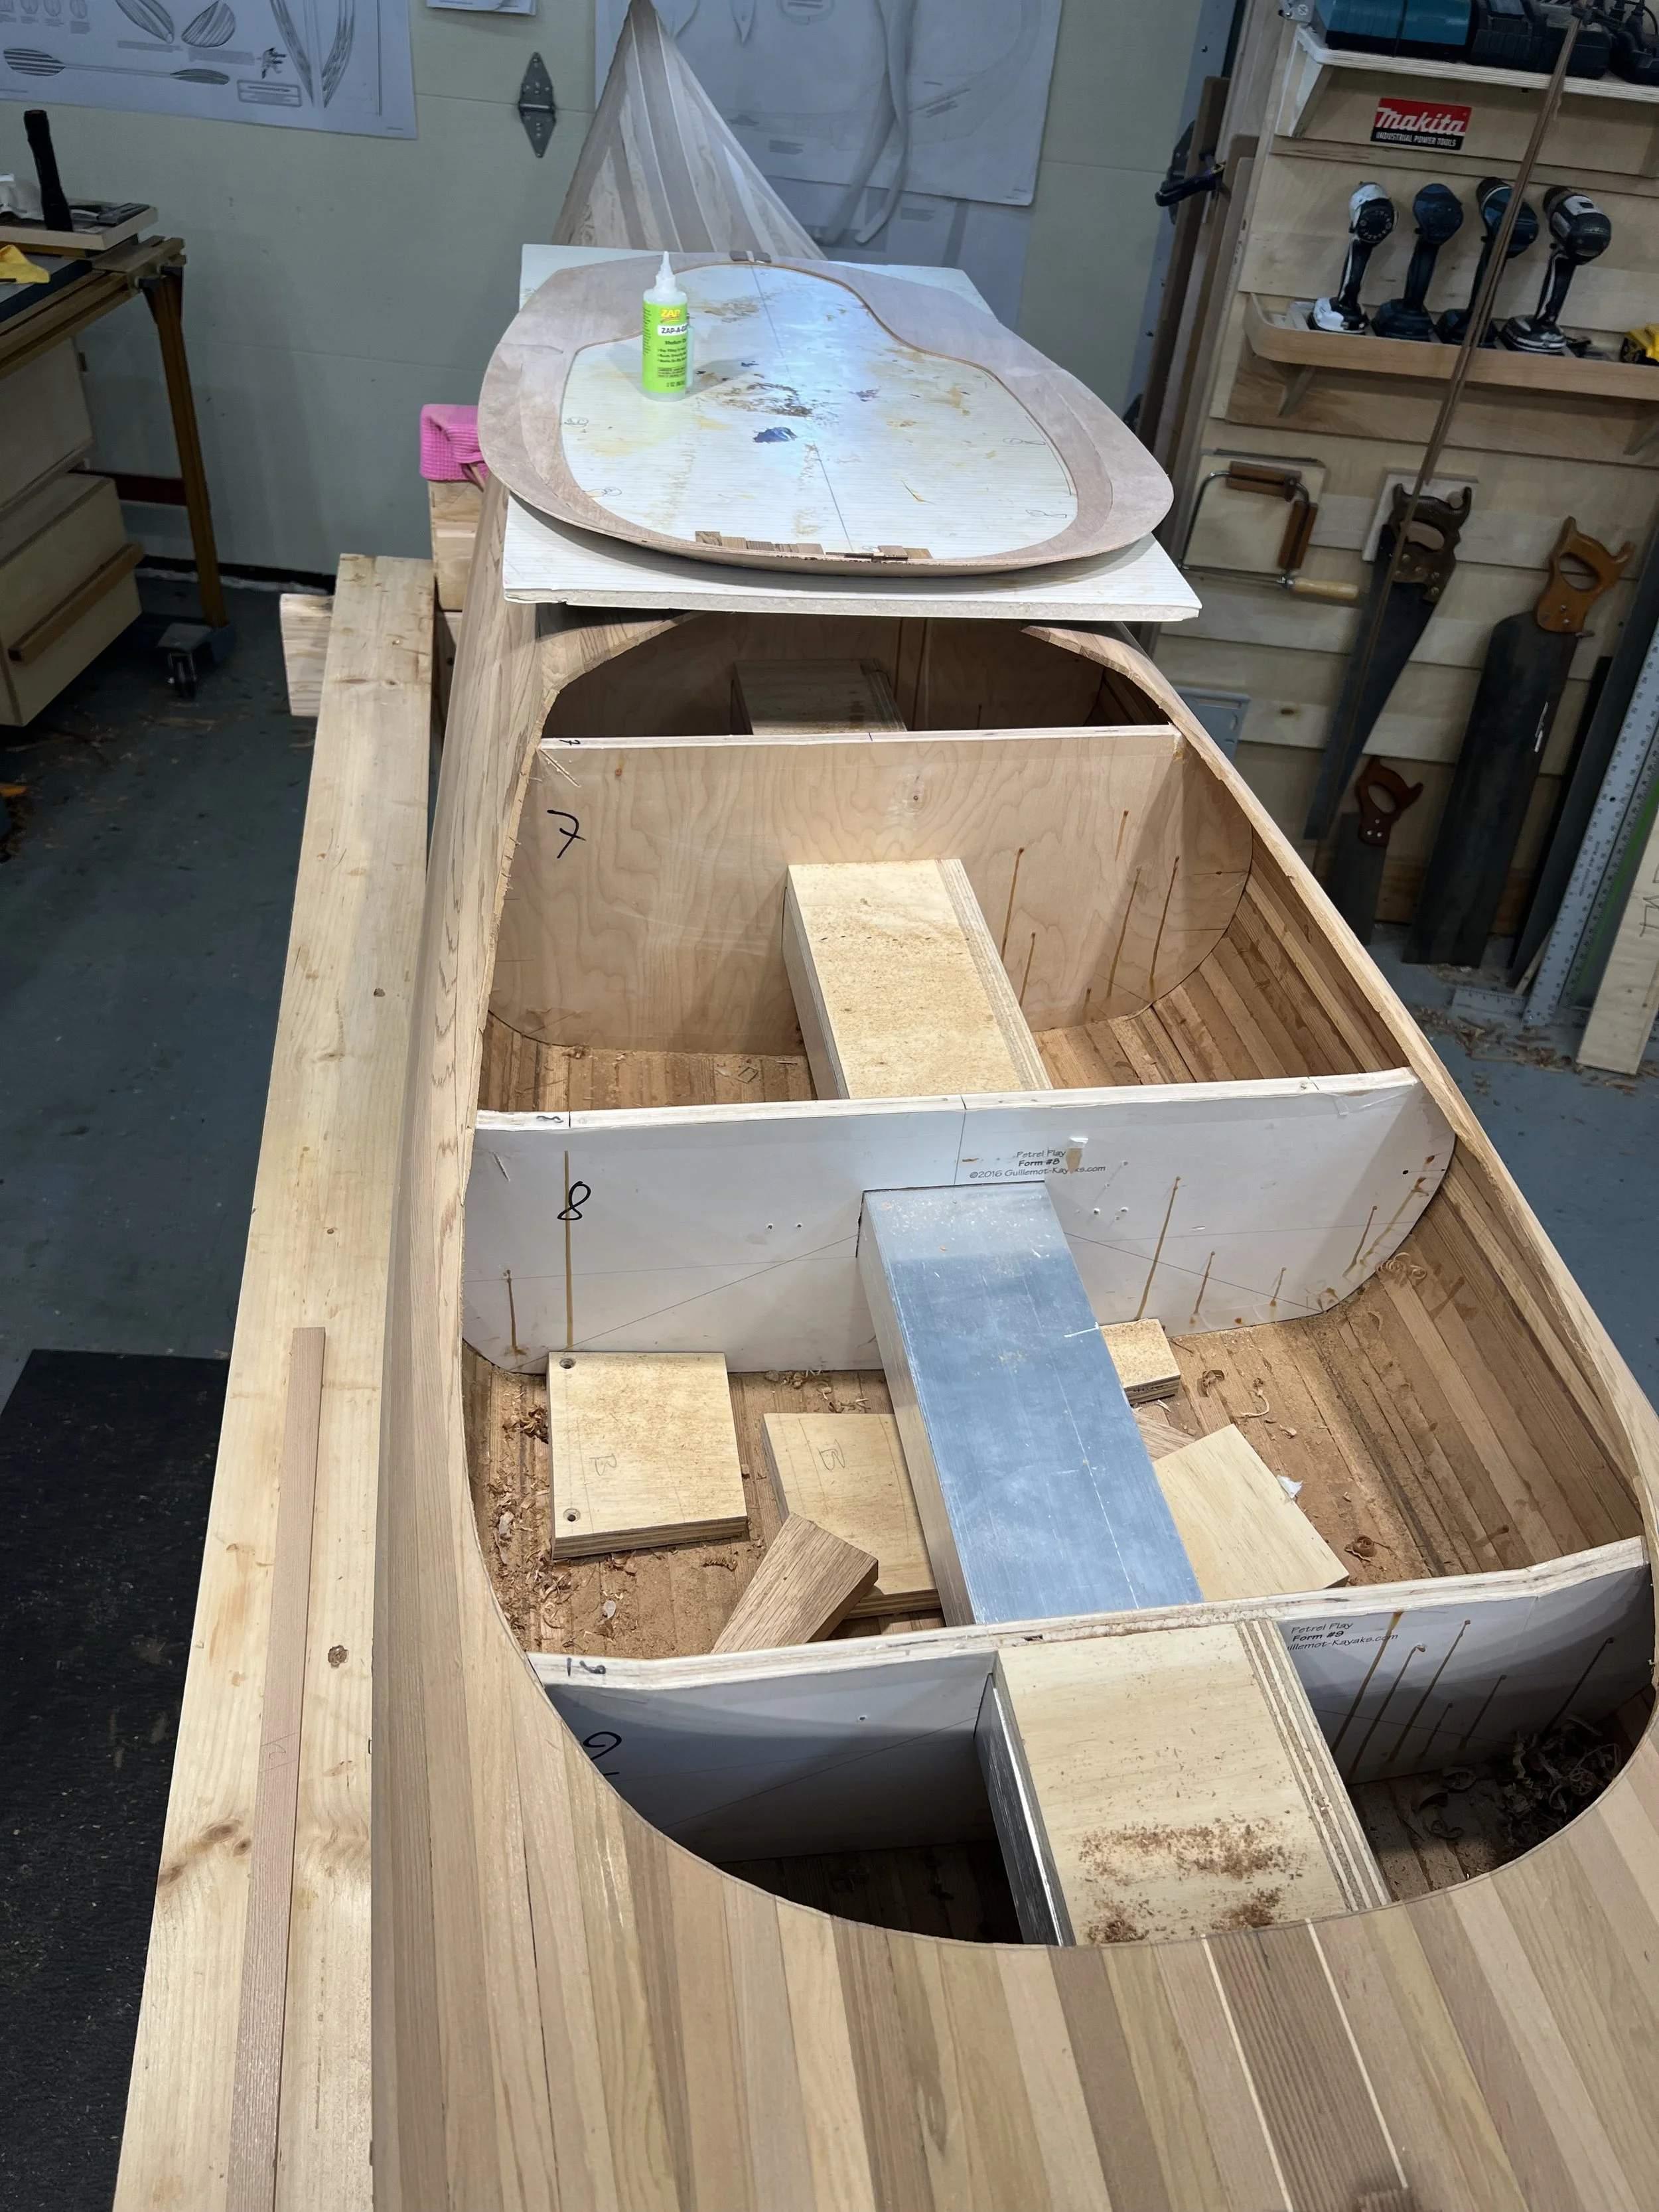
14' Petral Play form with aluminum 2"x4" strong back. Ready for 3/4"x1/4" Western Red Cedar strips.
-
![]()
Forms on the aluminum strongback with 2"x4" saw horse setup with 5/4" x 6" work surface. The hardest strip is first. The 1/2" northern white cedar sheer strip with a top rolling bevel,then 1/4" walnut stip , then 3/4" western red cedar.
-
![]()
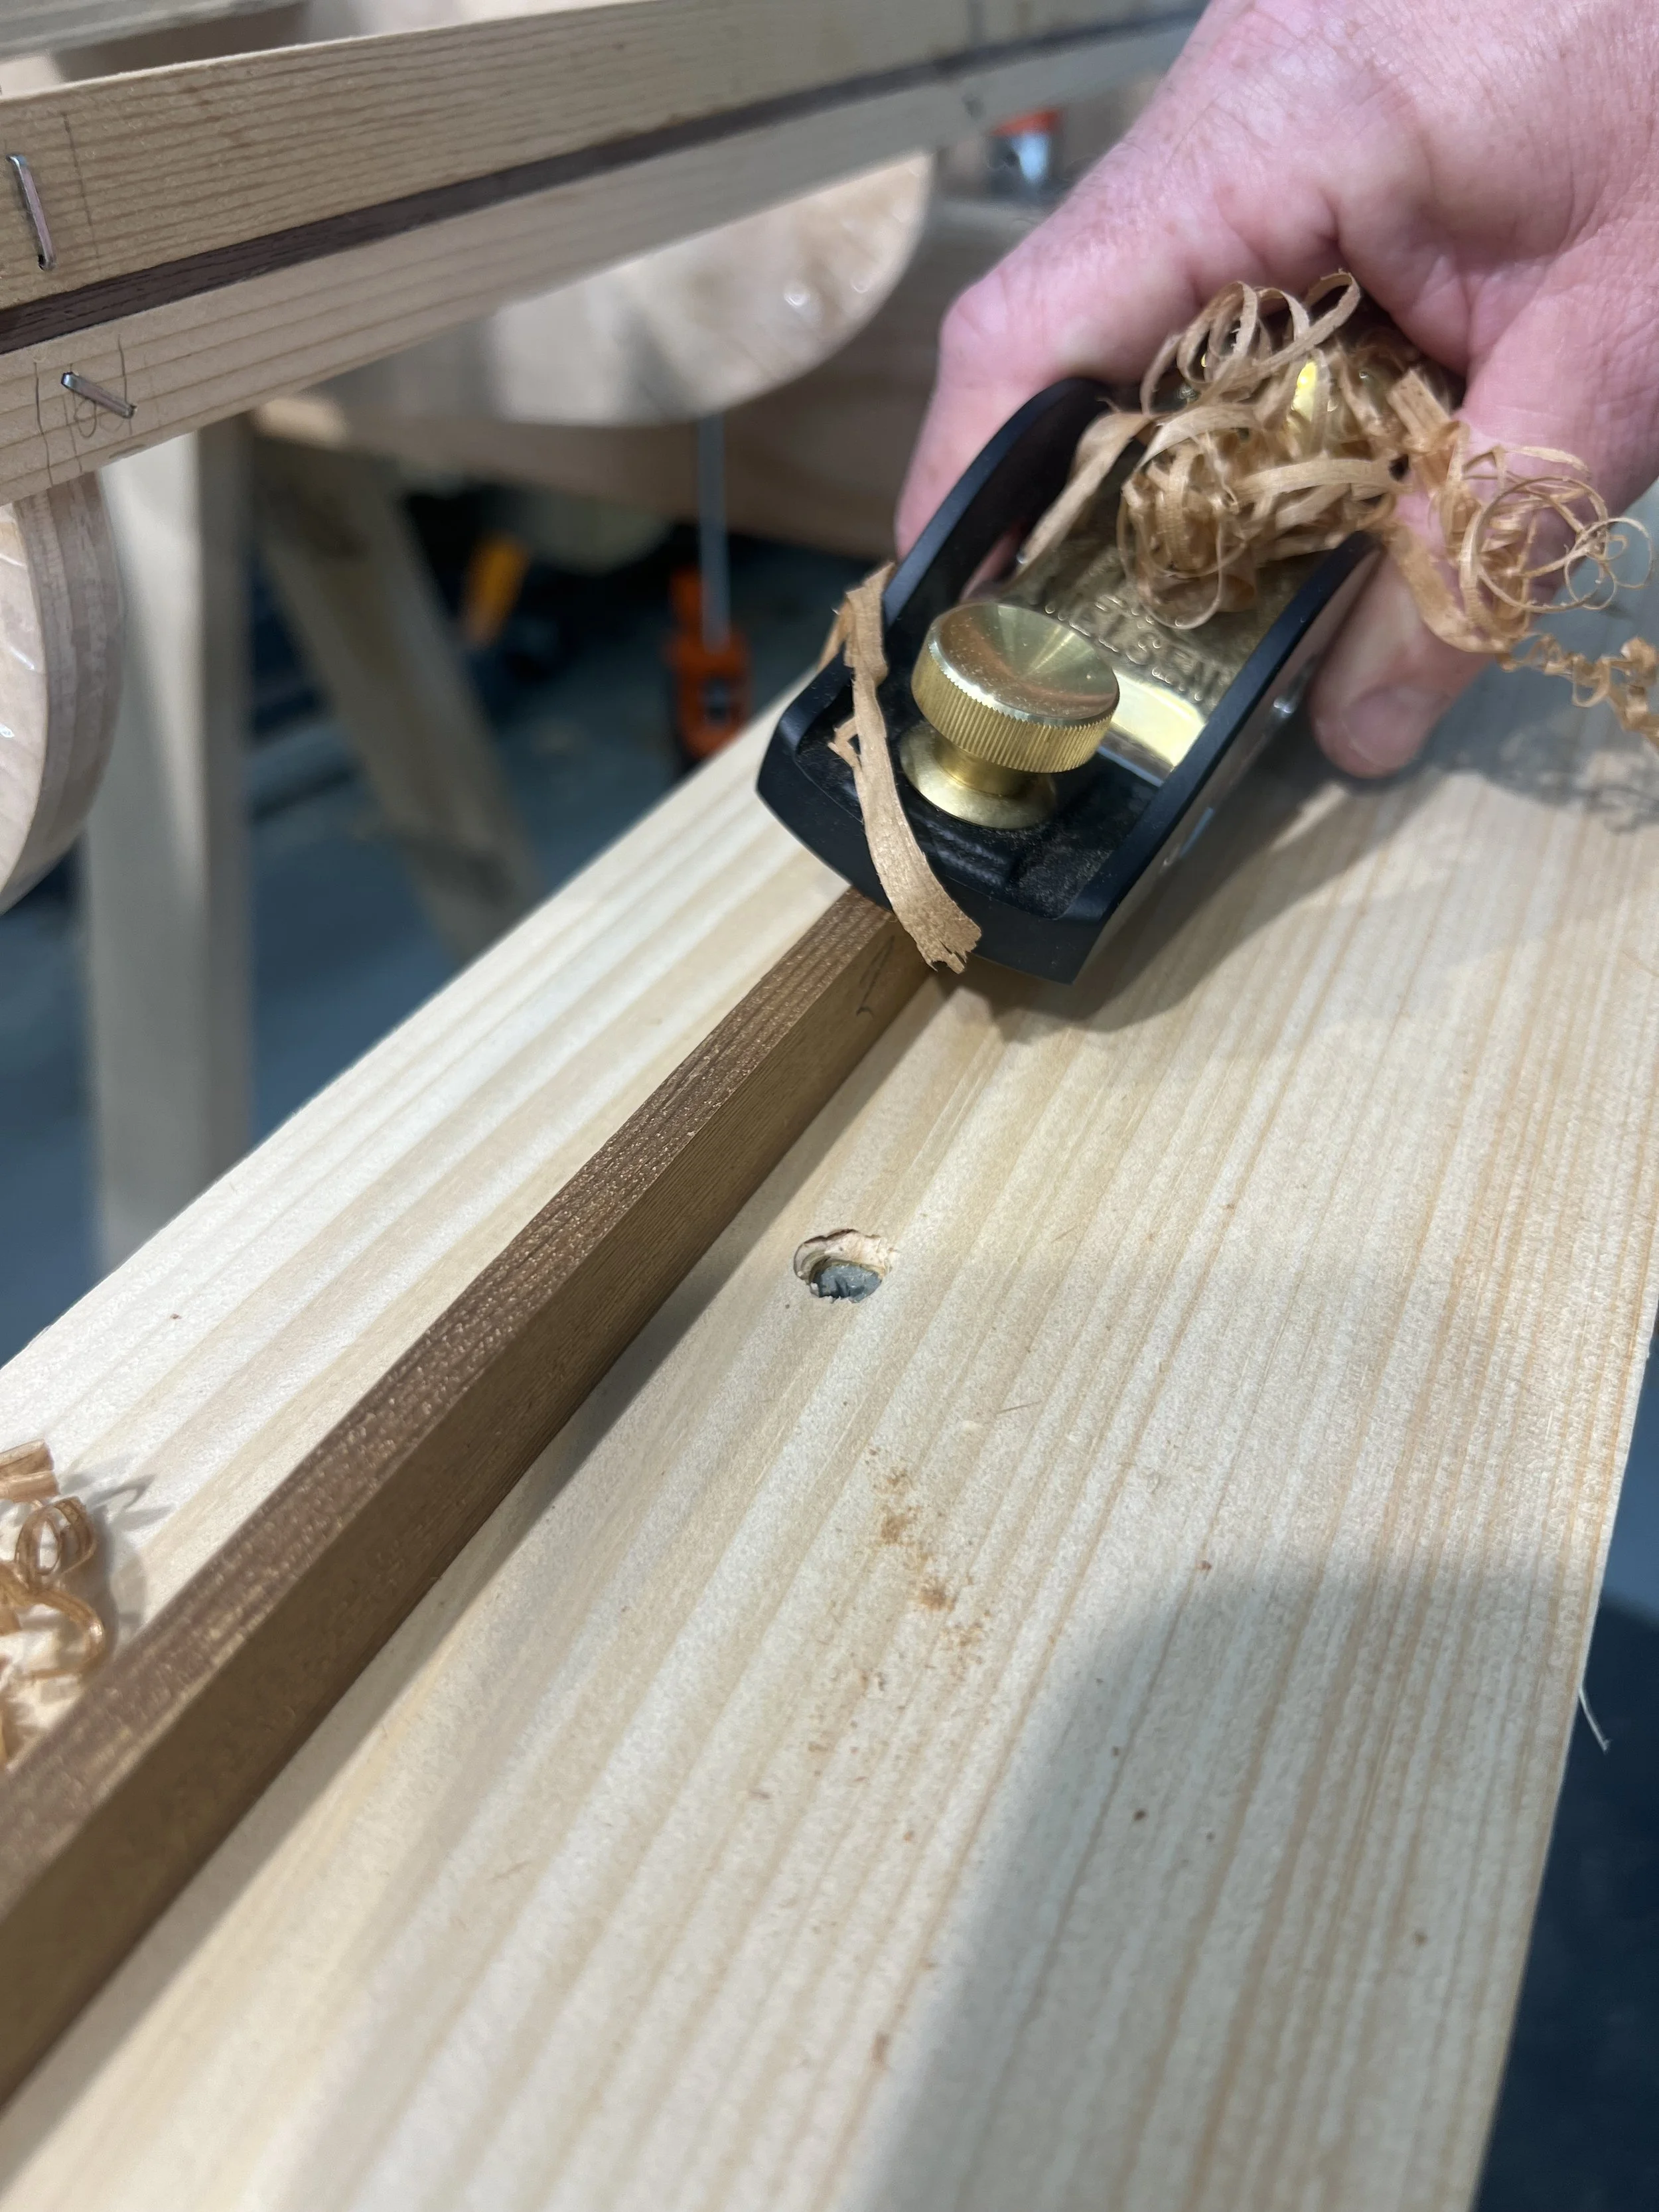
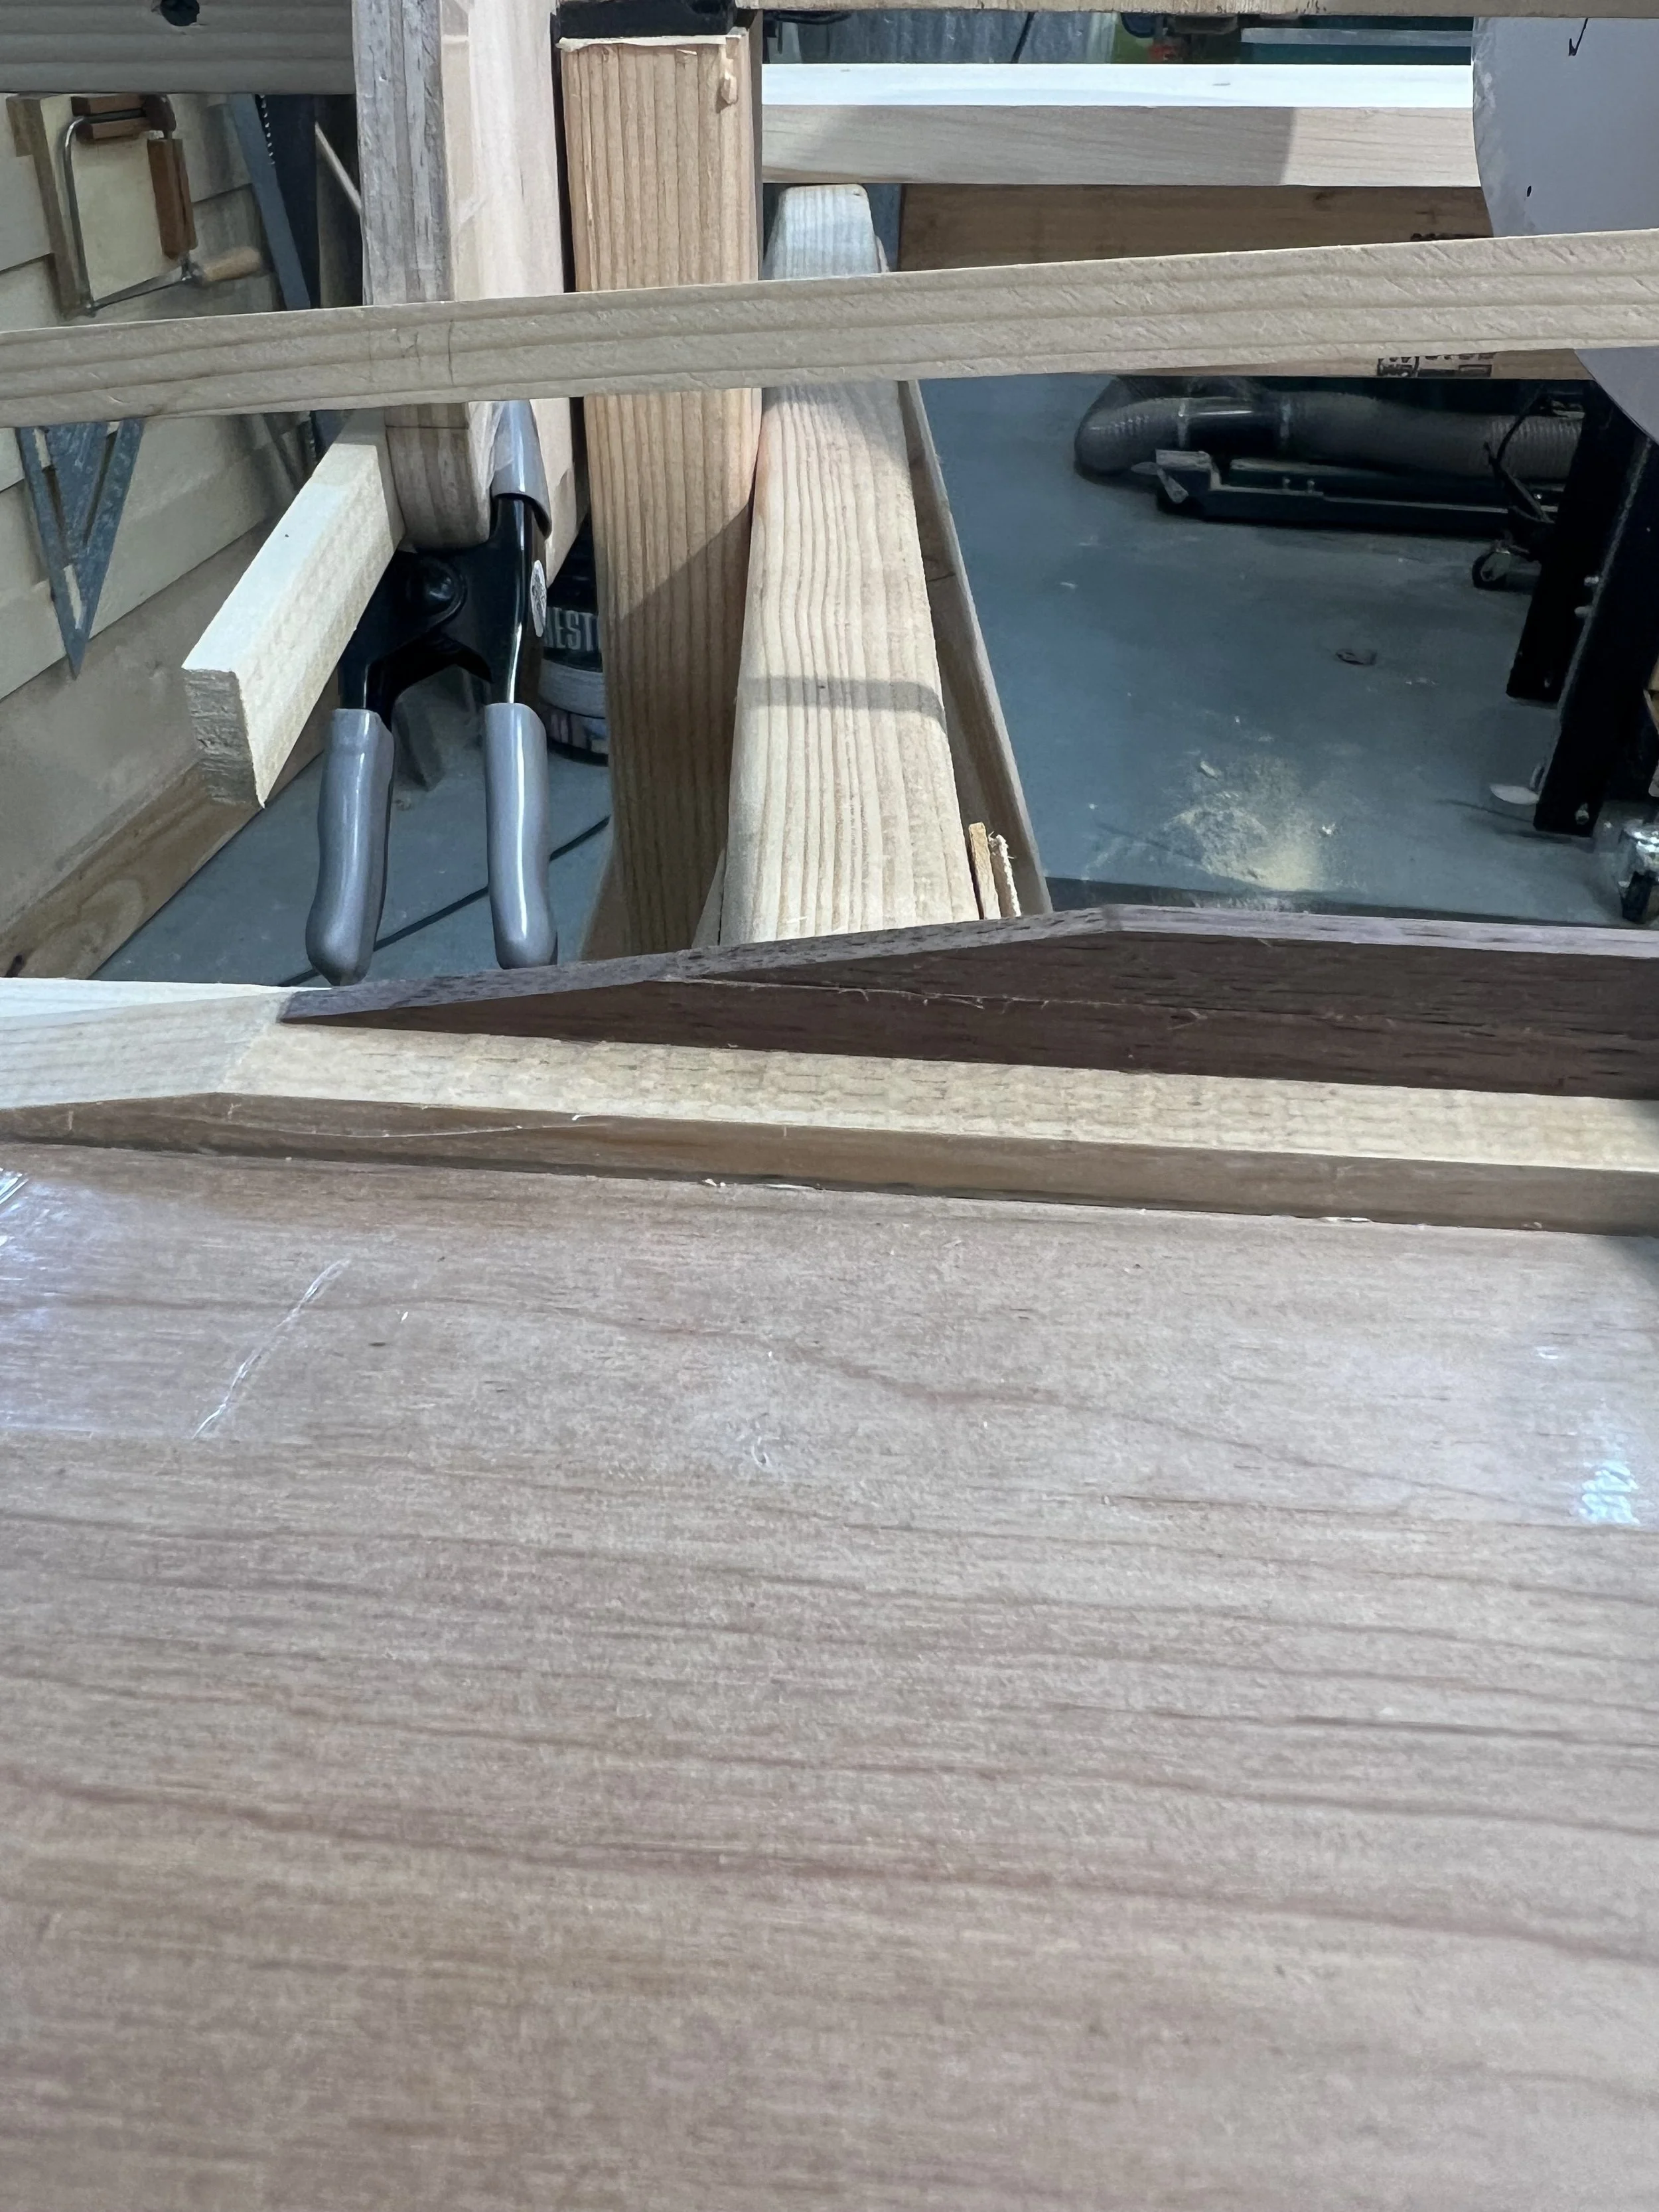
Using a Lie-Nielsen (Made in Maine U.S.A.) #60 1/2 Rabbet Block Plane for small bevel matching the previous strip.
-
![]()
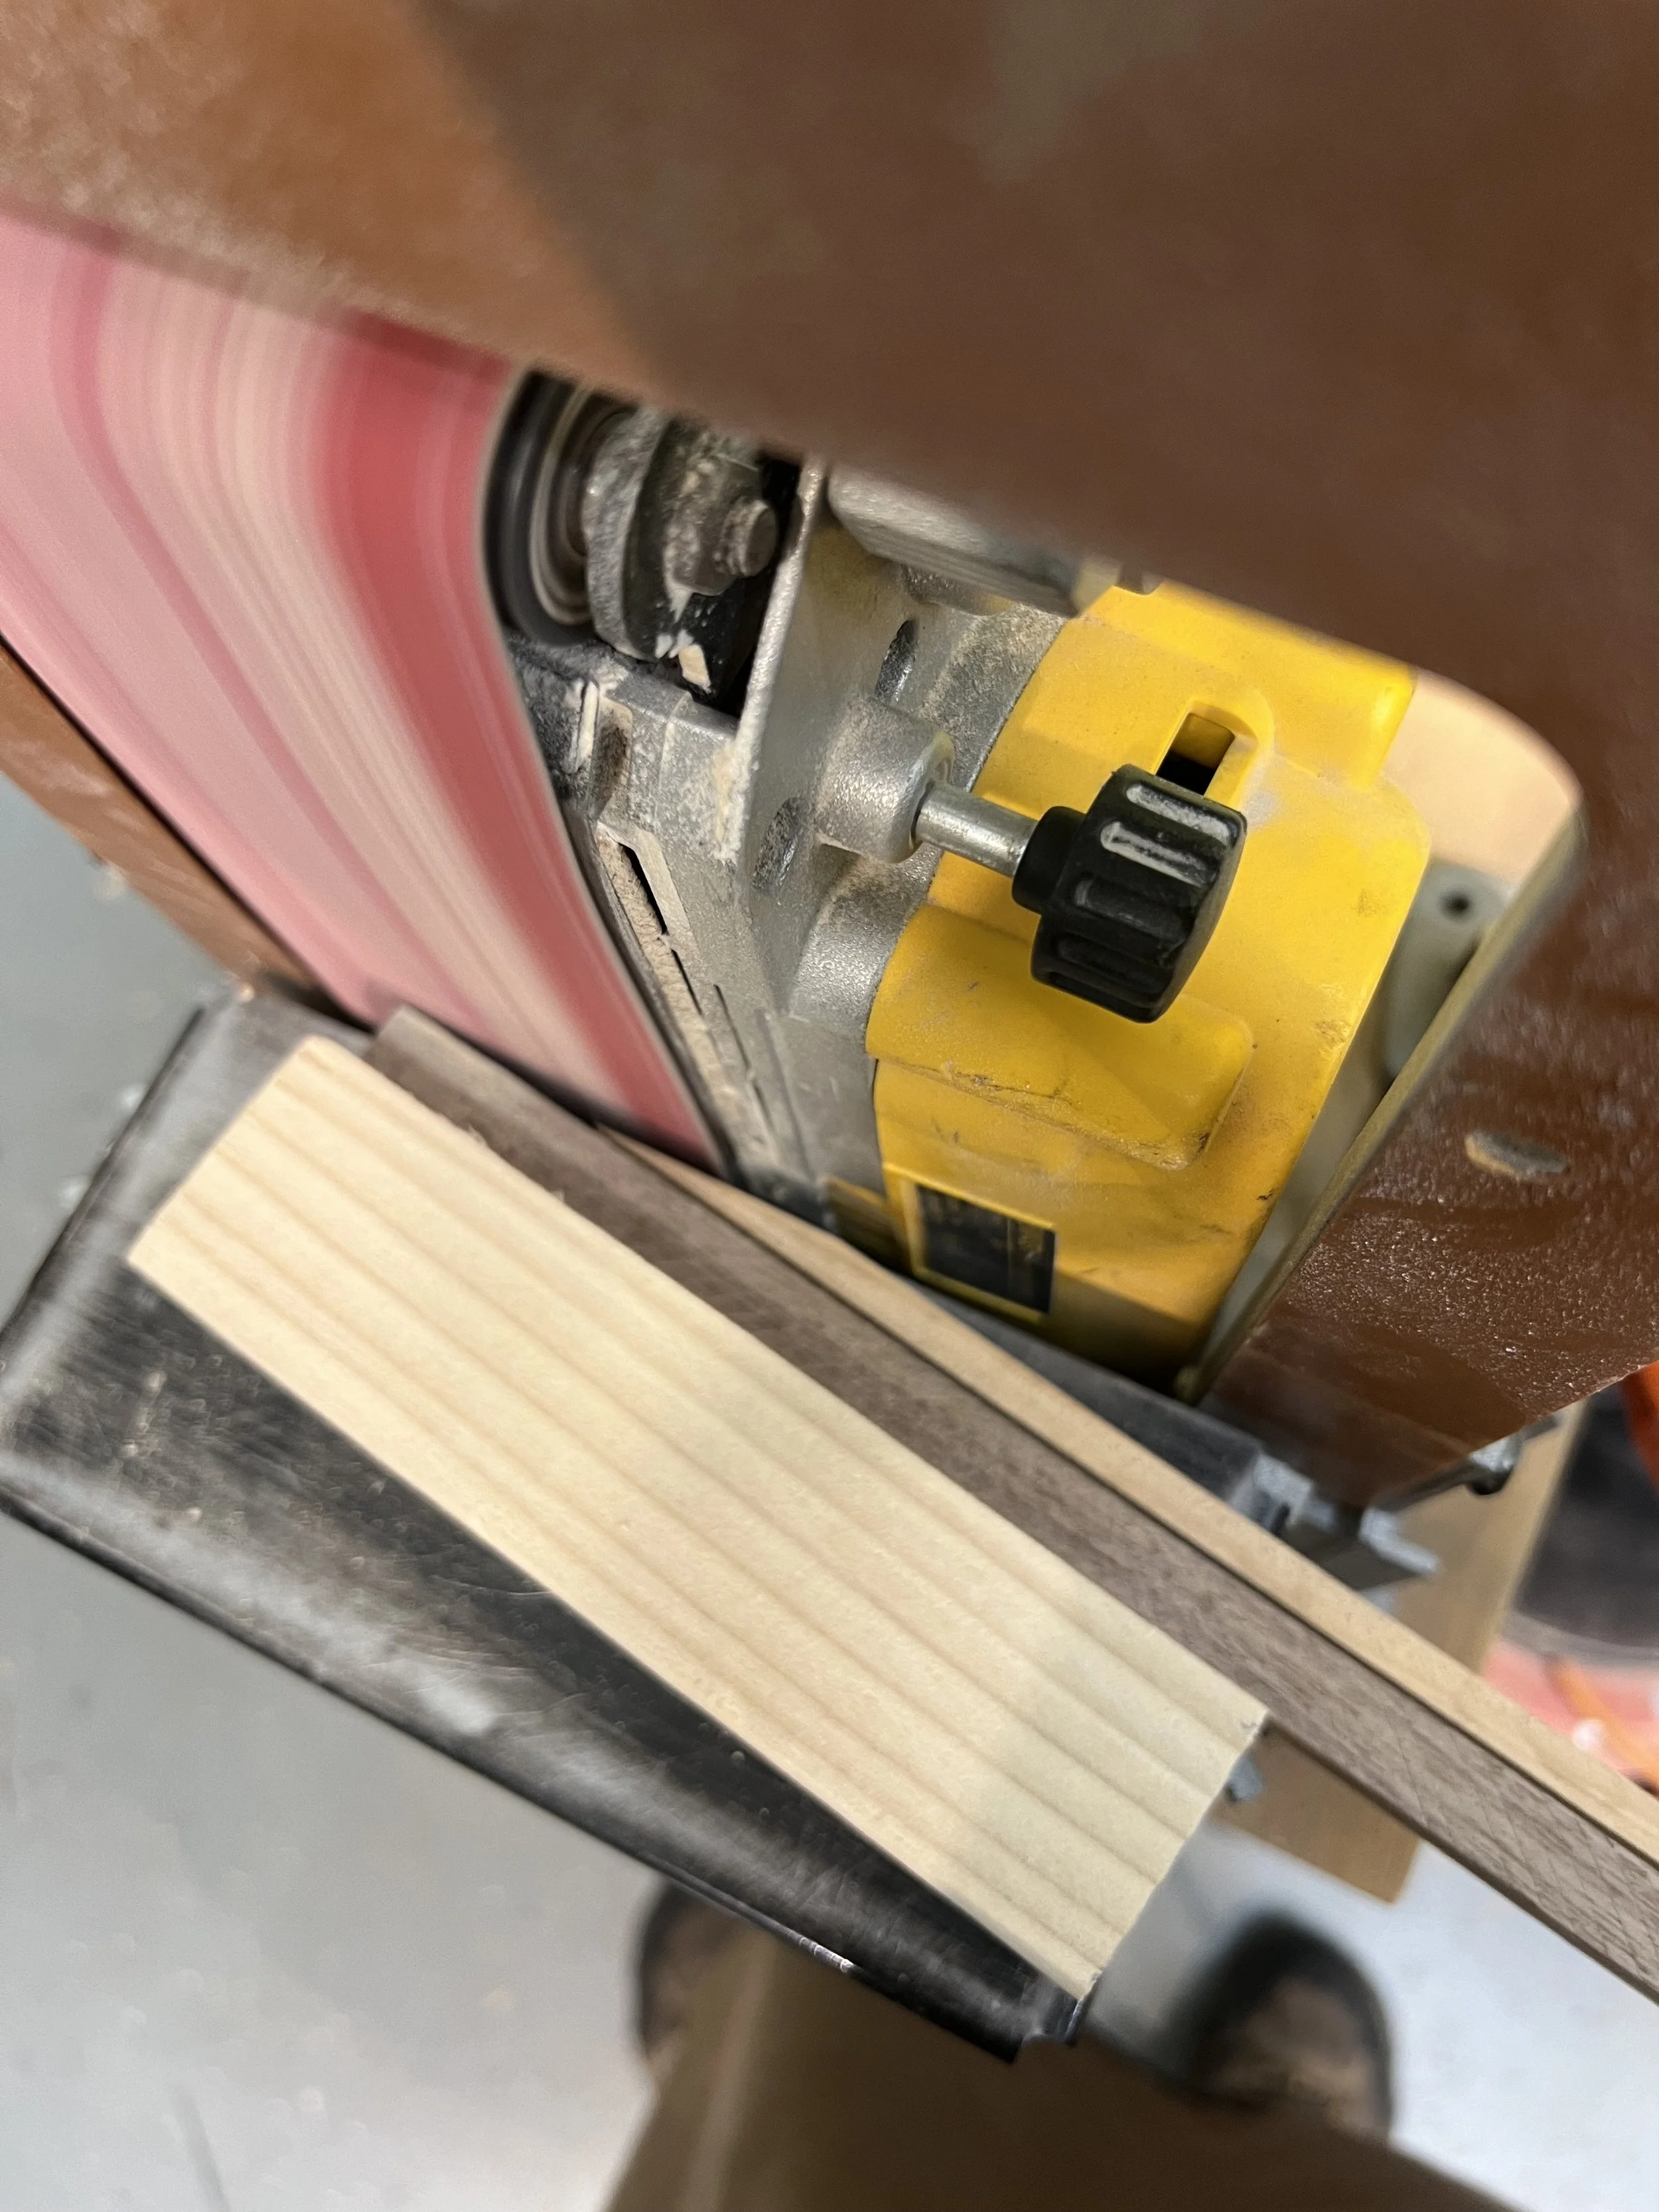
Belt Sander jig for shaping scarf joints. Scrap wood double face taped to work surface.
-
![]()
Hand planed scarf joint setup
-
![]()
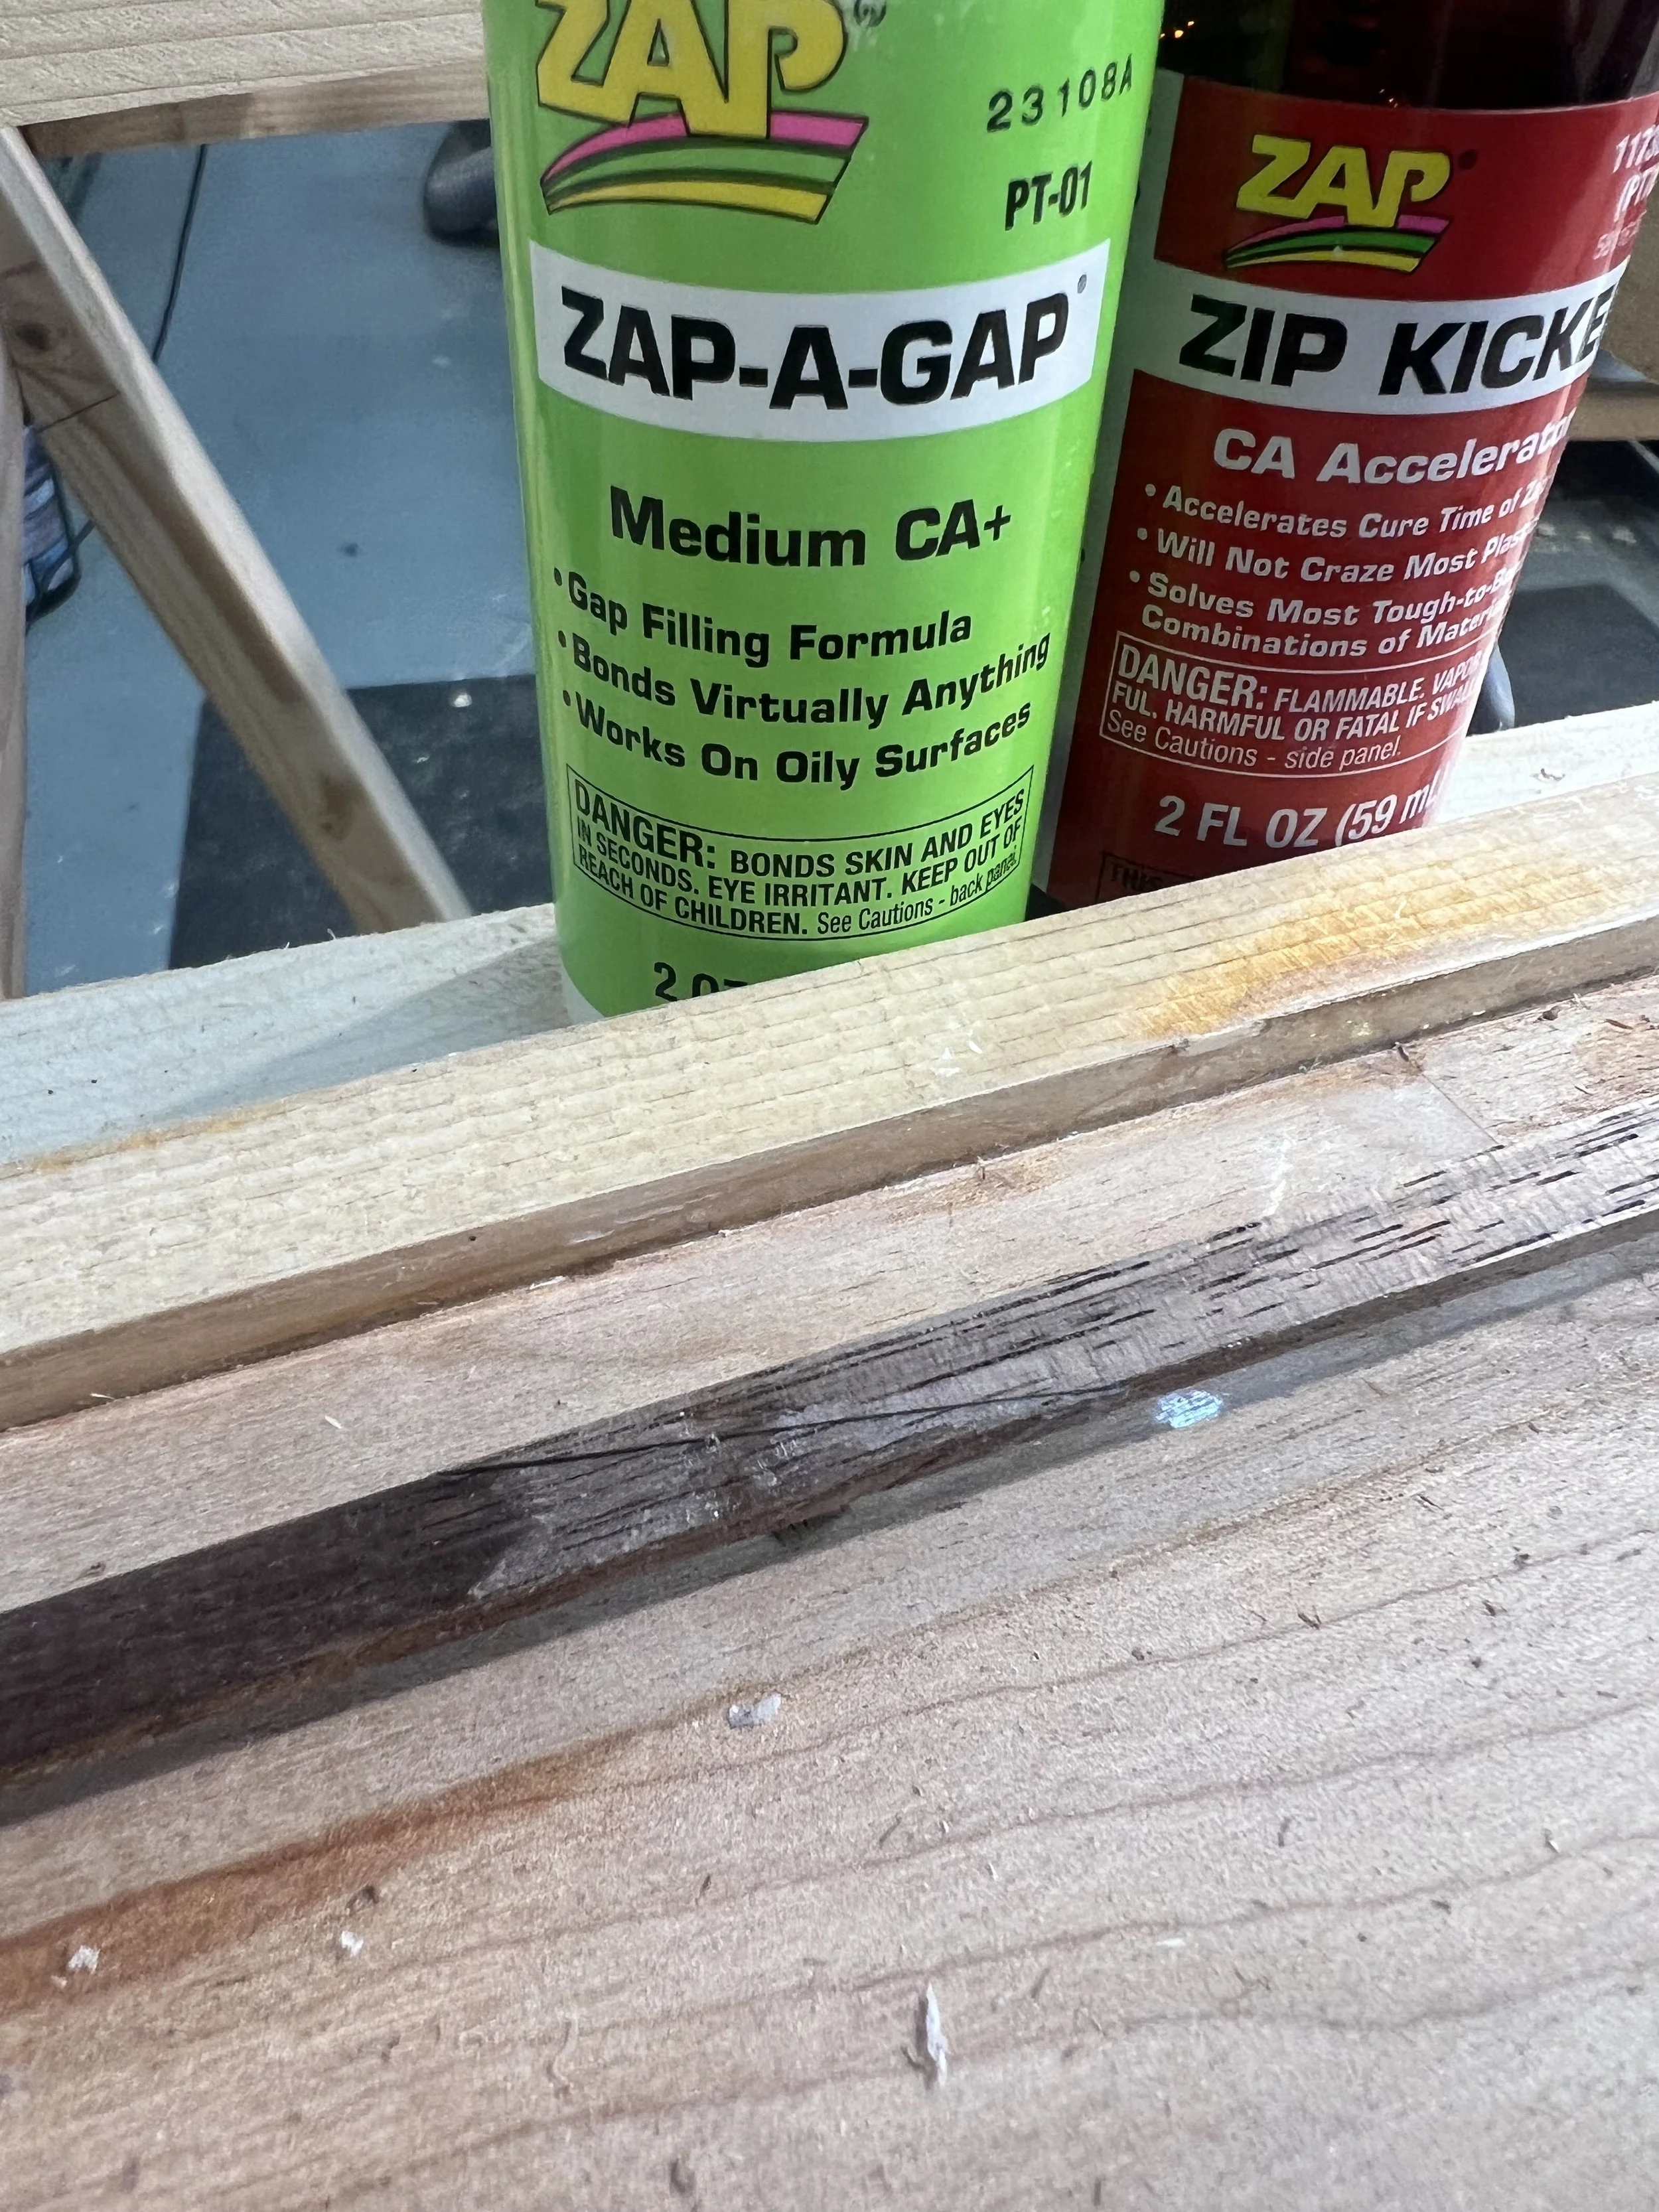
CA glue with CA accelerator for quick strong scarf joint.
-
![]()
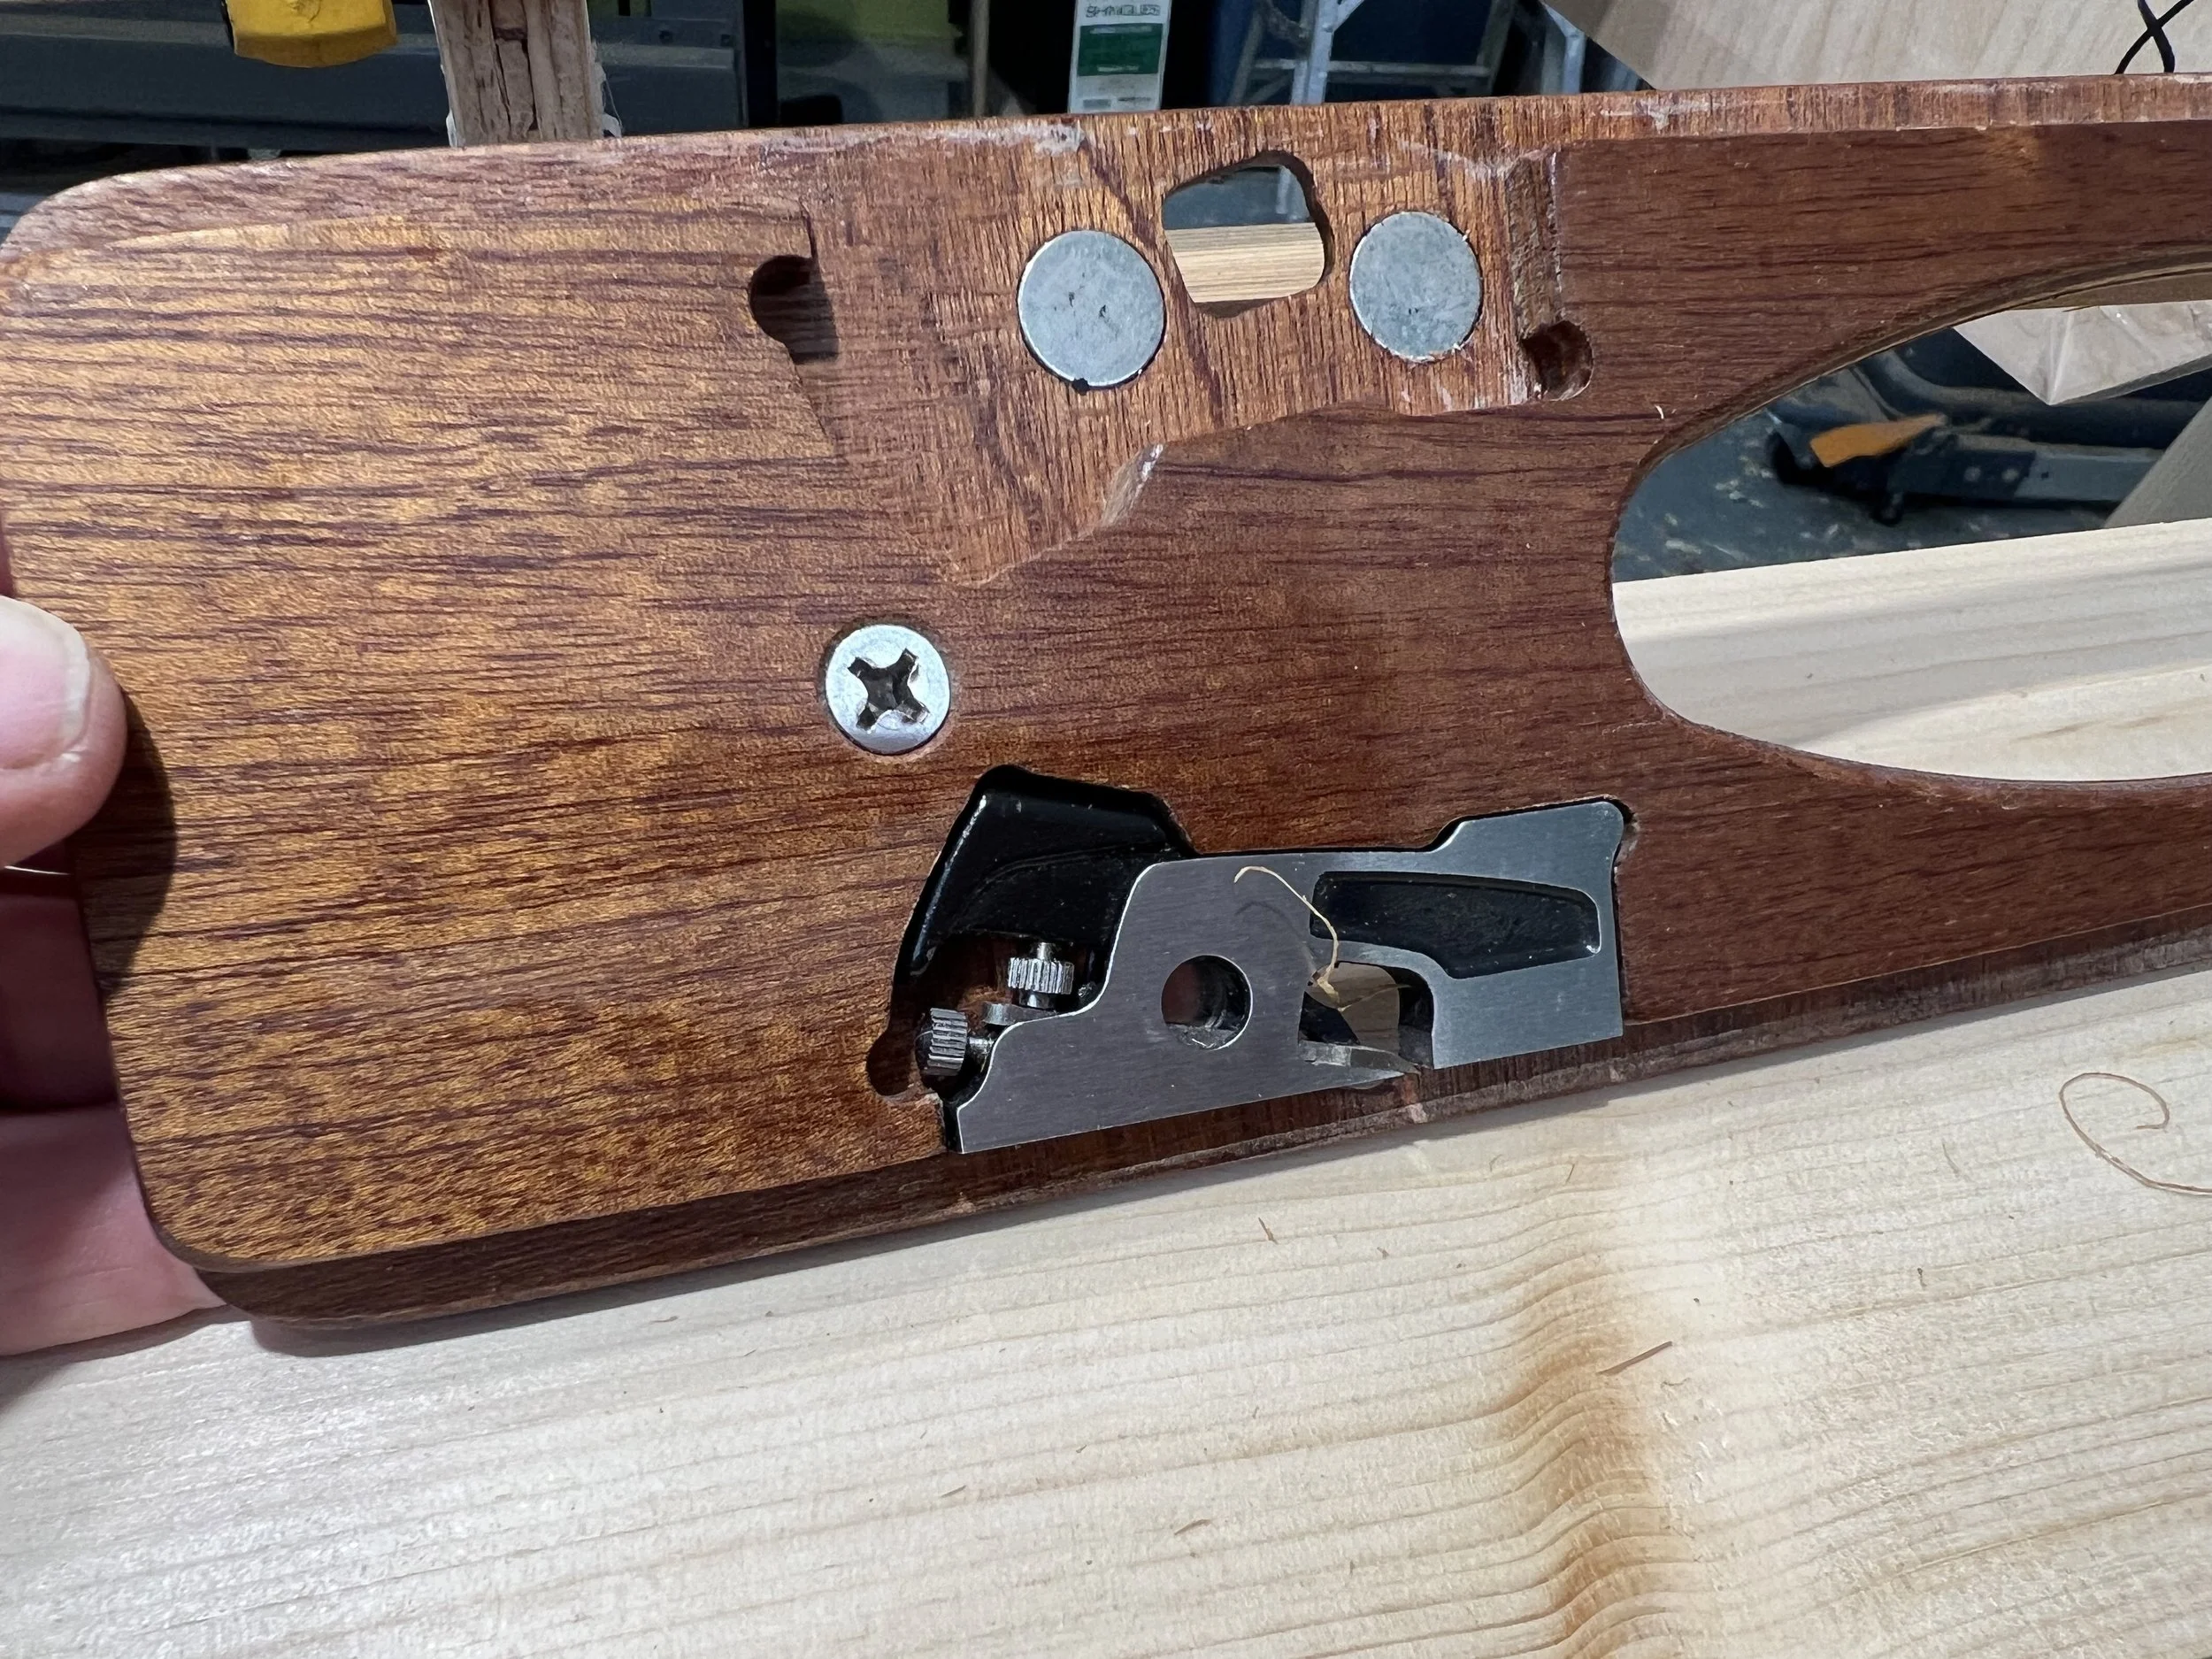
Nick Shade's Robo-Bevel tool for beveling strips. (without cove and bead) Robo-Bevel uses a Veritas Miniature Shoulder Plane. Magnetic holder for planing in both directions depending on the grain.
-
![]()
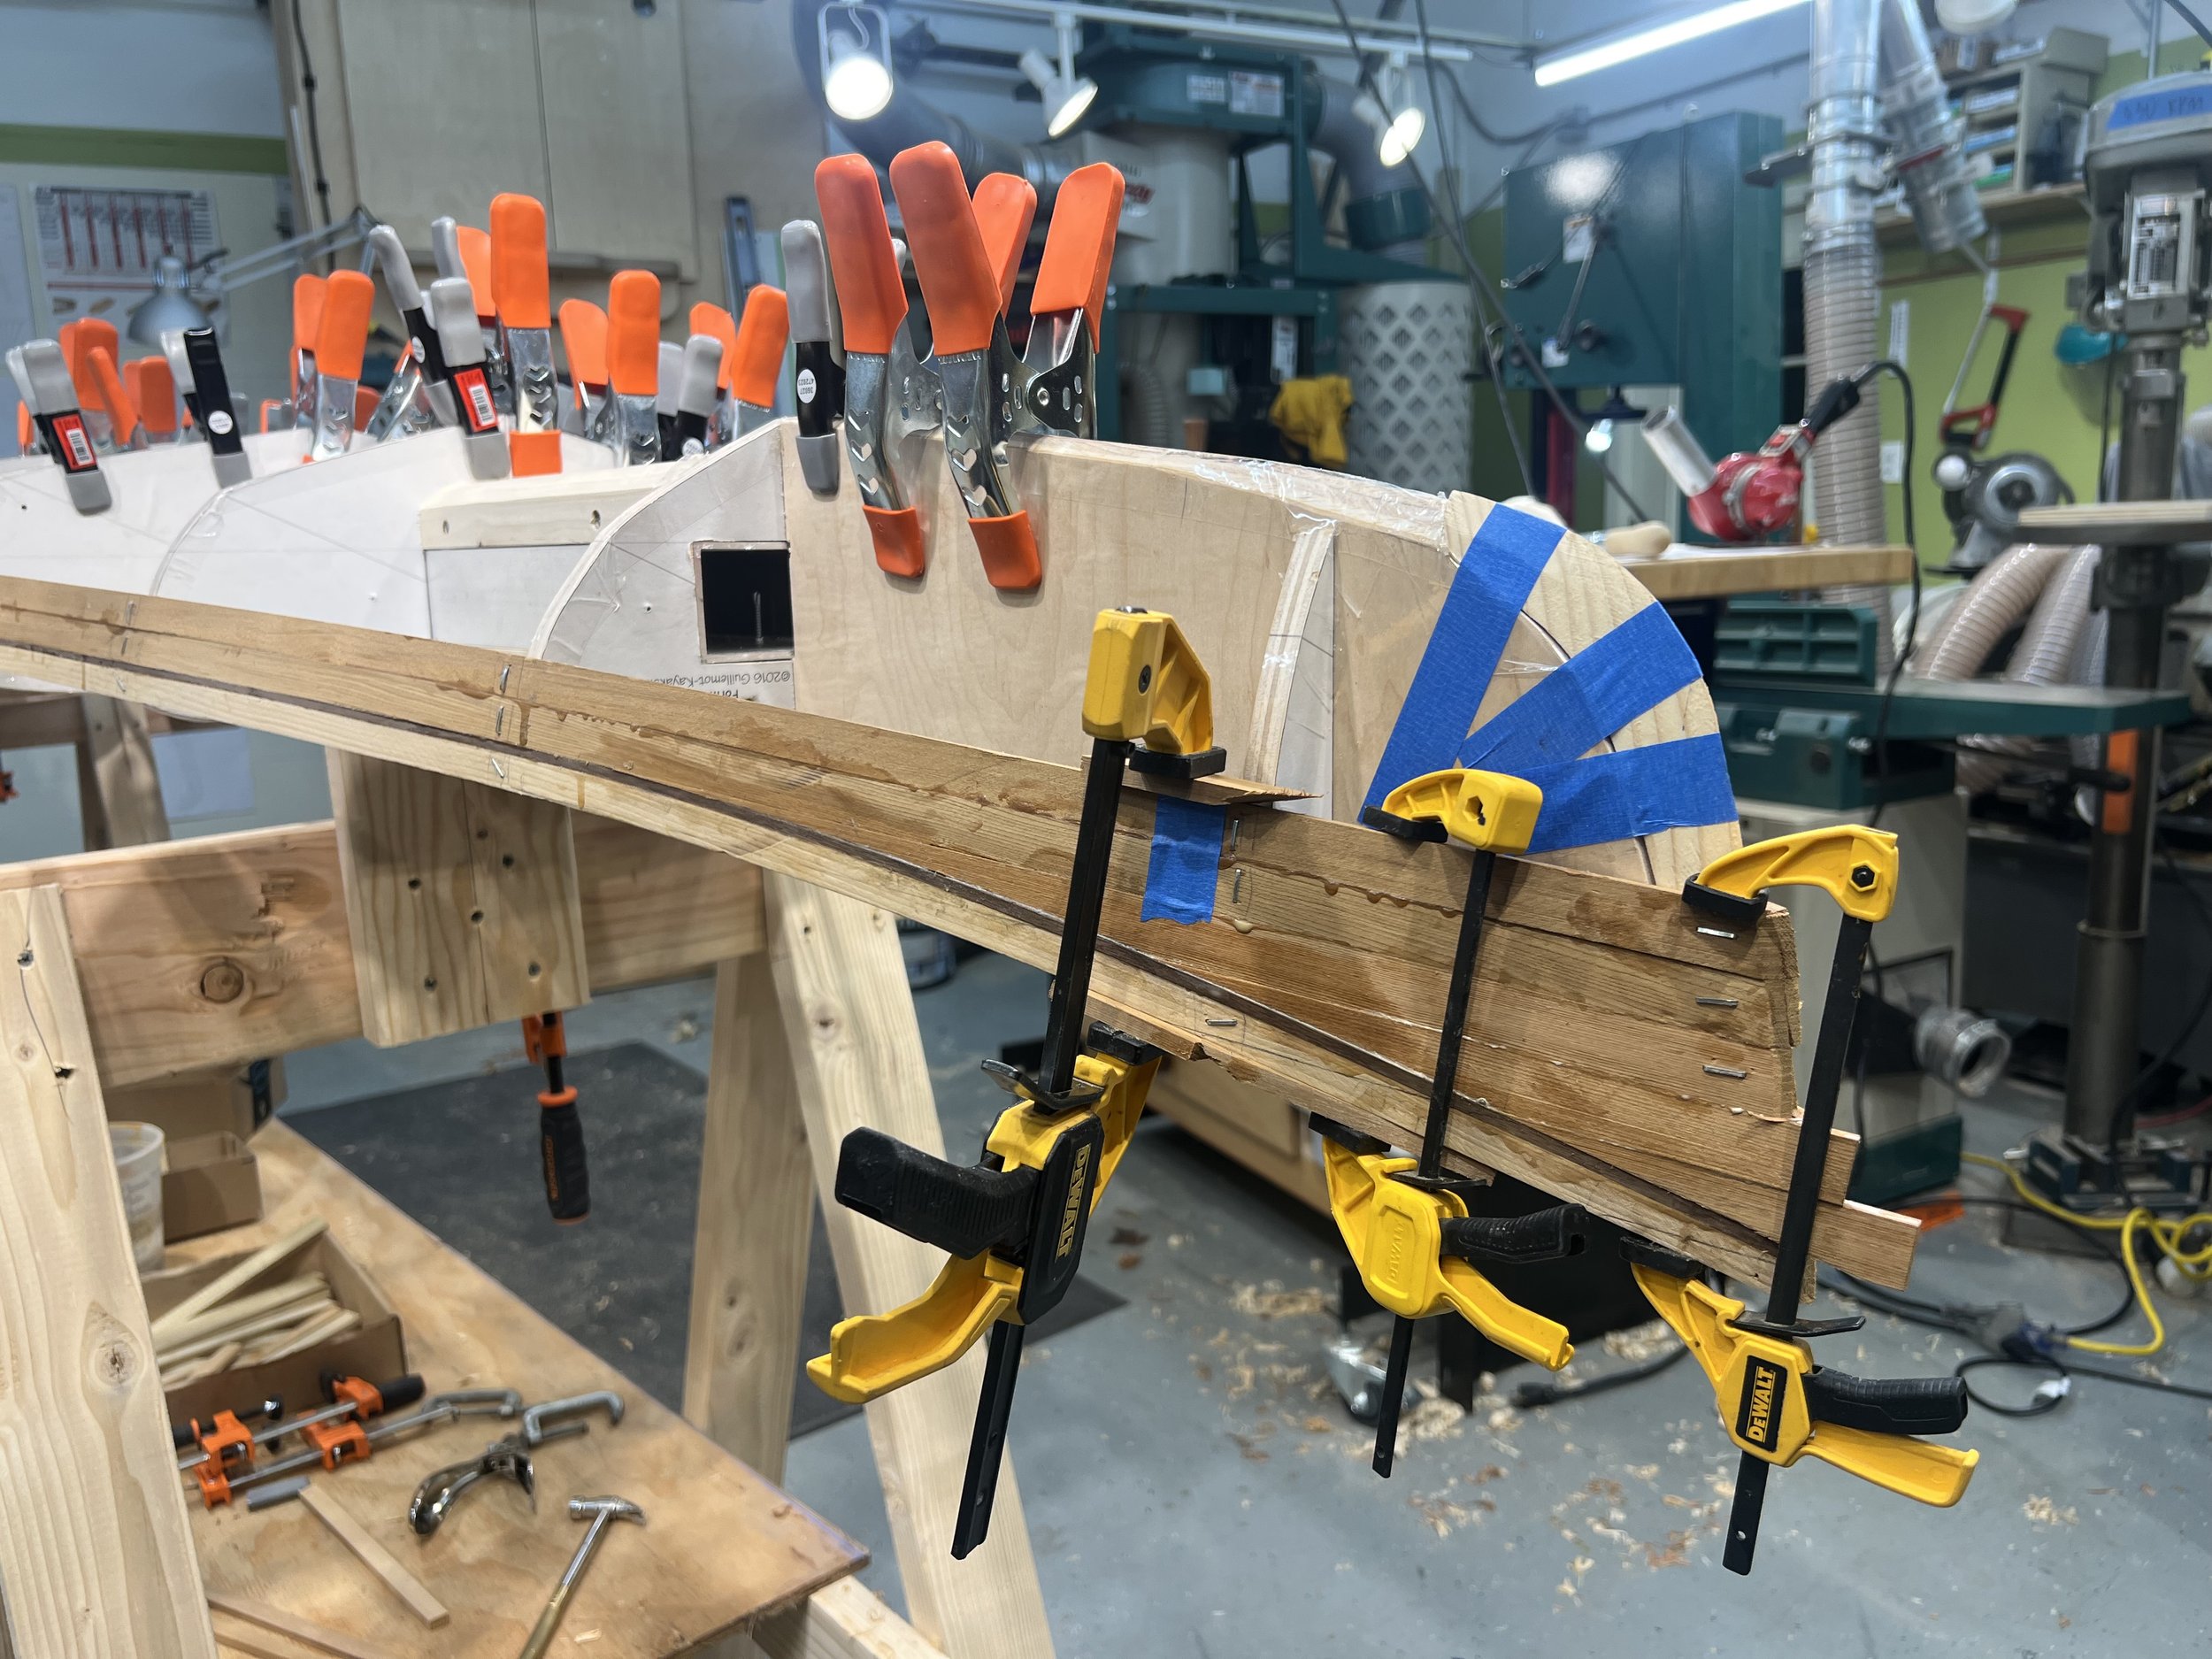
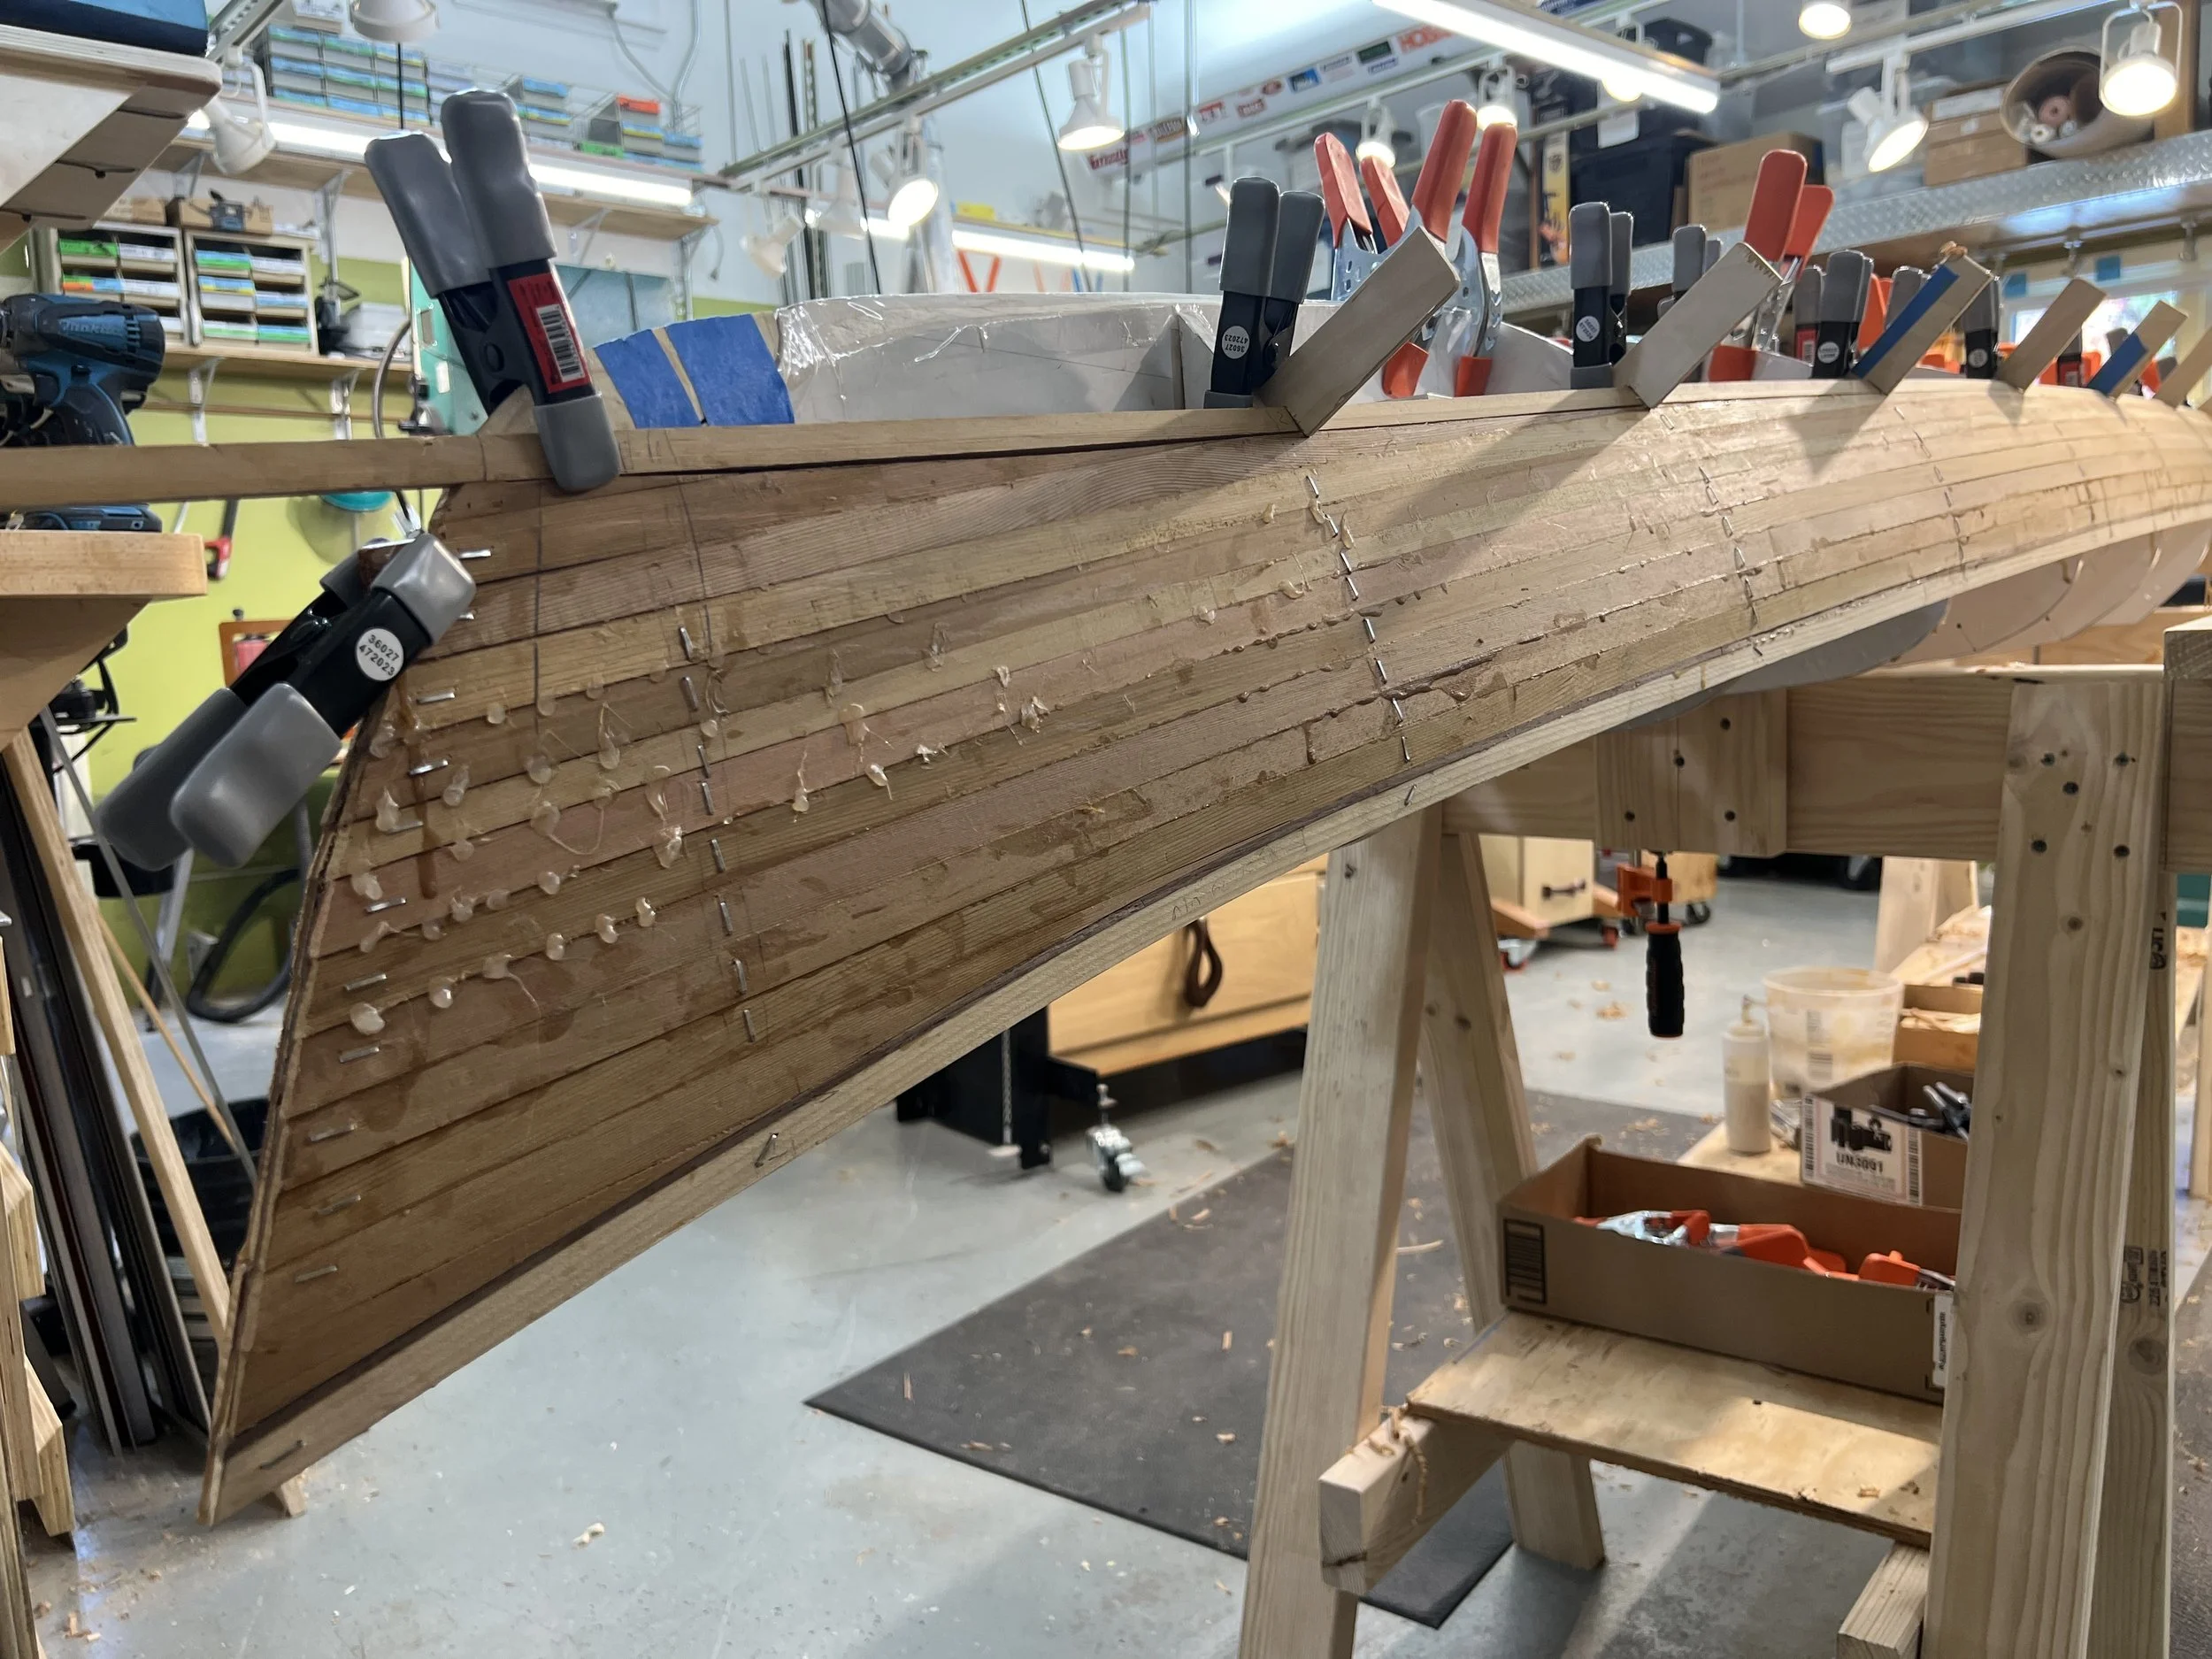
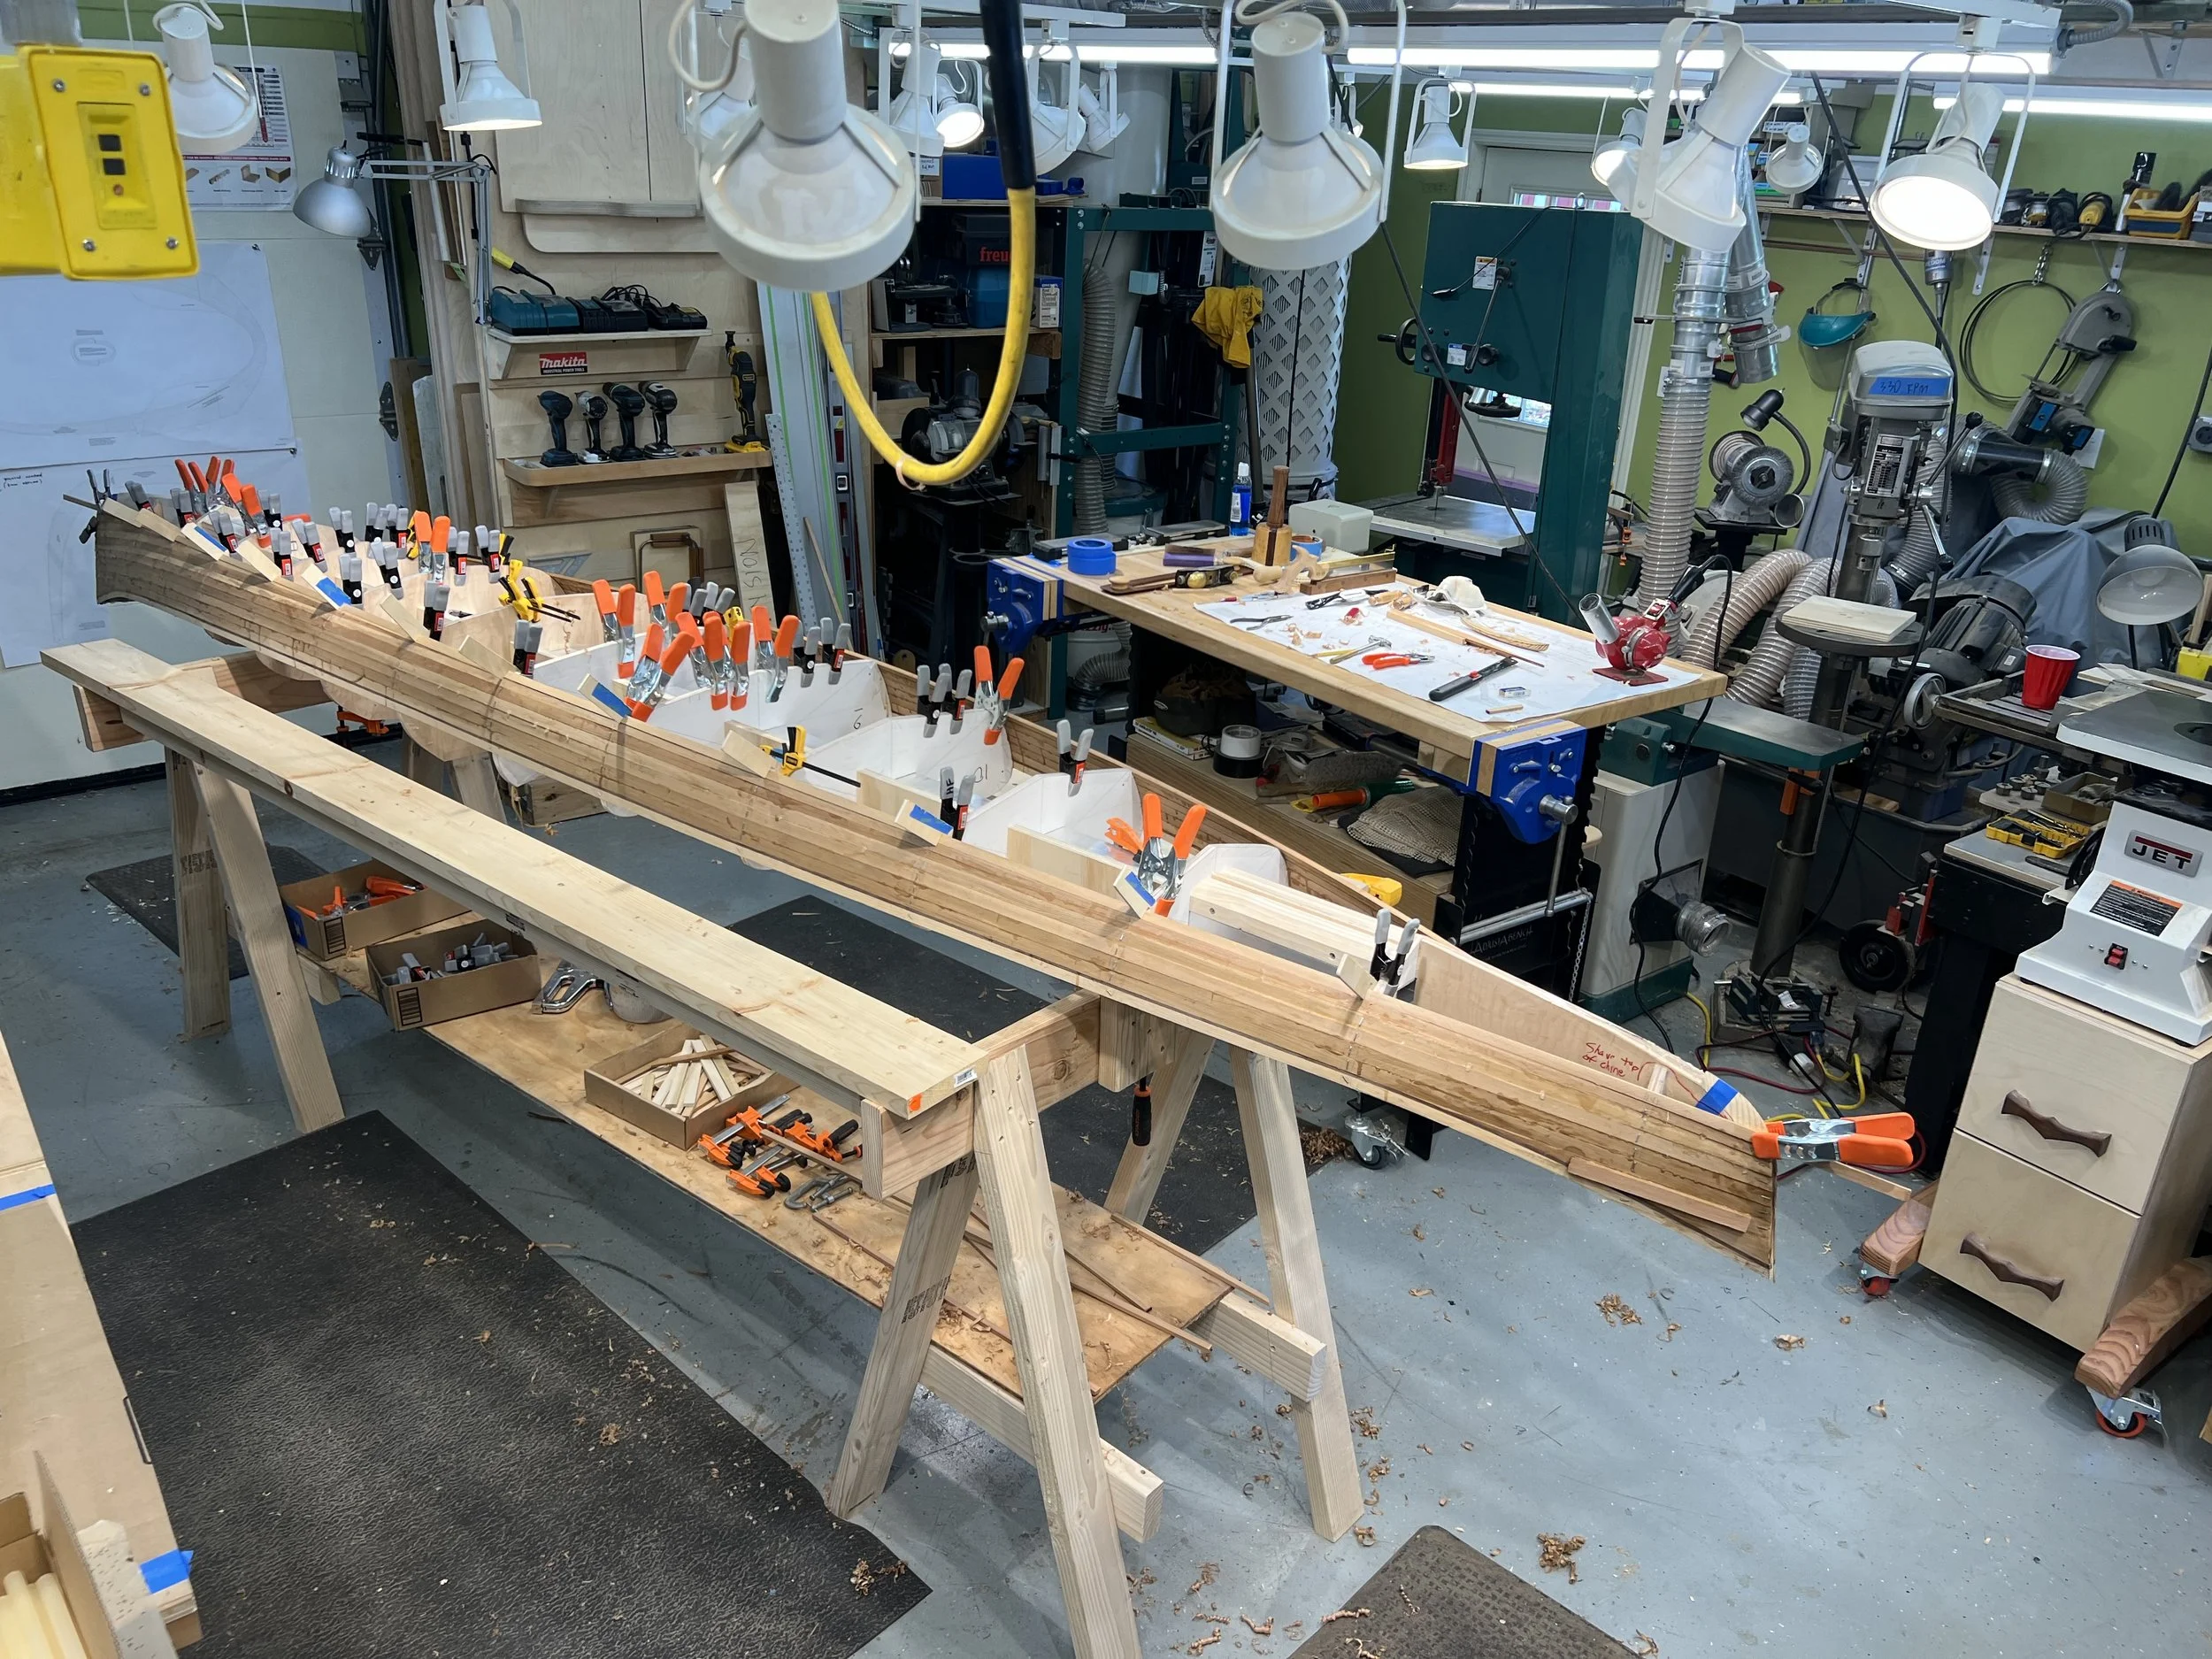
Closeup of Bow. Strips run mostly parallel to sheerstrip which accentuates curves of kayak. Hotglue and staples act as temporary clamps until glue sets.
-
![]()
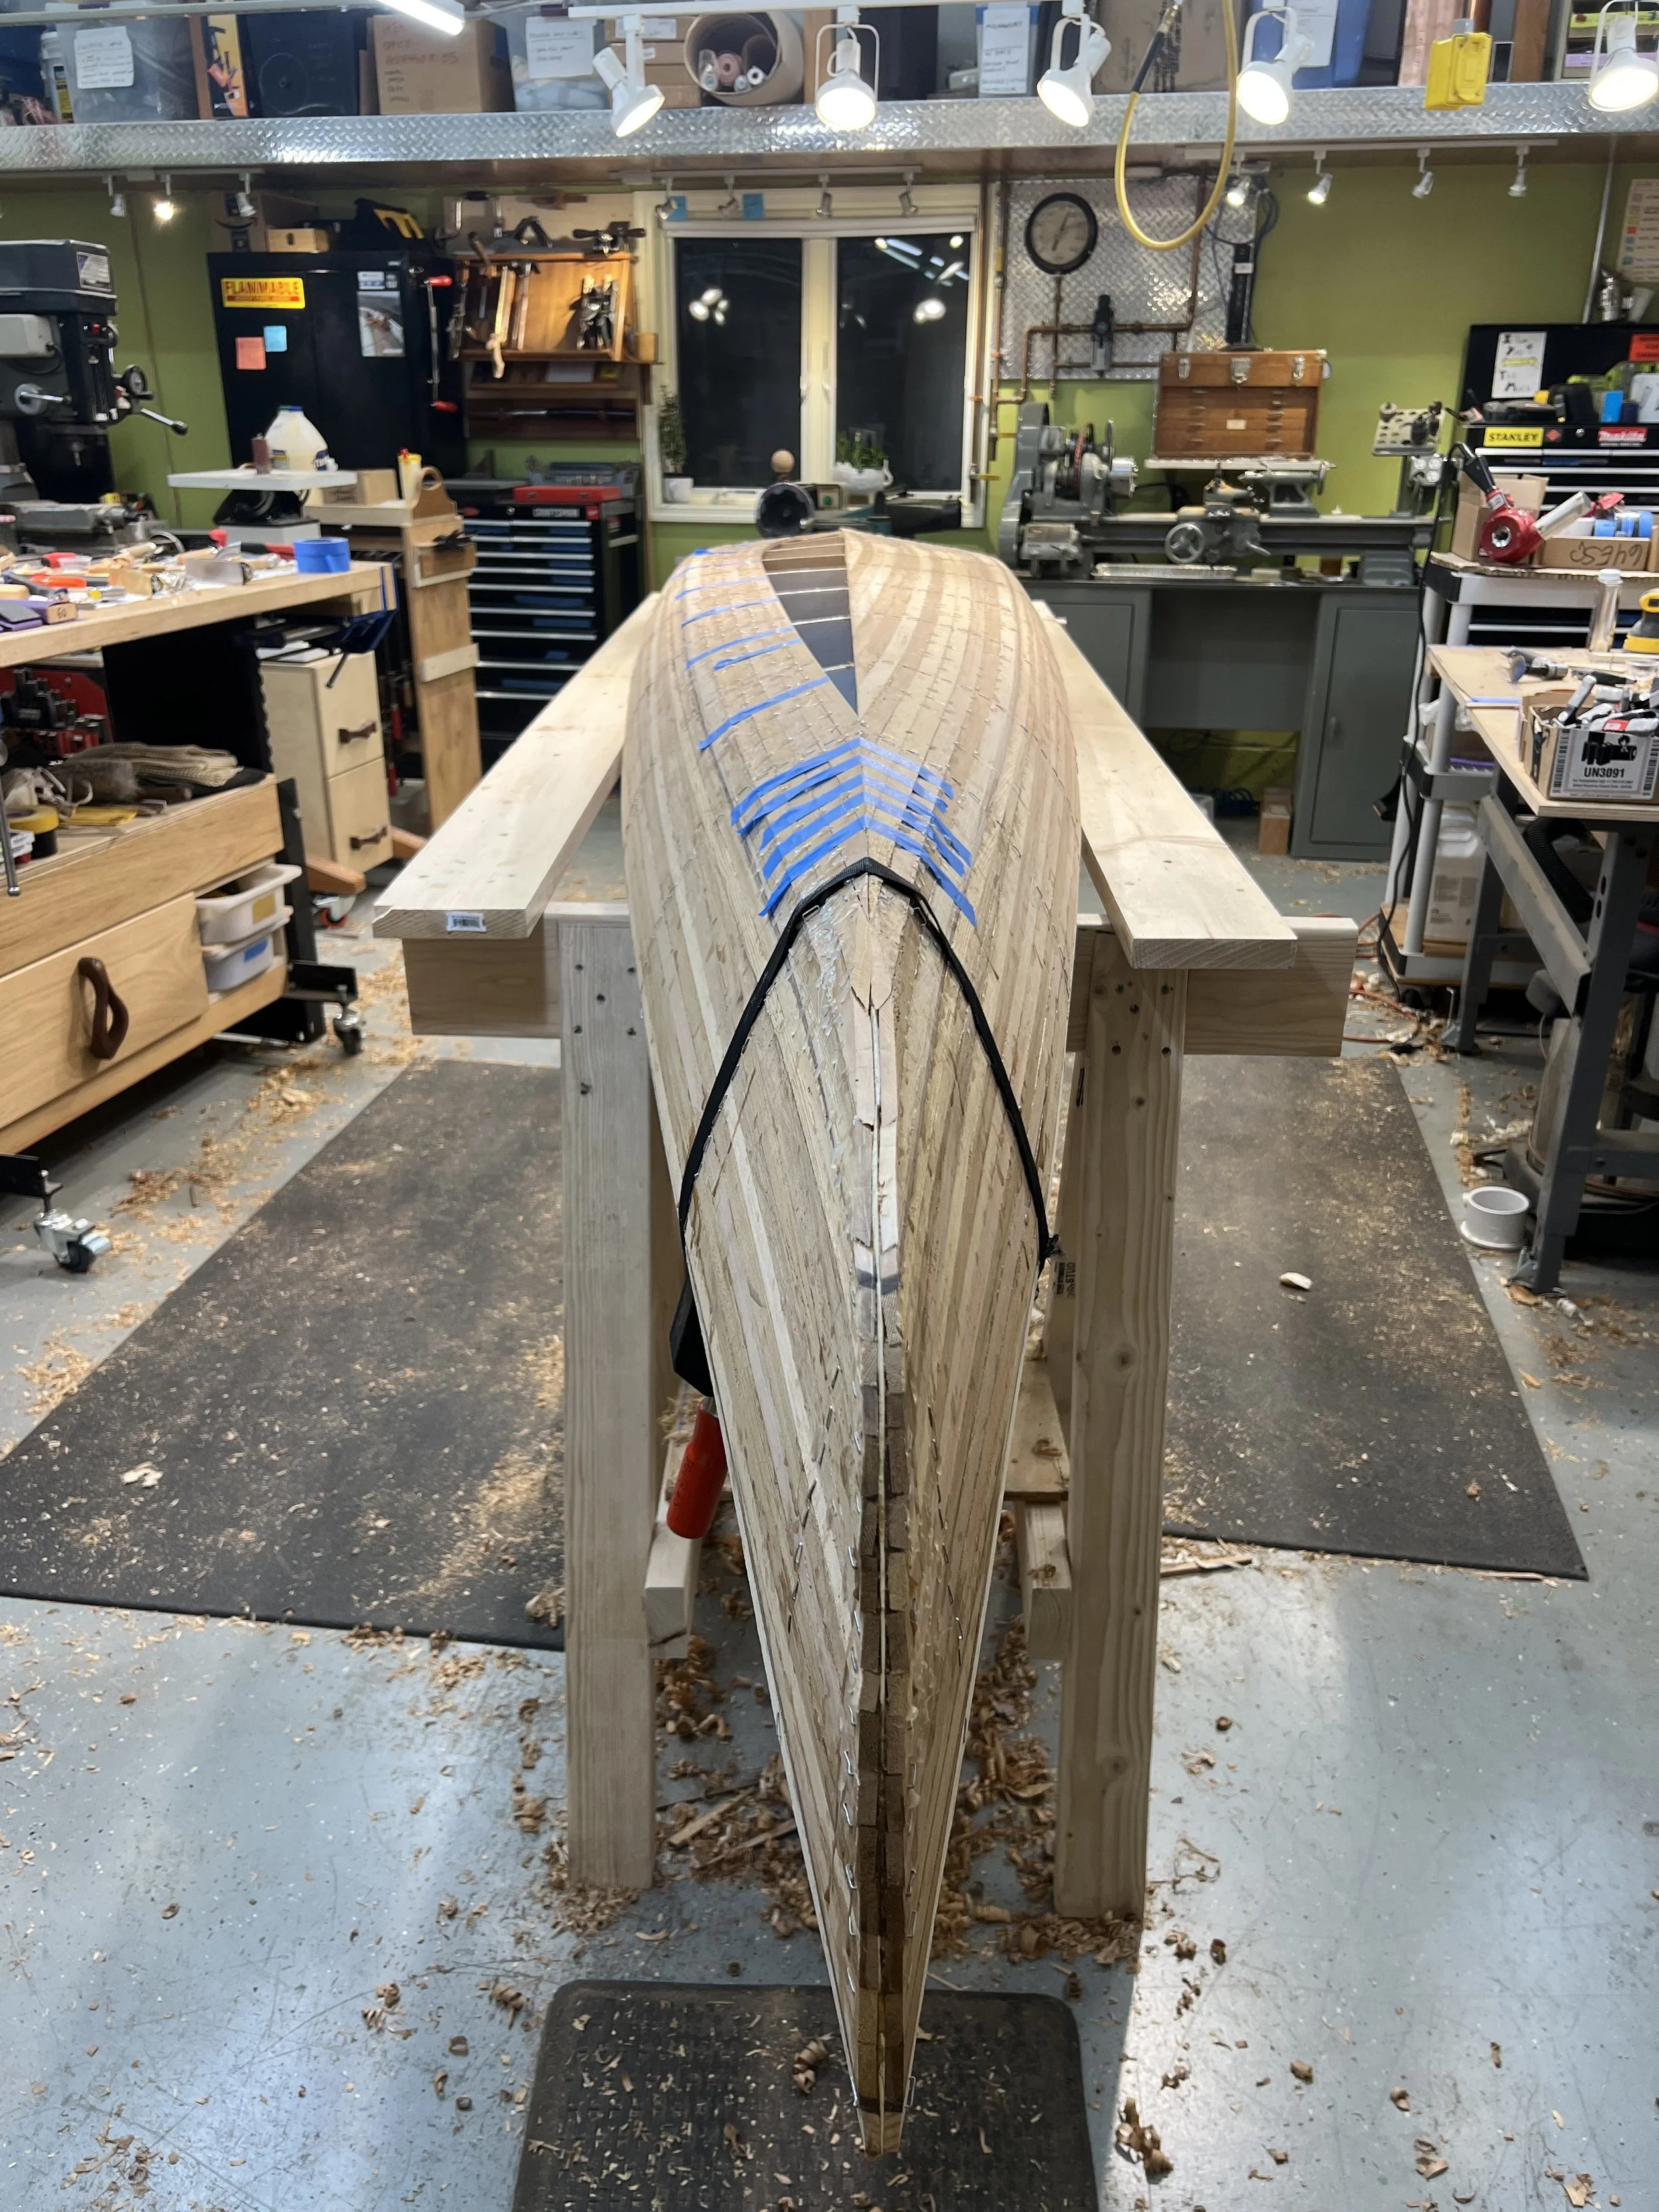
View looking at bow down the hull with a centerline football pattern split at keel.
-
![]()
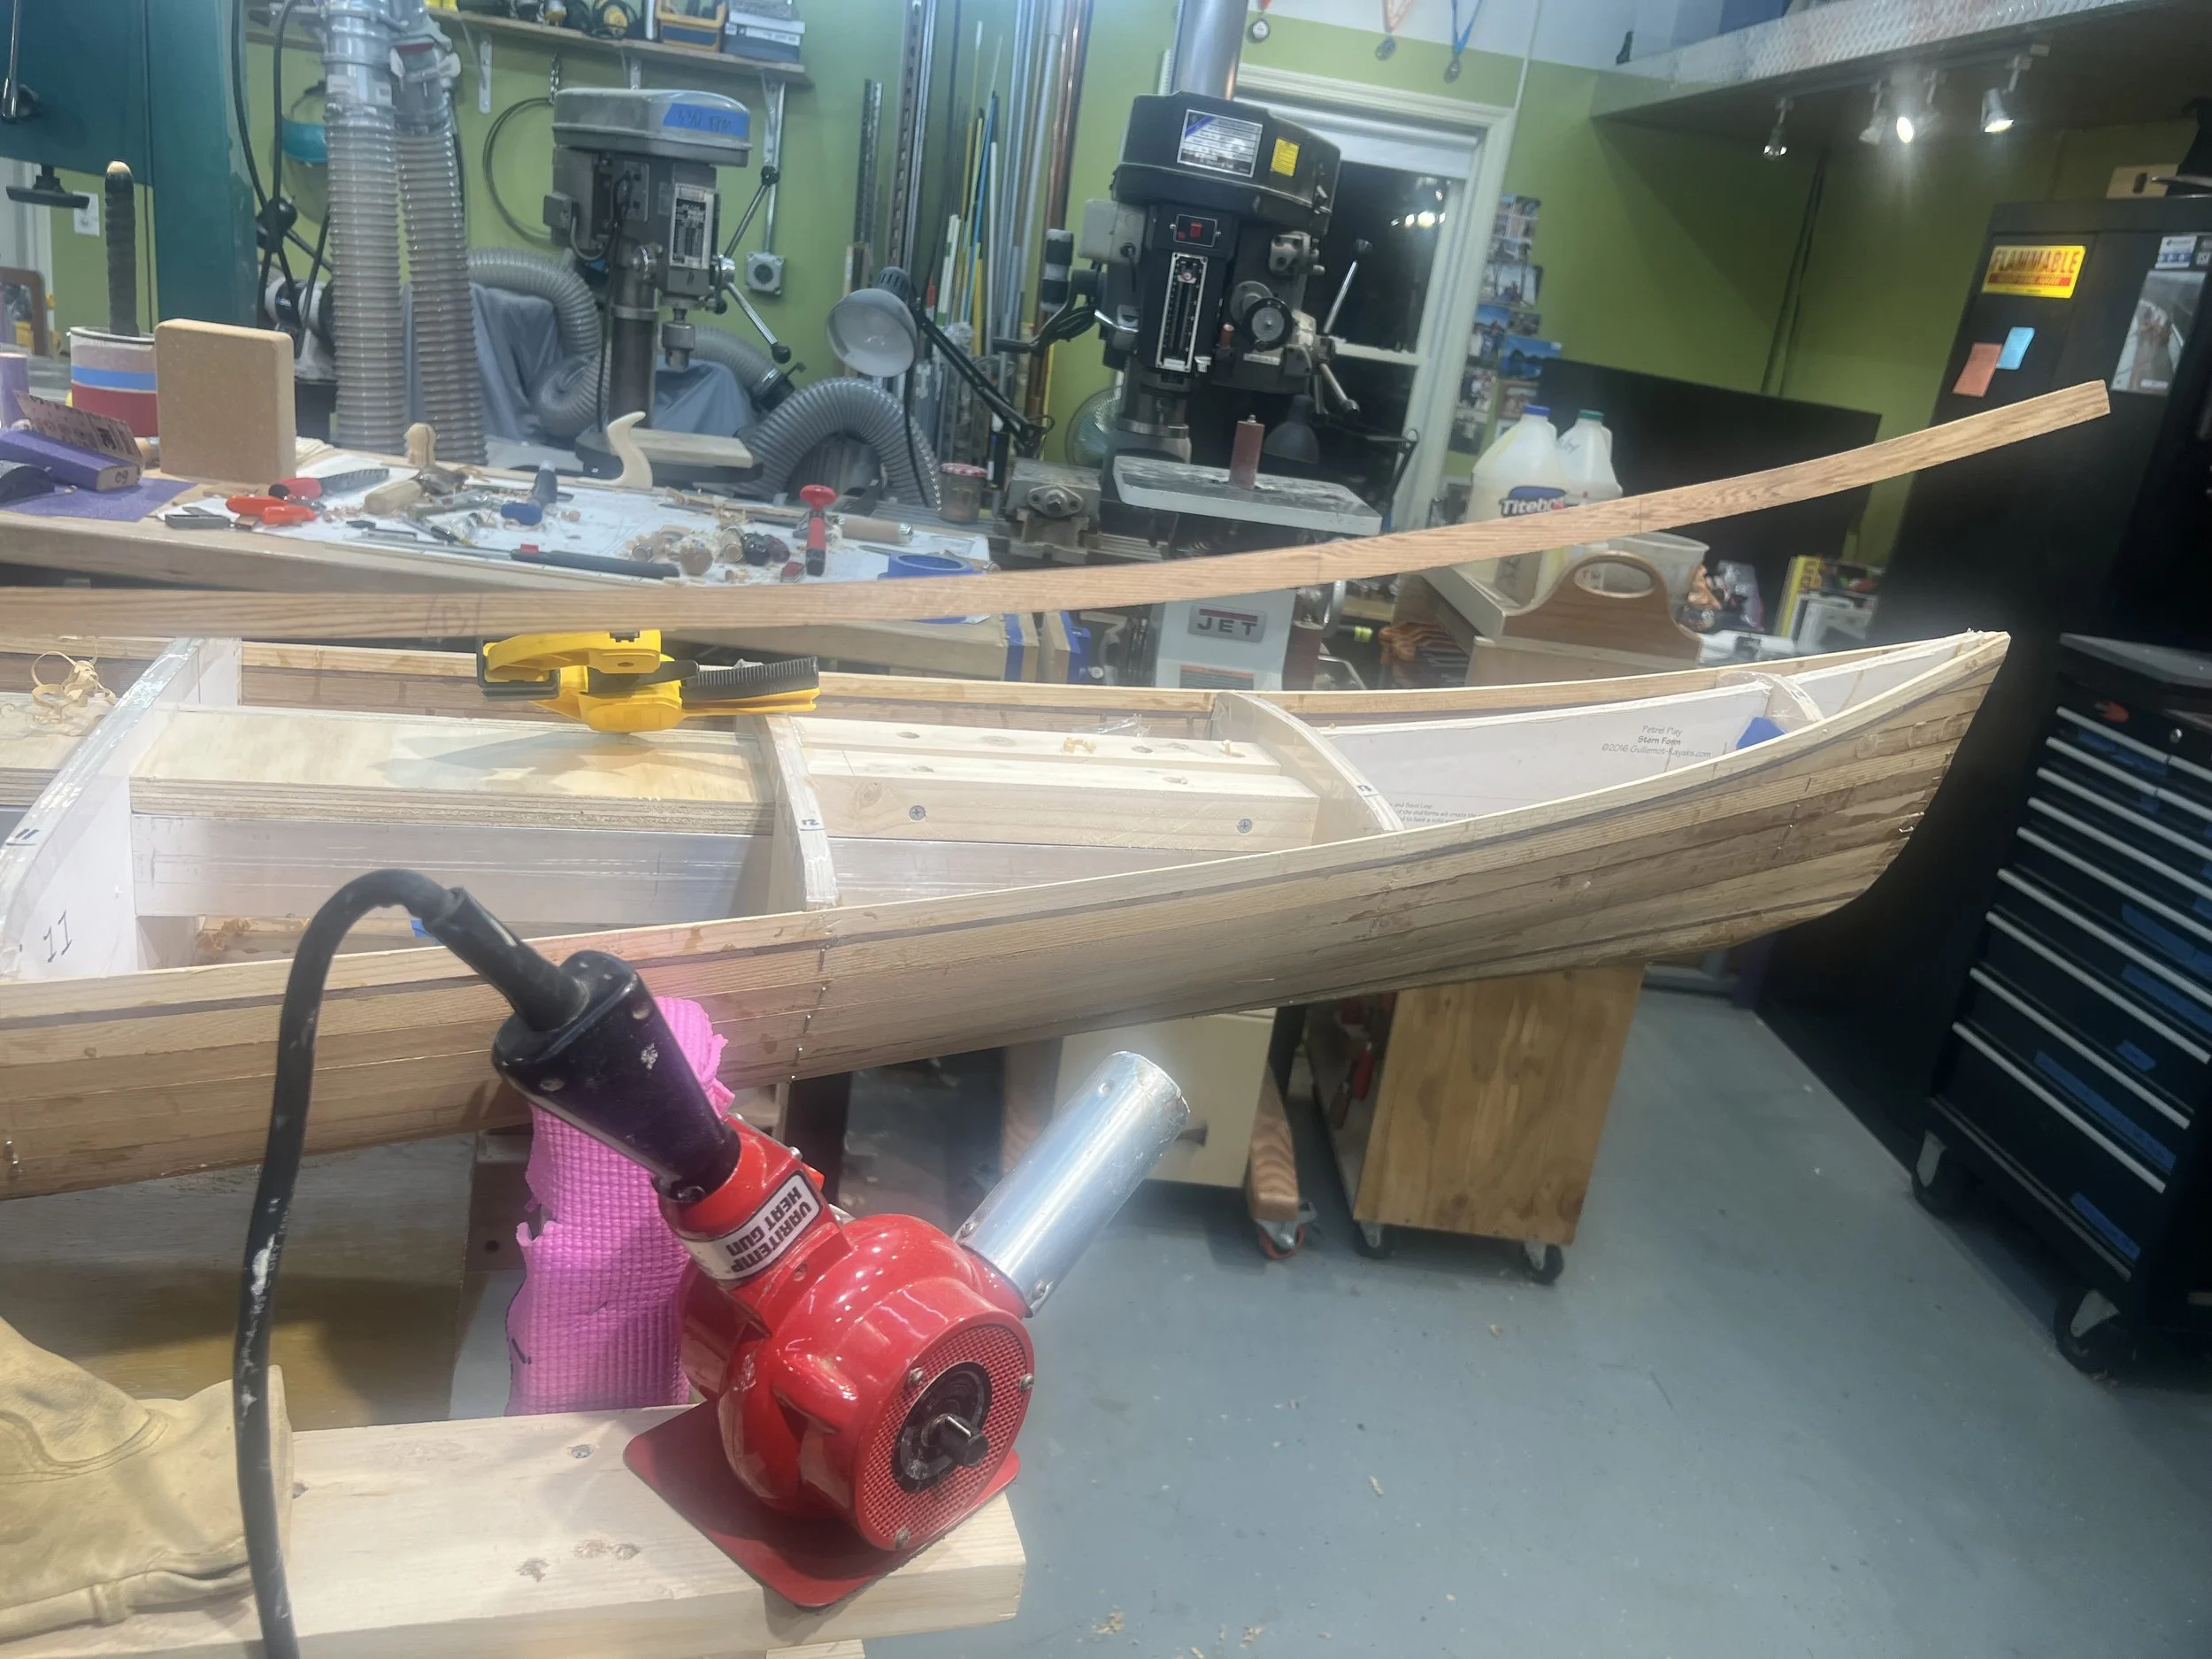
Industrial heat gun for tricky curves.
-
![]()
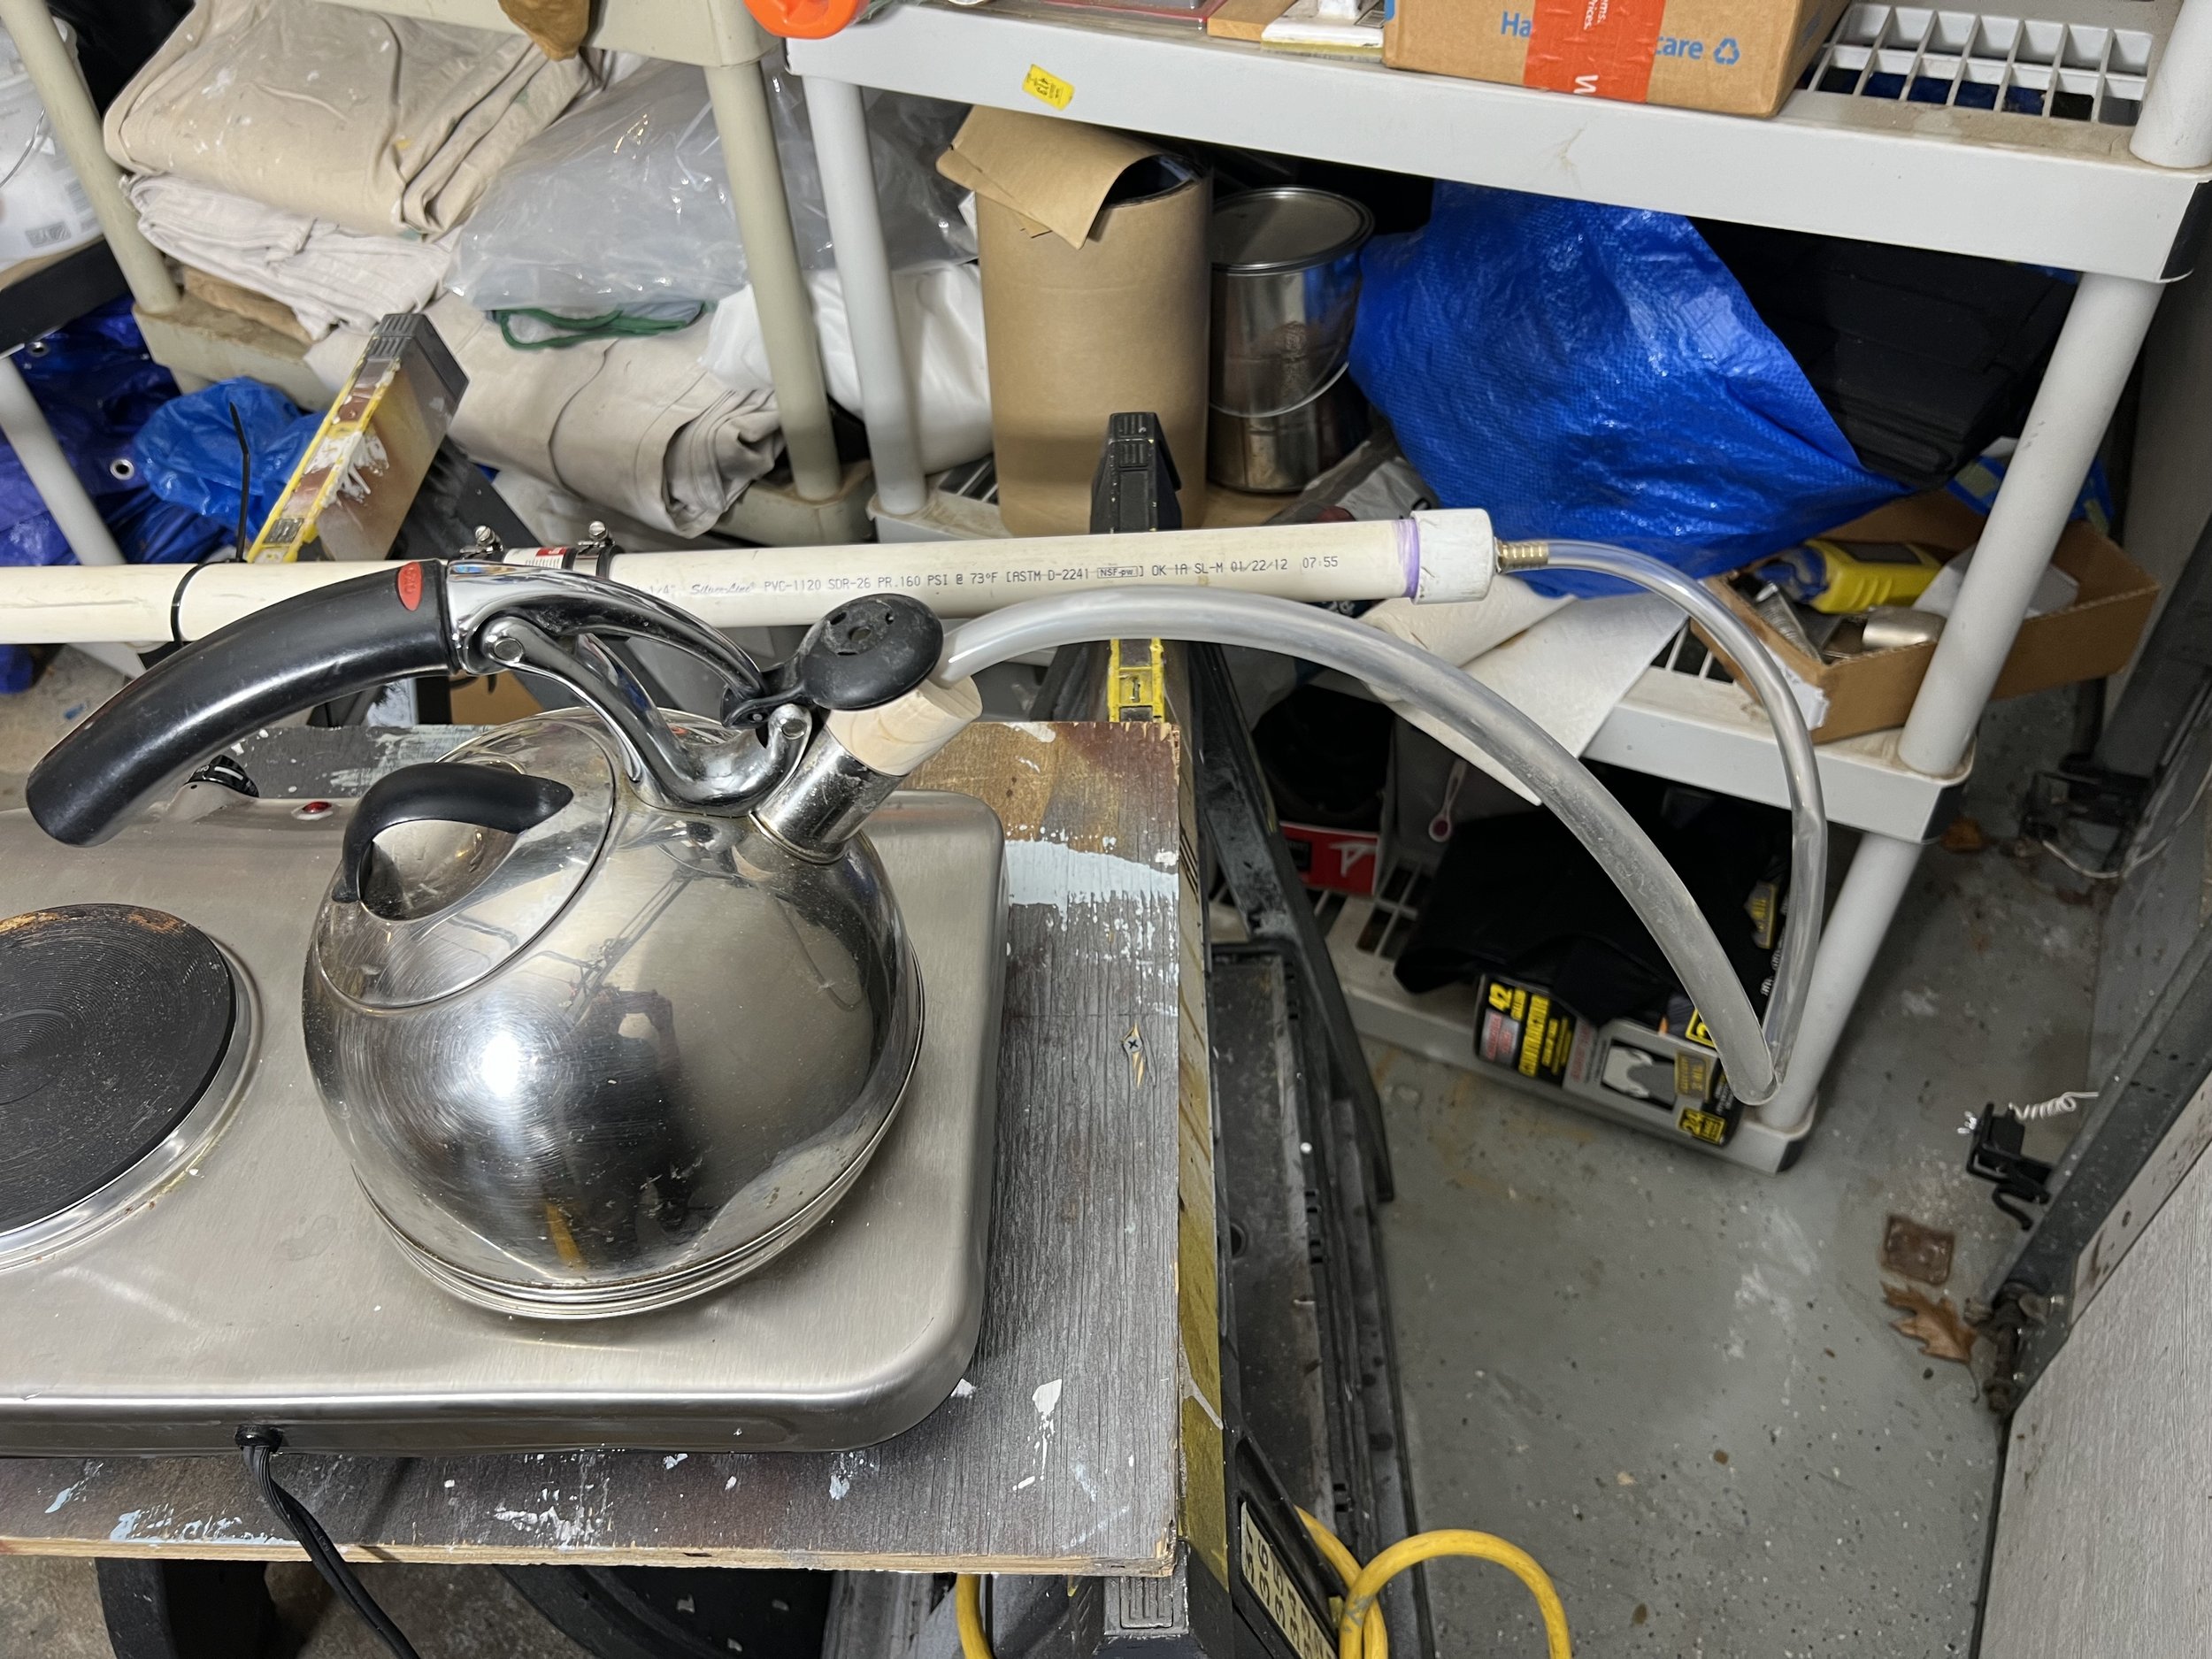
I wasnt able to bend the complex curves like Nick does with the heatgun so i tried steam. My First steam generator setup with a 2" pvc 16' tube. Not enough steam. Upgraded to a Wagner wallpaper steamer. Excellent steam volume and capacity.
-
![]()
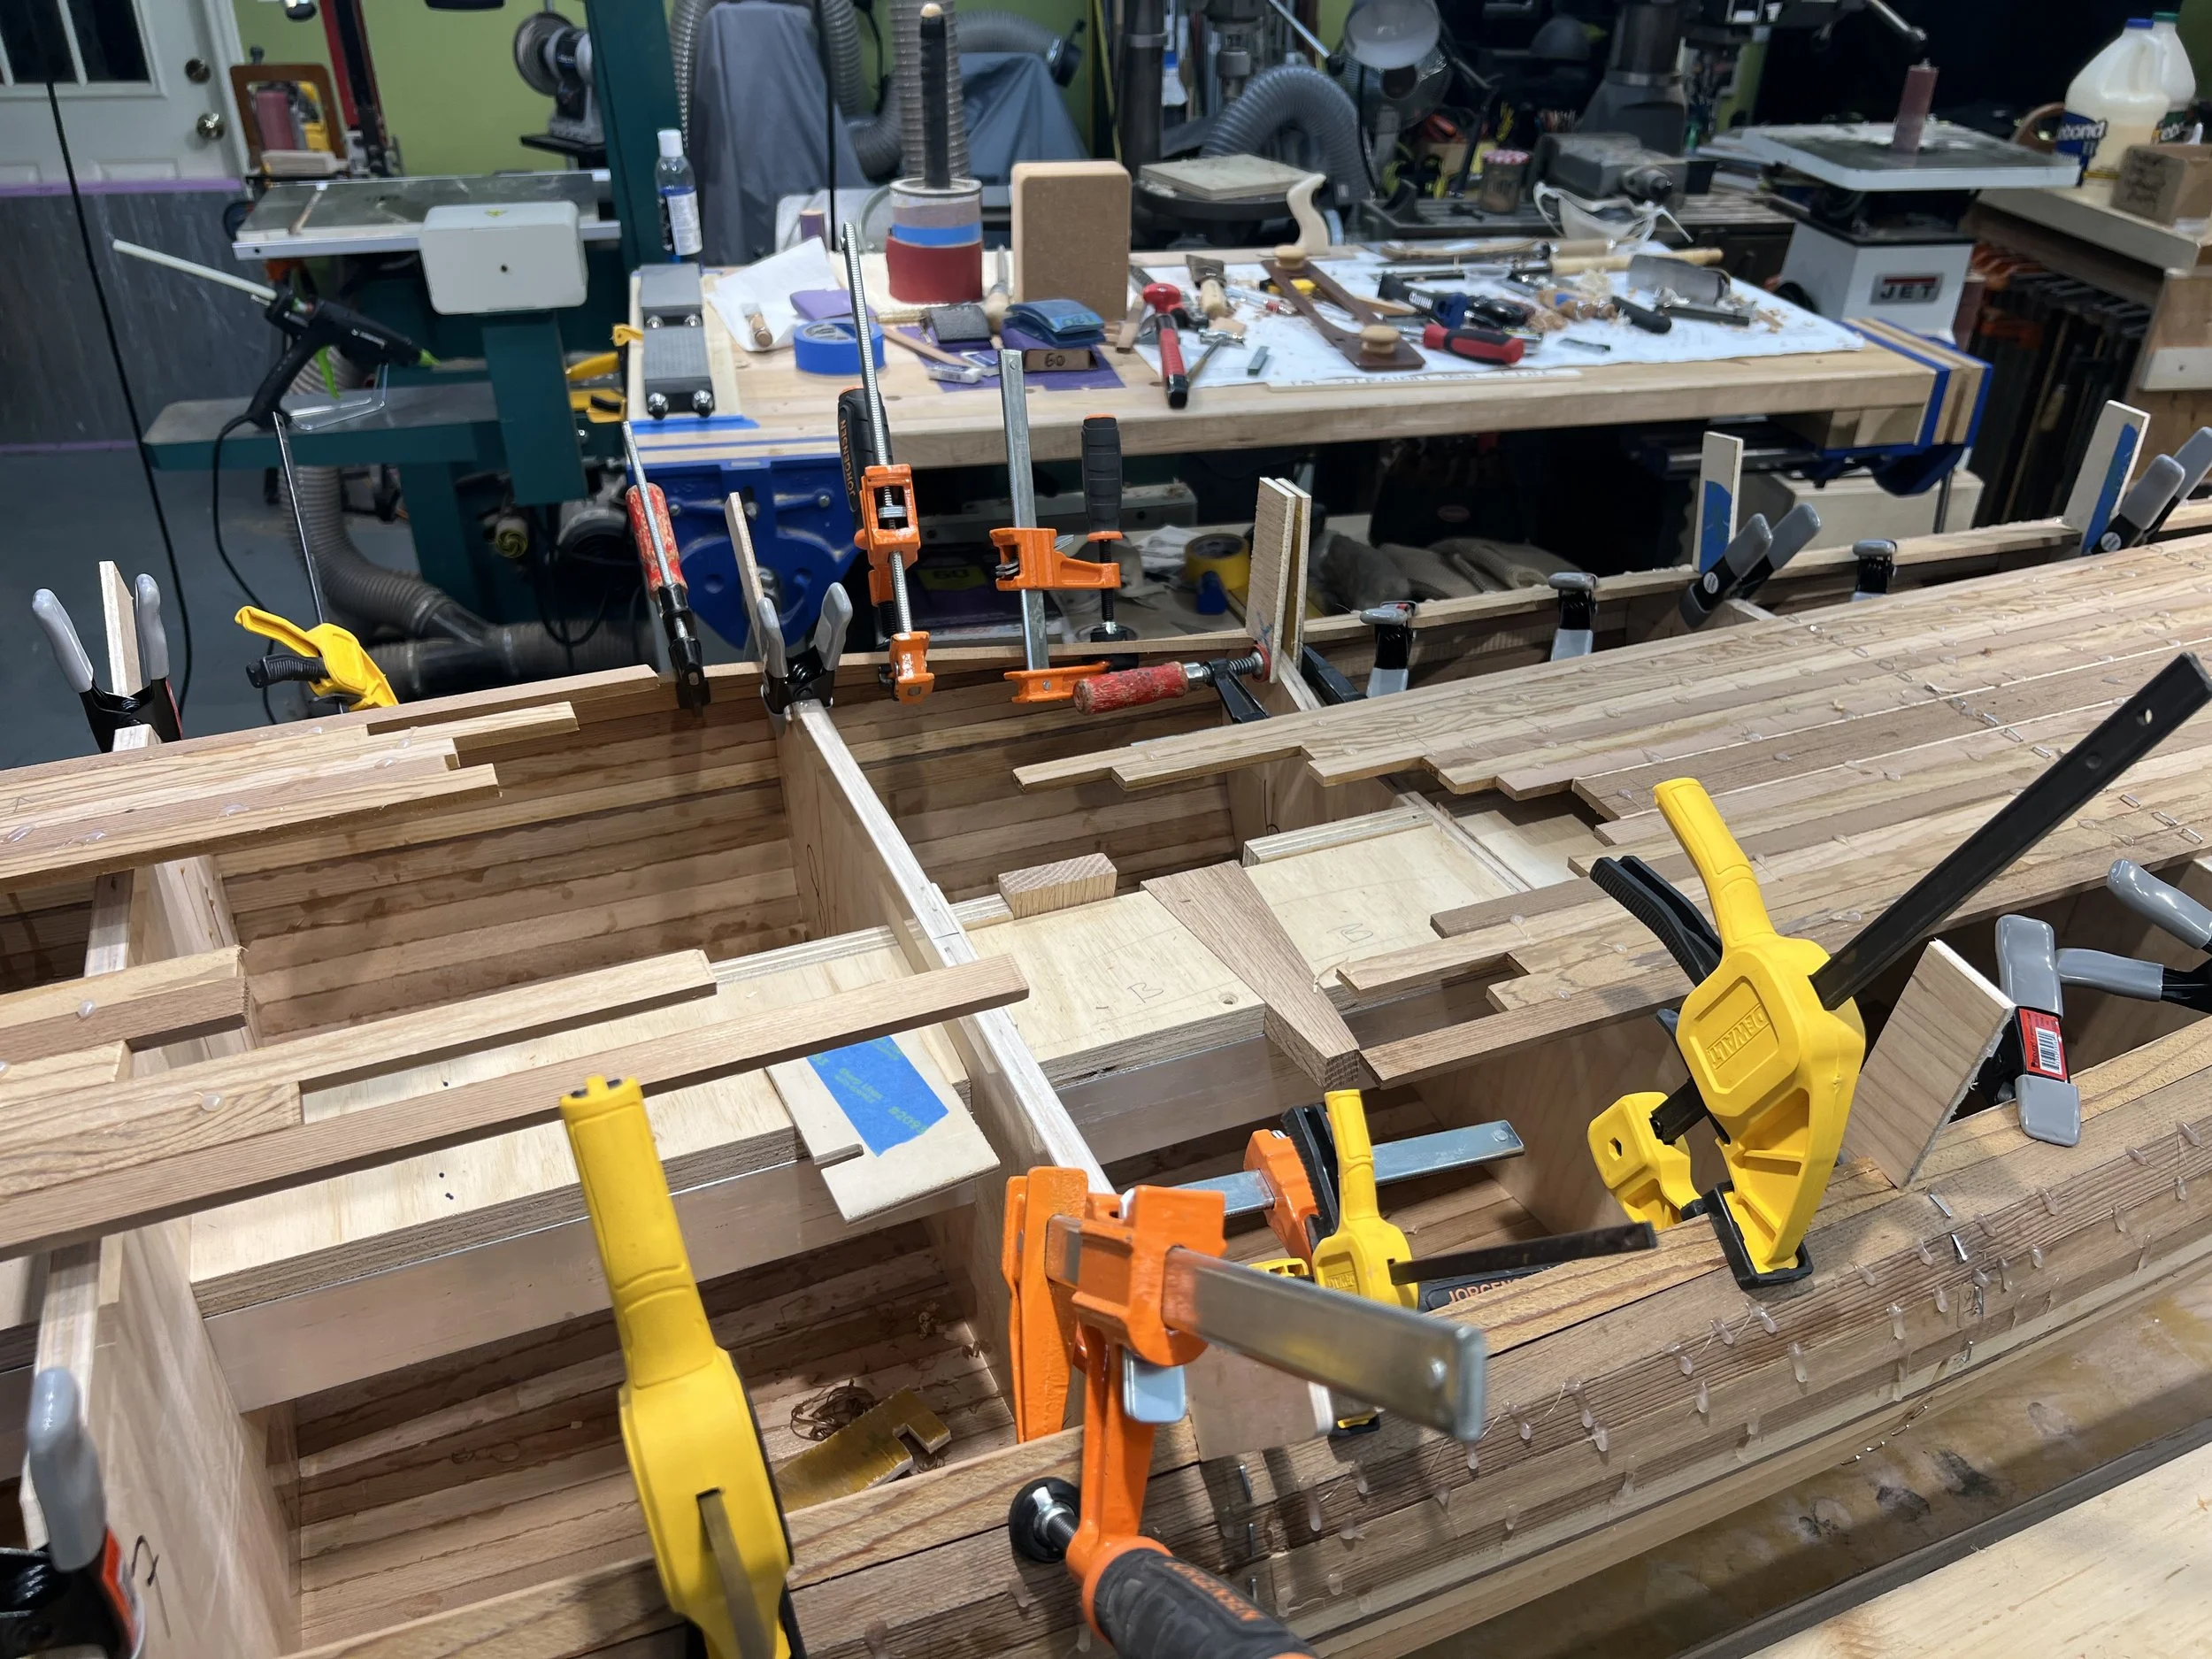
Steam bent the difficult chine which bent and curved in multiple directions. After it was clamped all night, the next day a rolling bevel can be planed with Guillemots' robobevel or a rabbet plane. Finally can be glued and held with staples and hotglue.
-
![]()
From bottom orientation, sheerline (The curve along the top edge of hullside) layed with a Northern White Cedar 1/2" strip and a 1/4 " strip of Mahogany moving upward with Western Red Cedar. The chine is next (The section where the sides of the hull intersect the bottom of hull.)
-
![]()
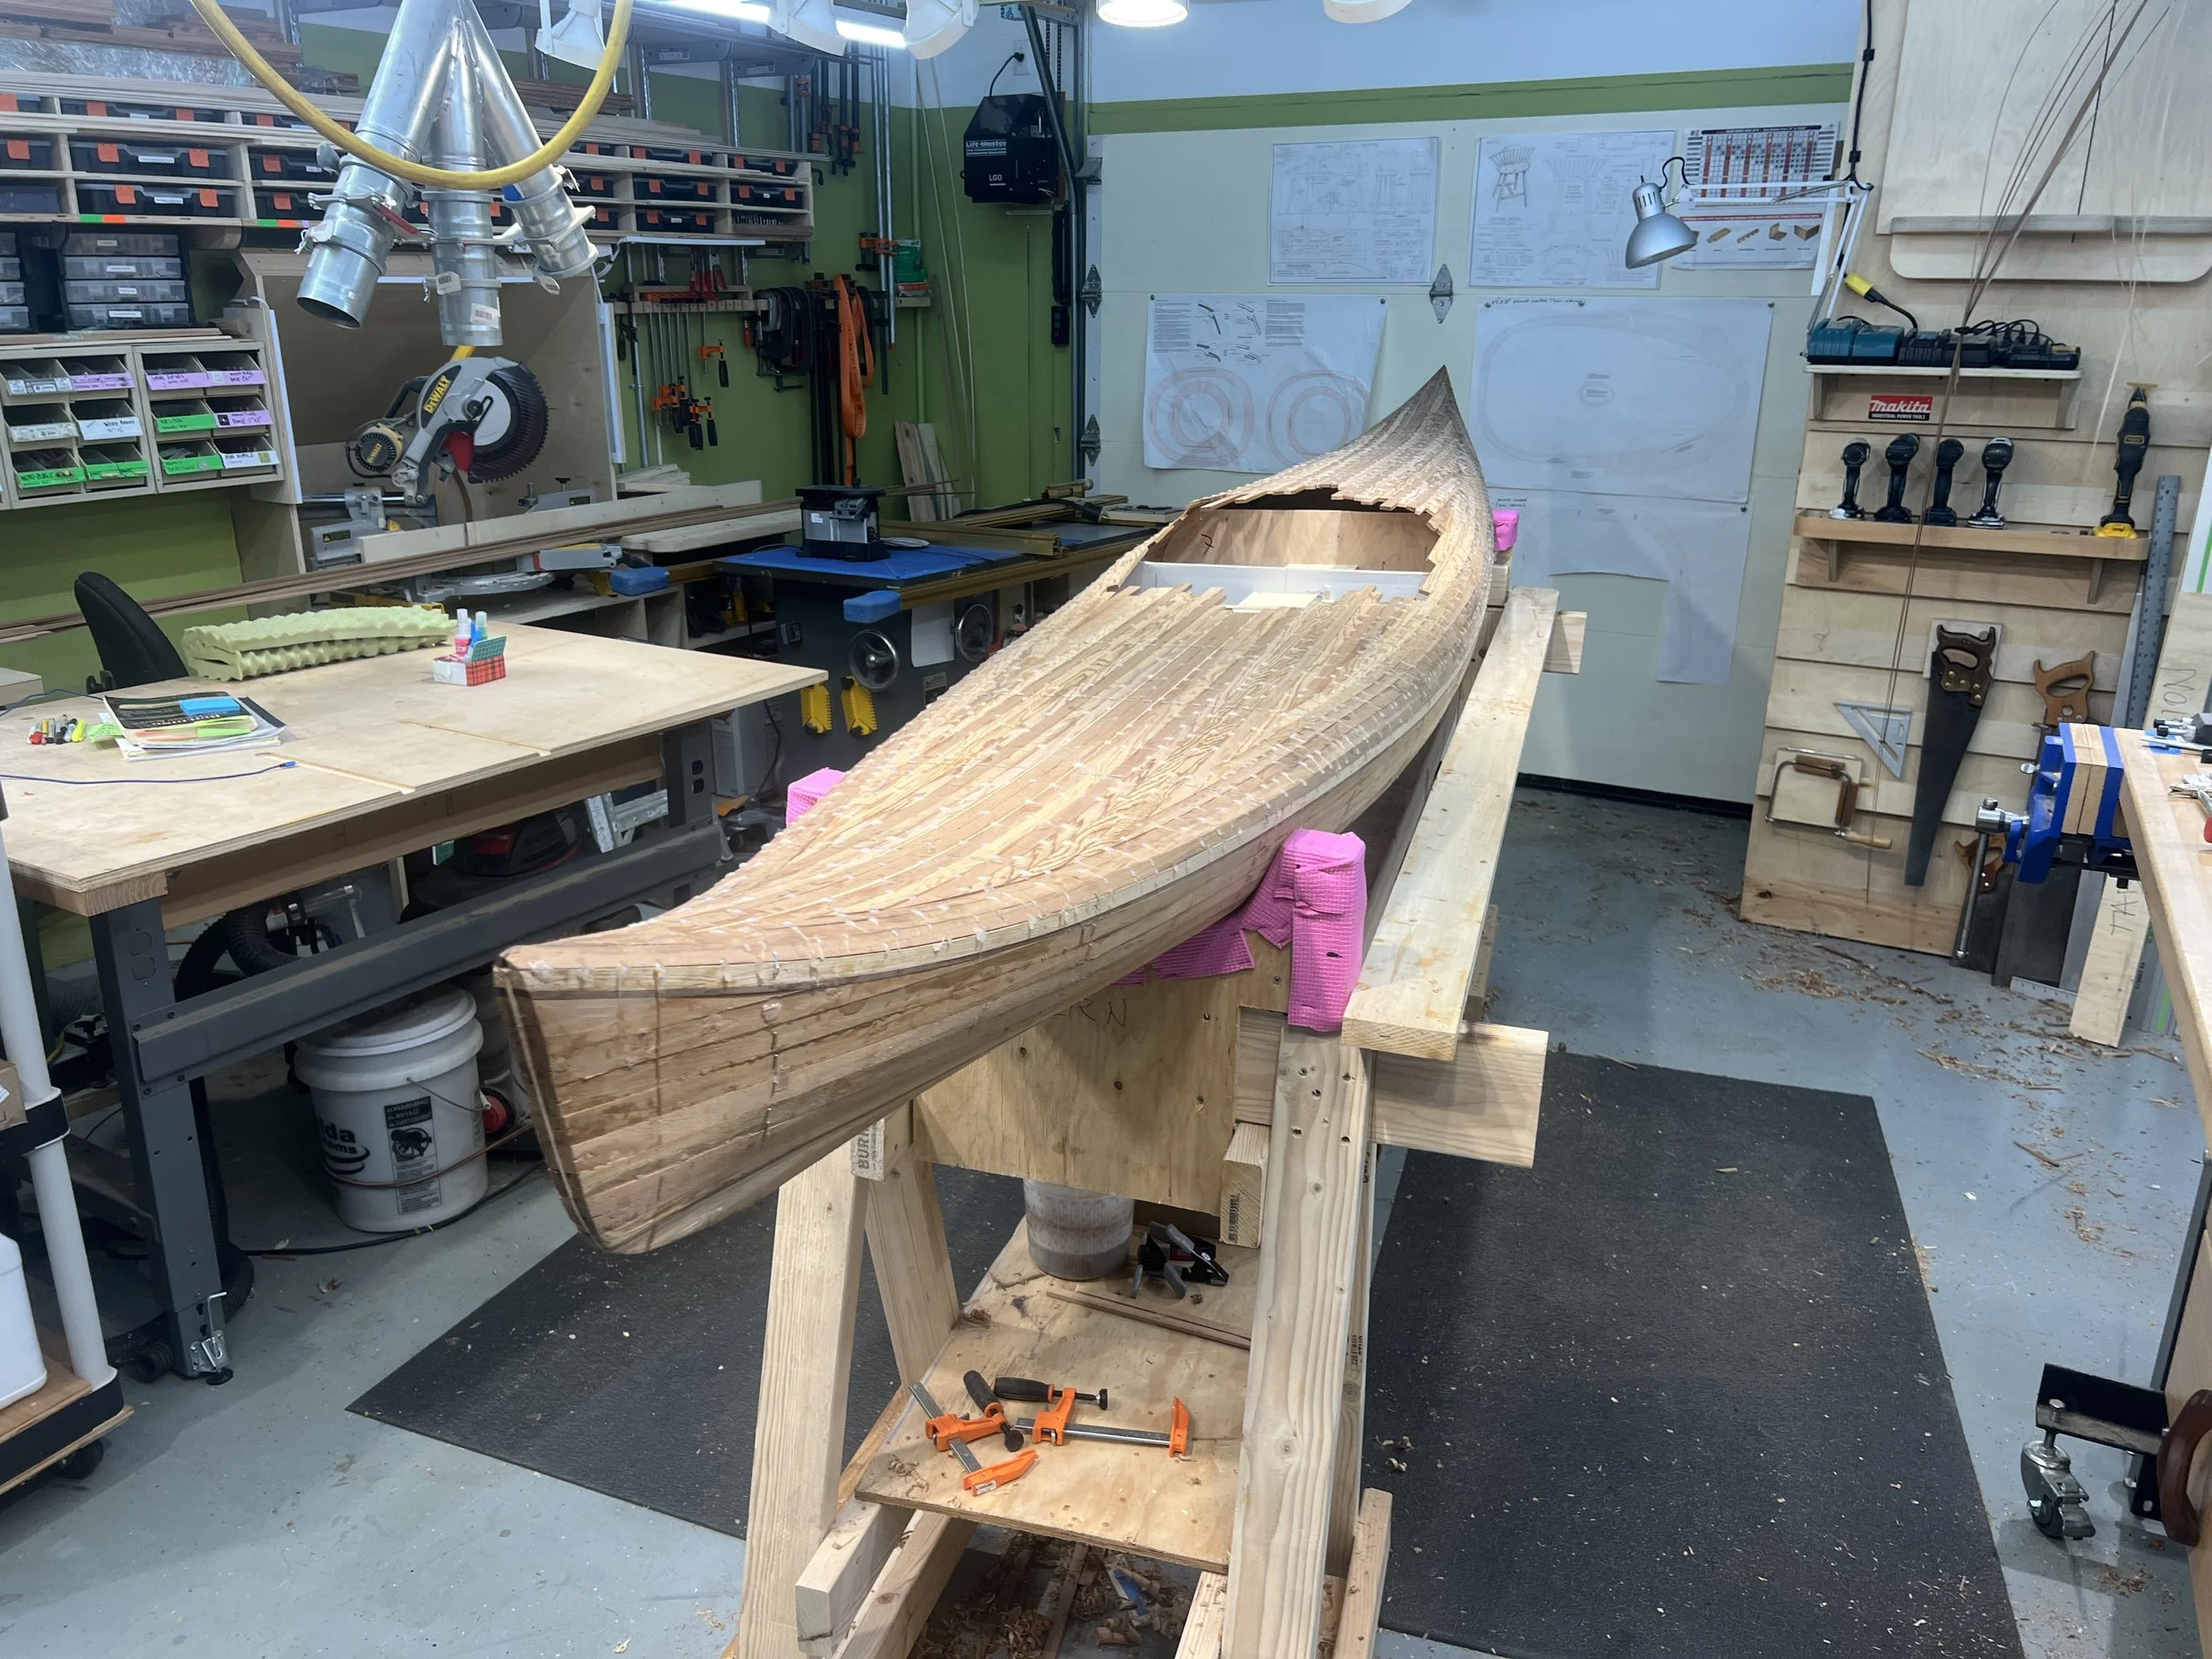
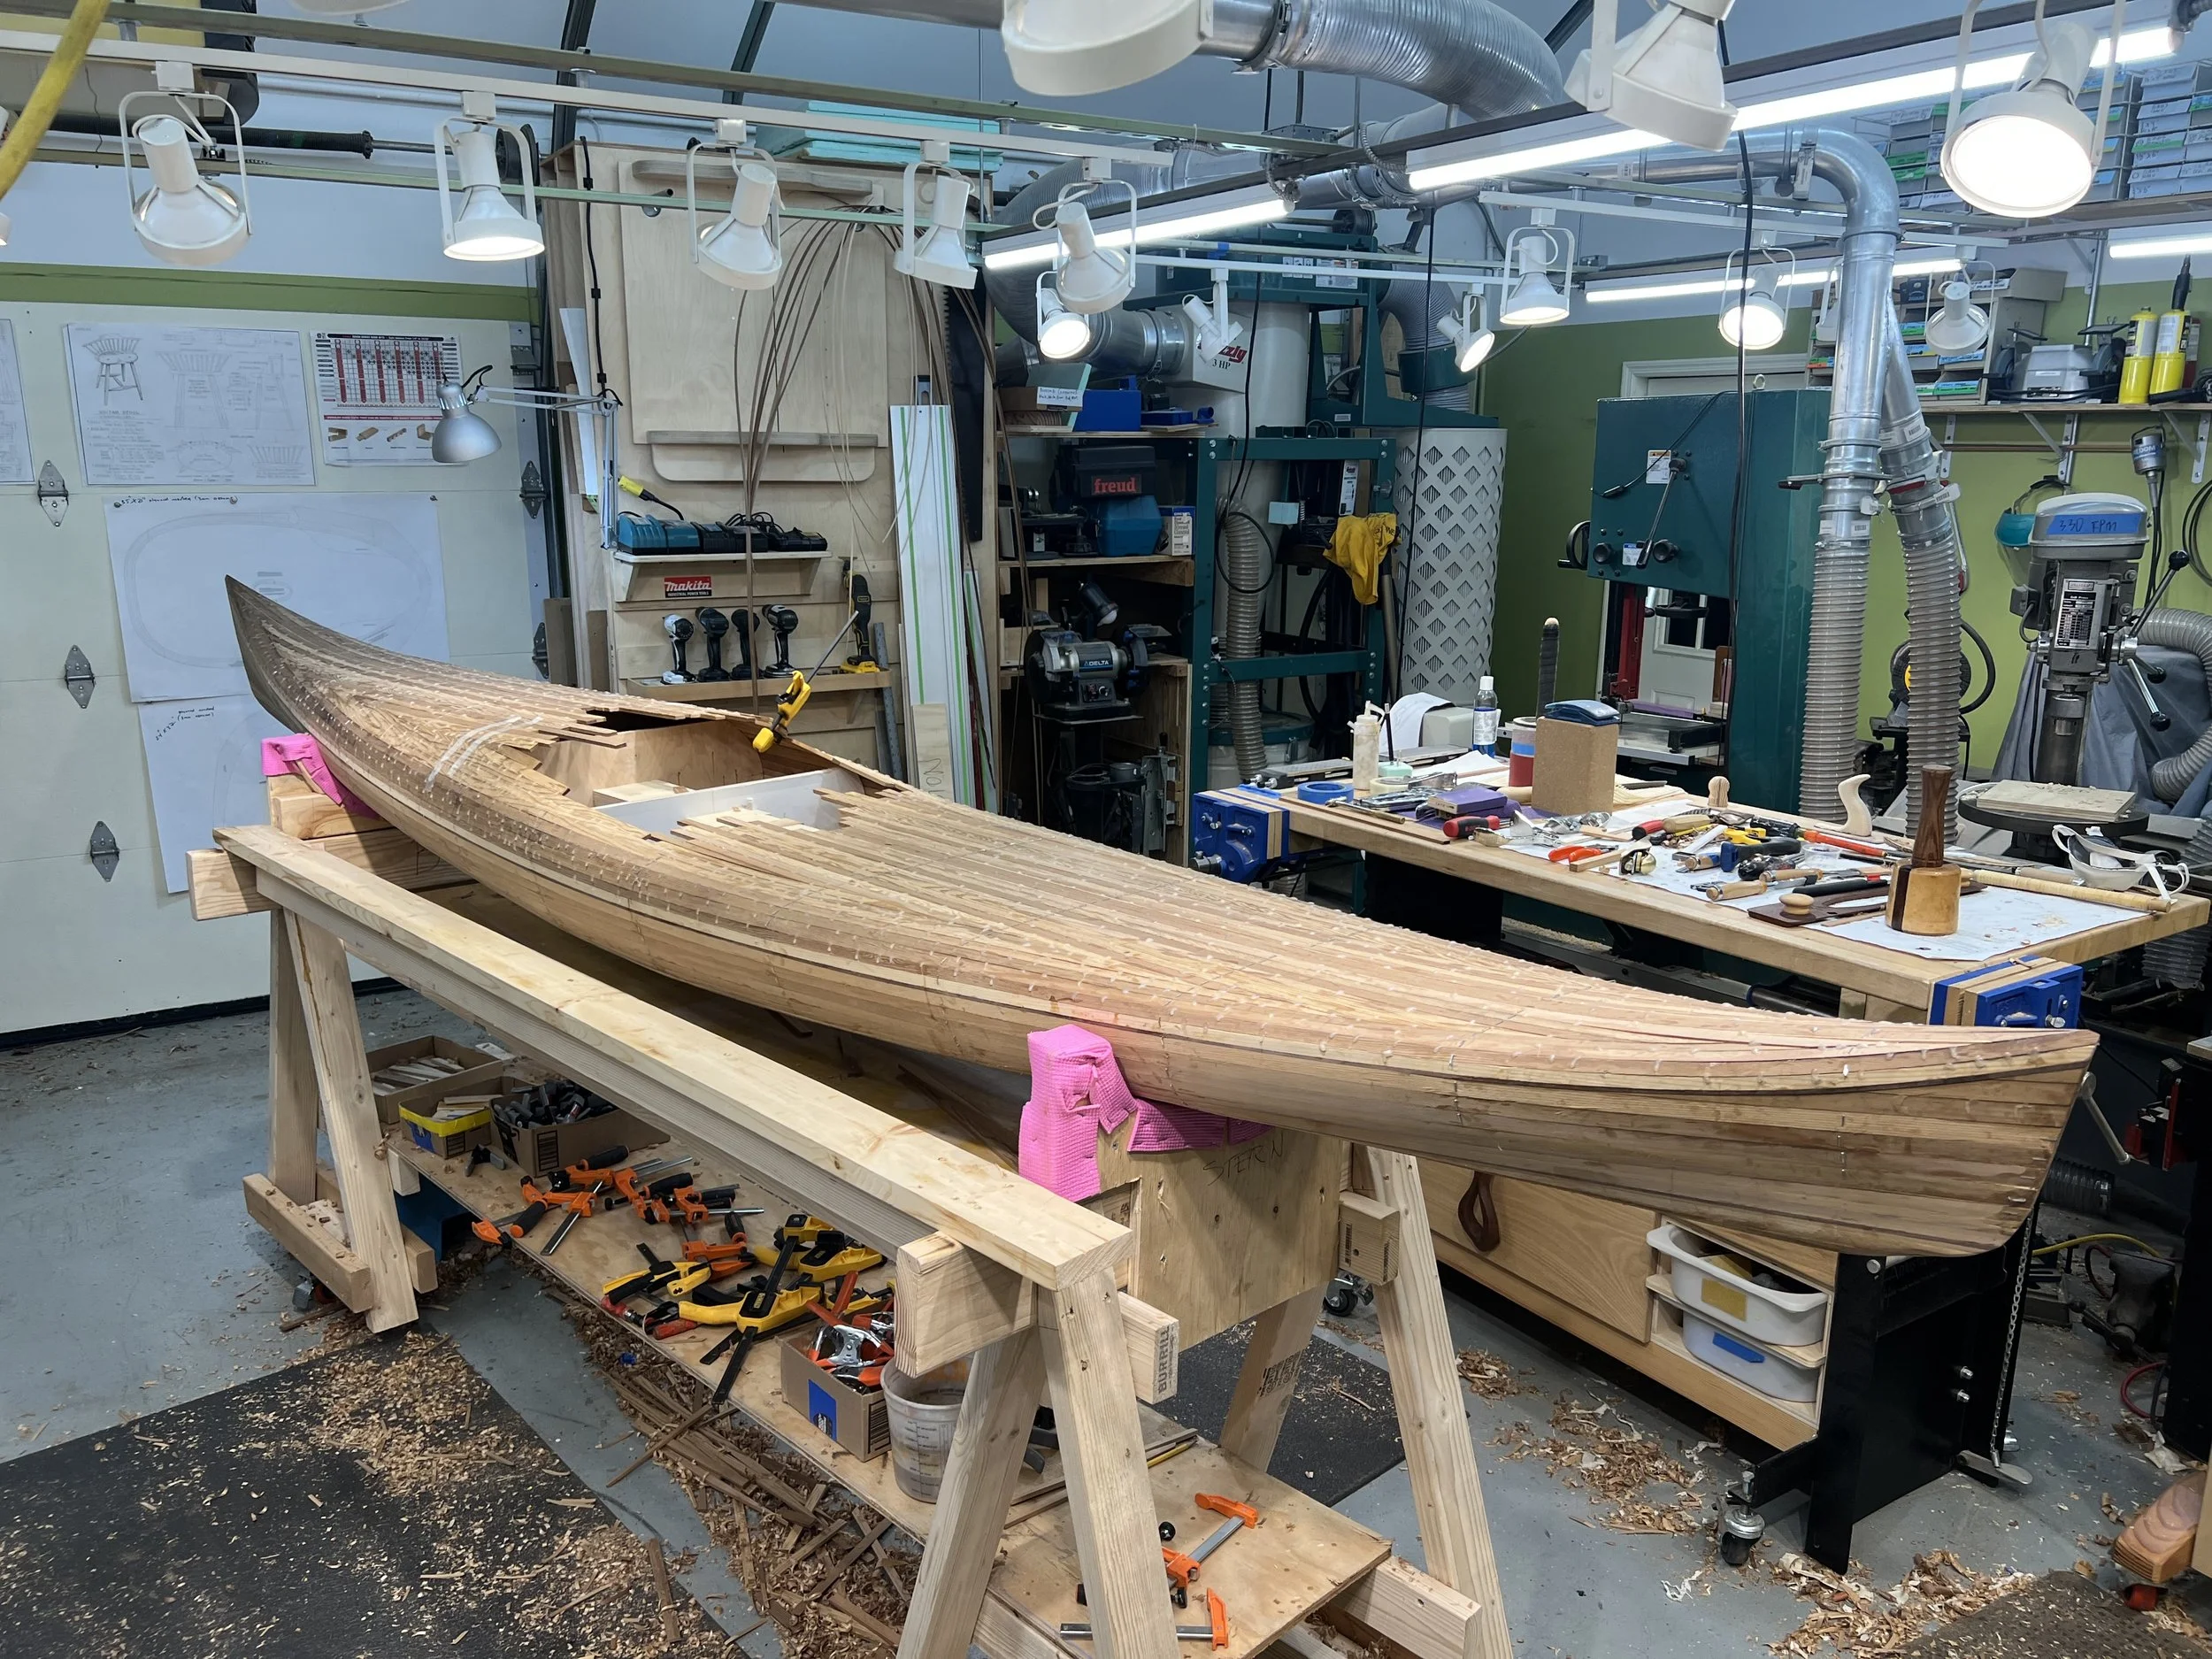
Ready to remove hot glue, staples,sculpt, and cut out cockpit.
-
![]()
View of port side.
-
![]()
3mm Okoume plywood fairing tool with 80 grit sandpaper. Great for smoothing out ridges.
-
![]()
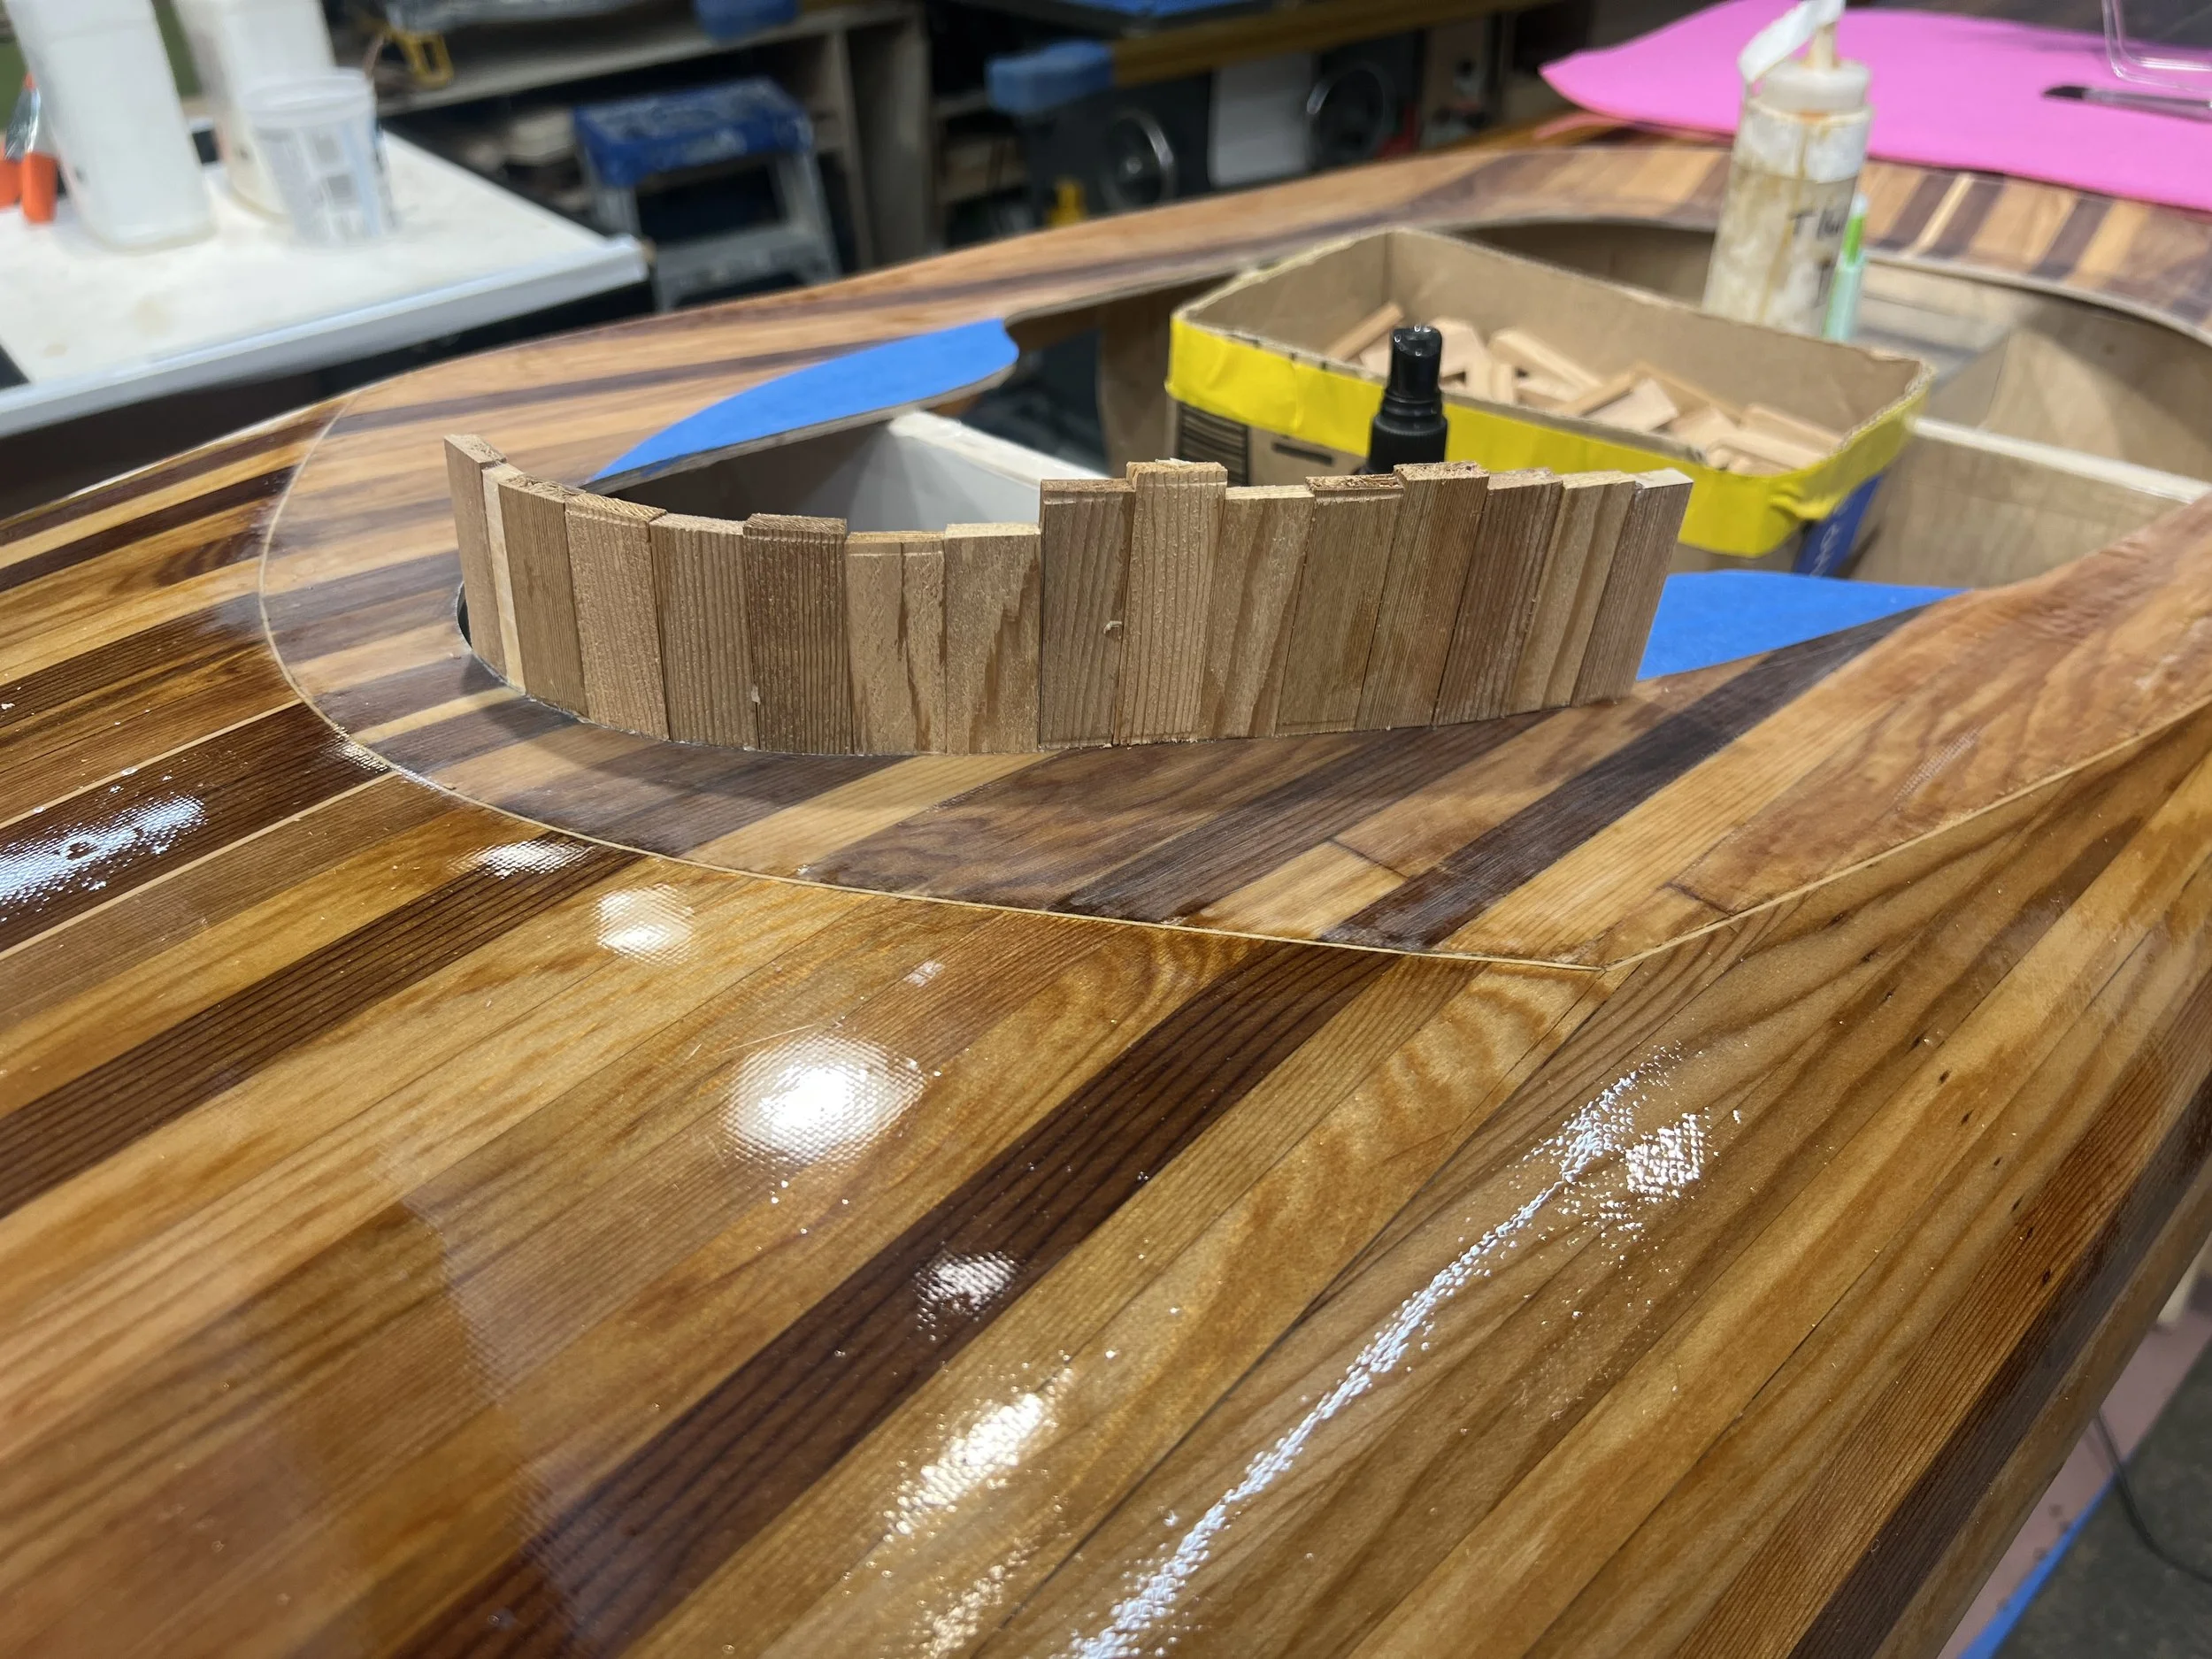
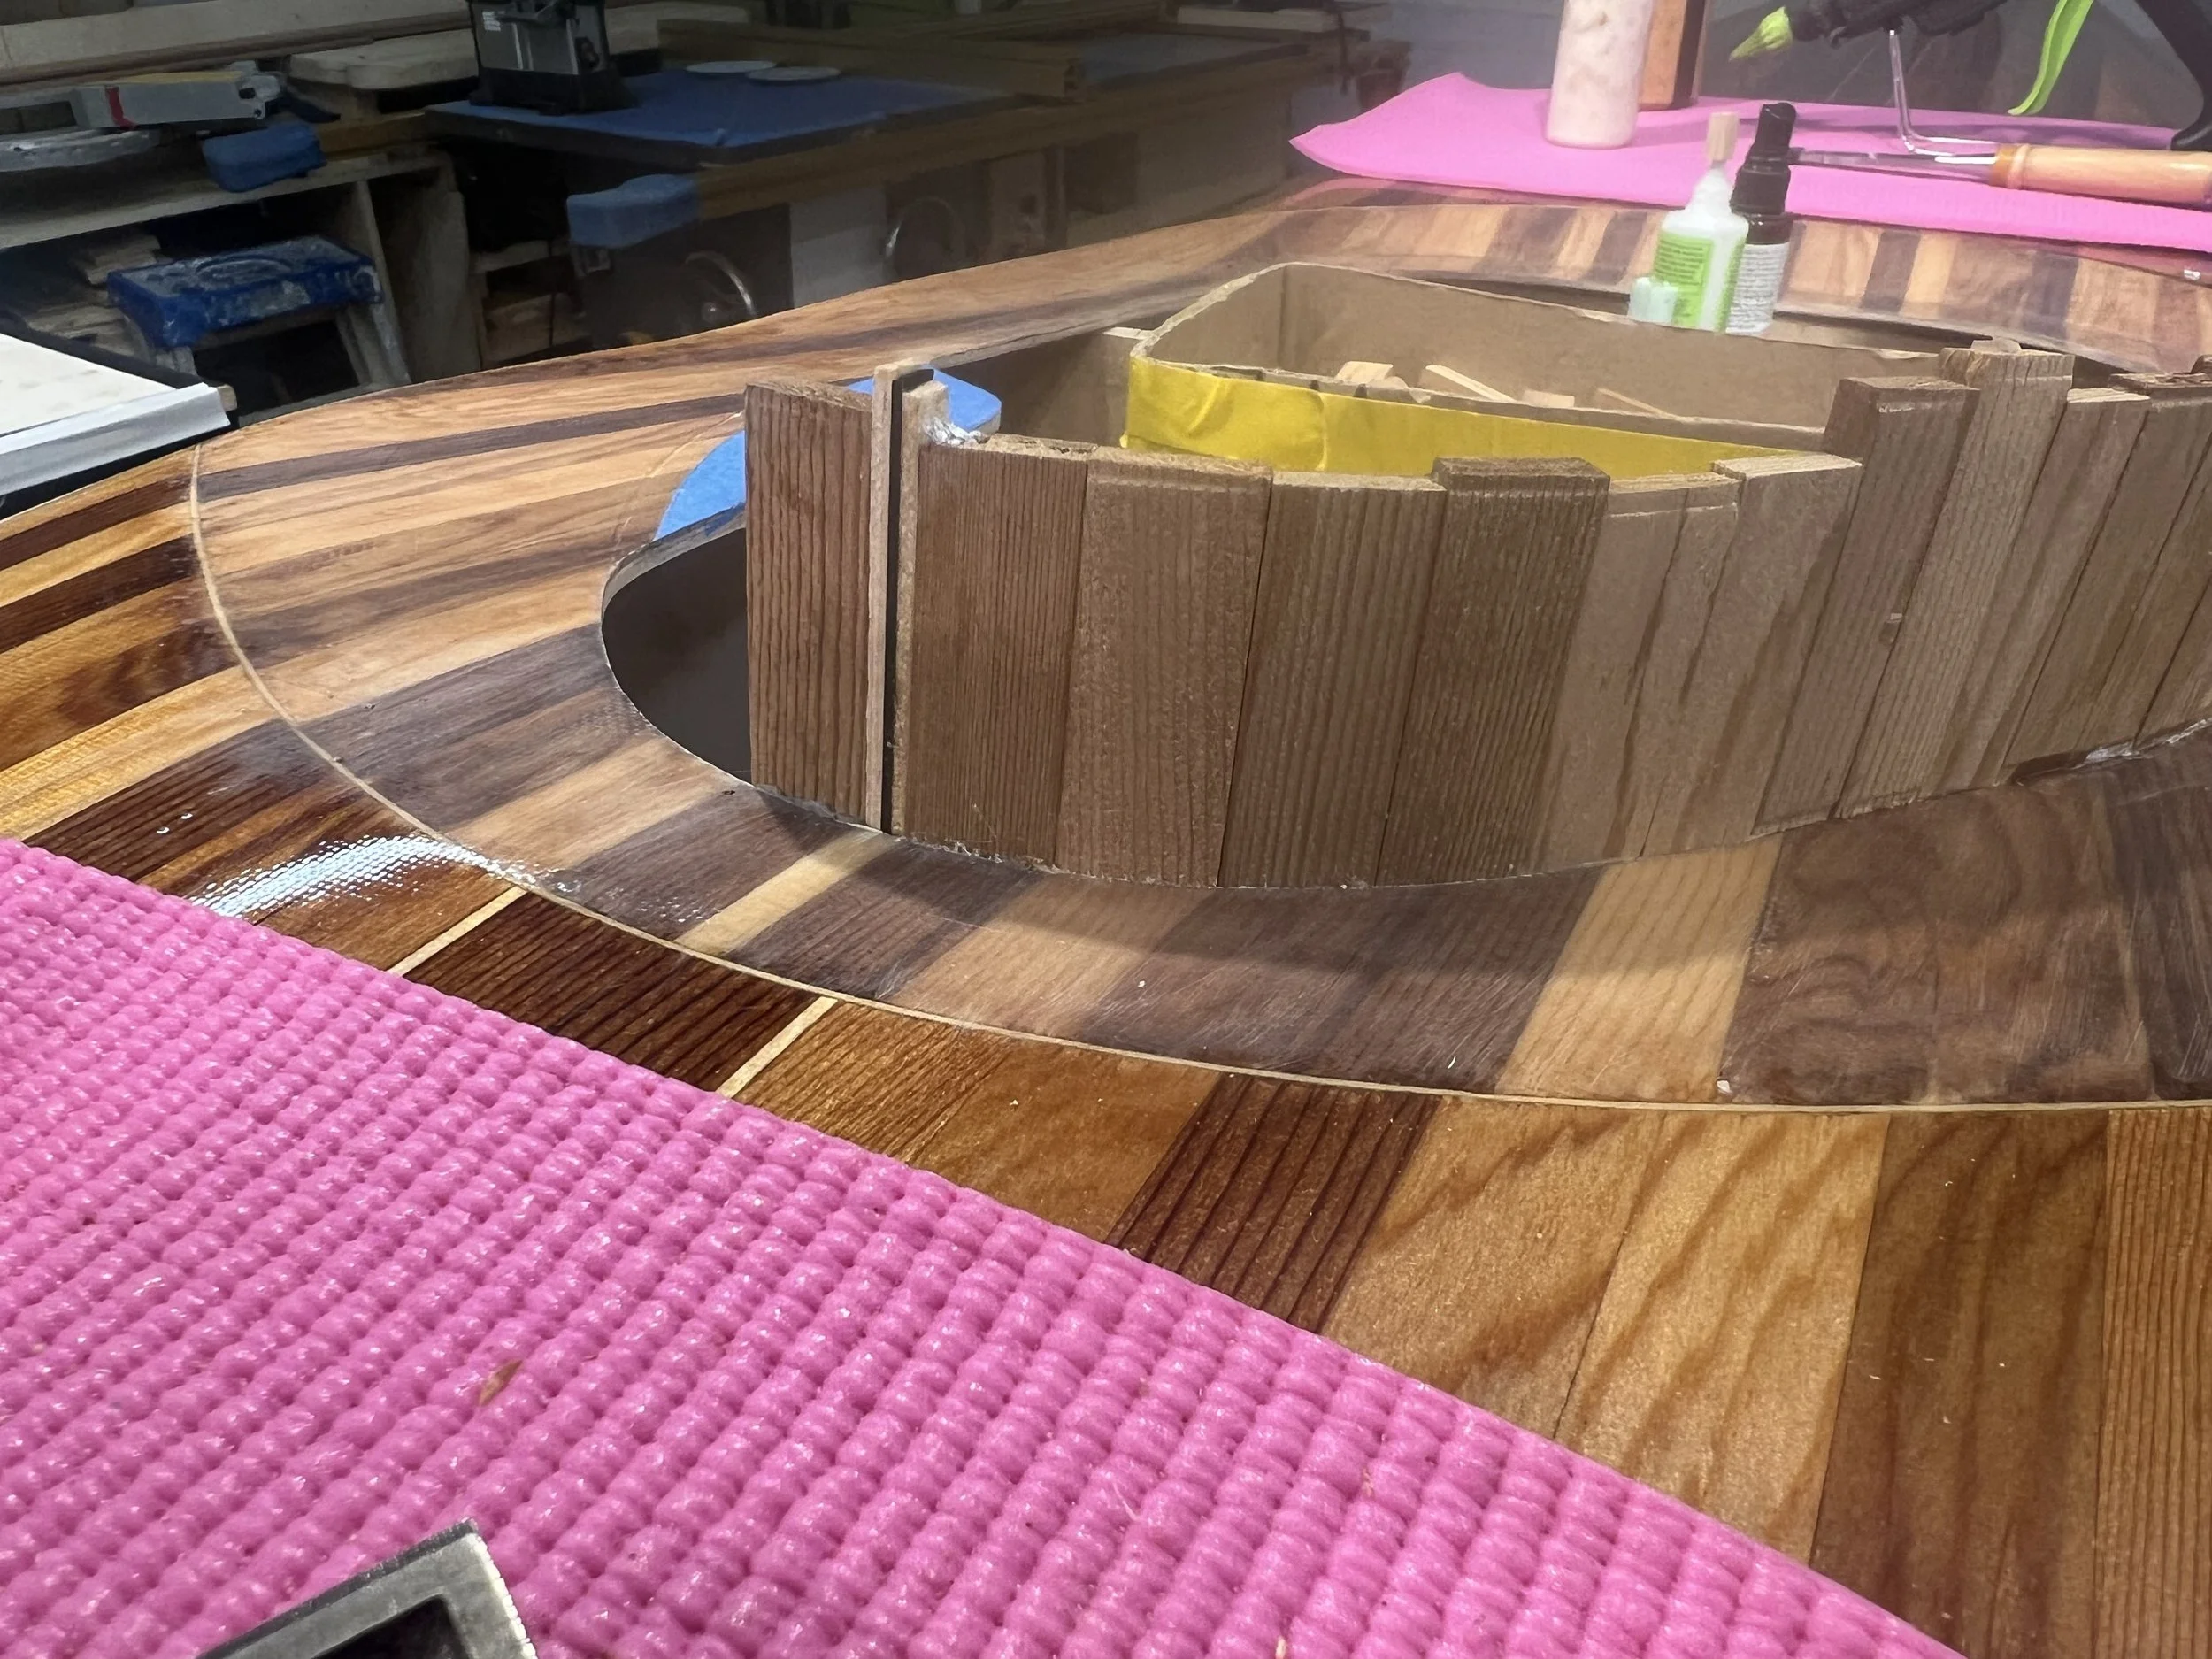
BUILDING THE COCKPIT. Cockpit cutout with 3mm okoume cockpit recess assembly above
-
![]()
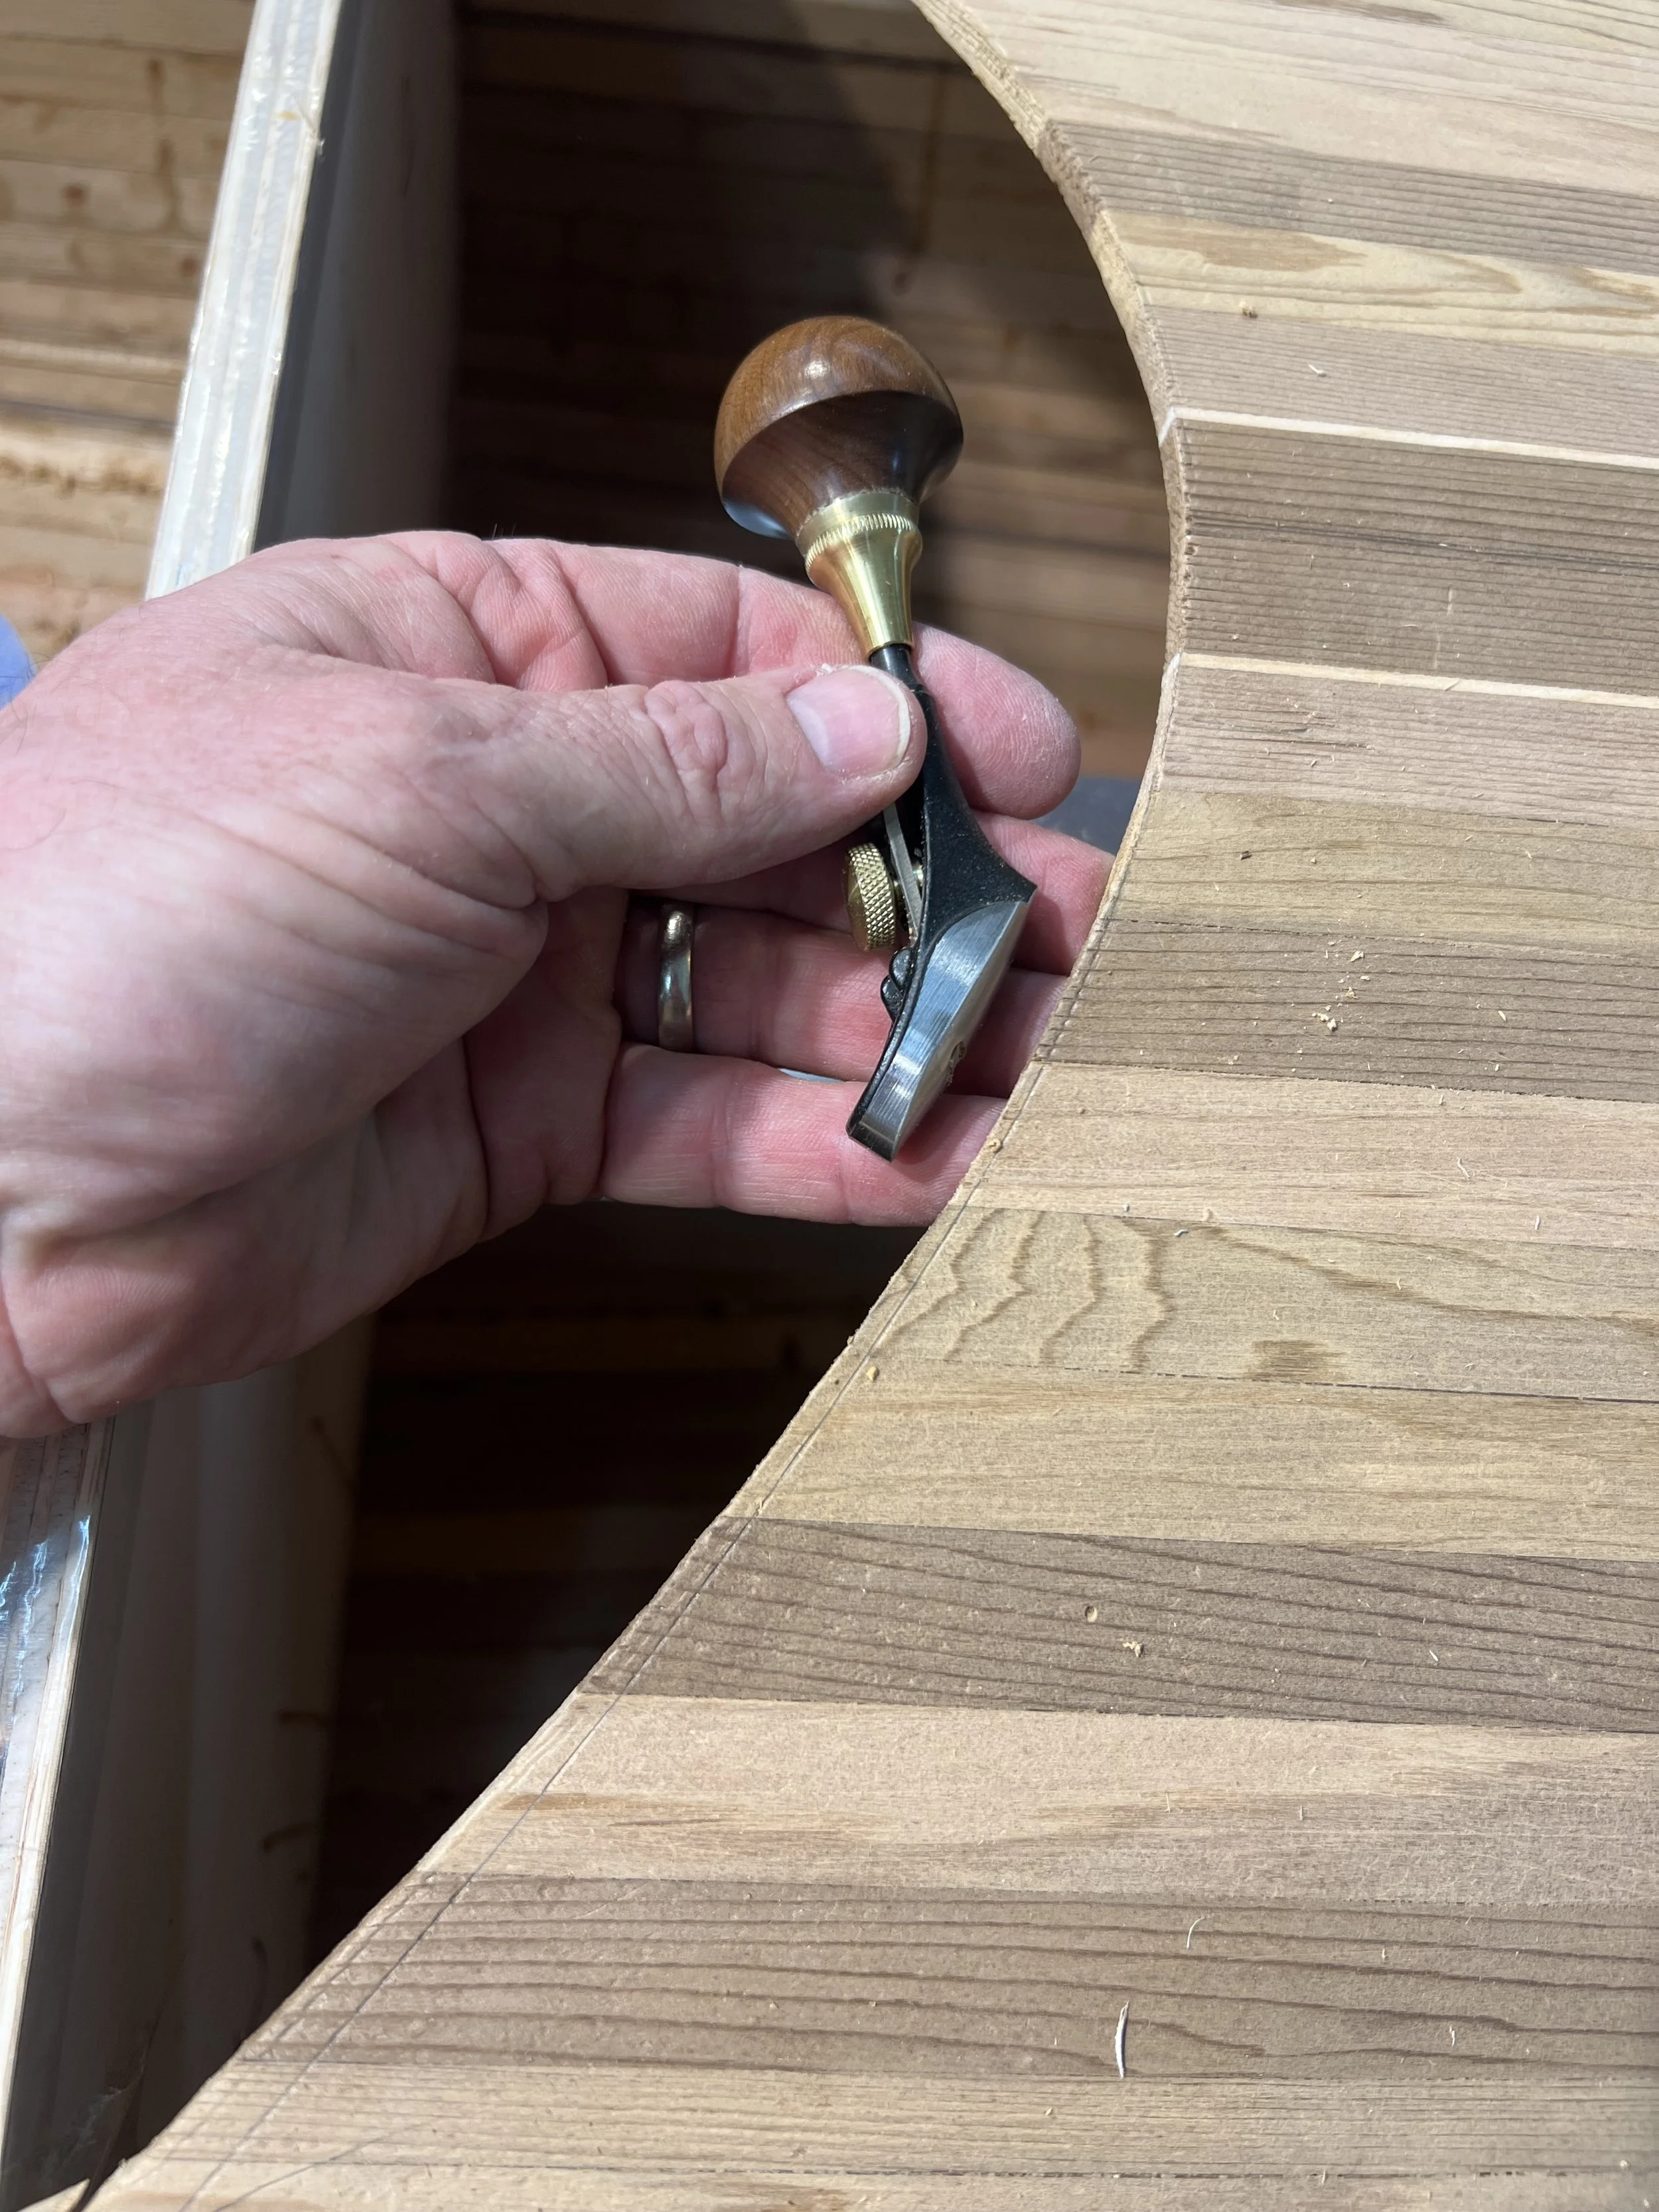
Cleaning up cockpit opening with double curved luthier palm plane
-
![]()
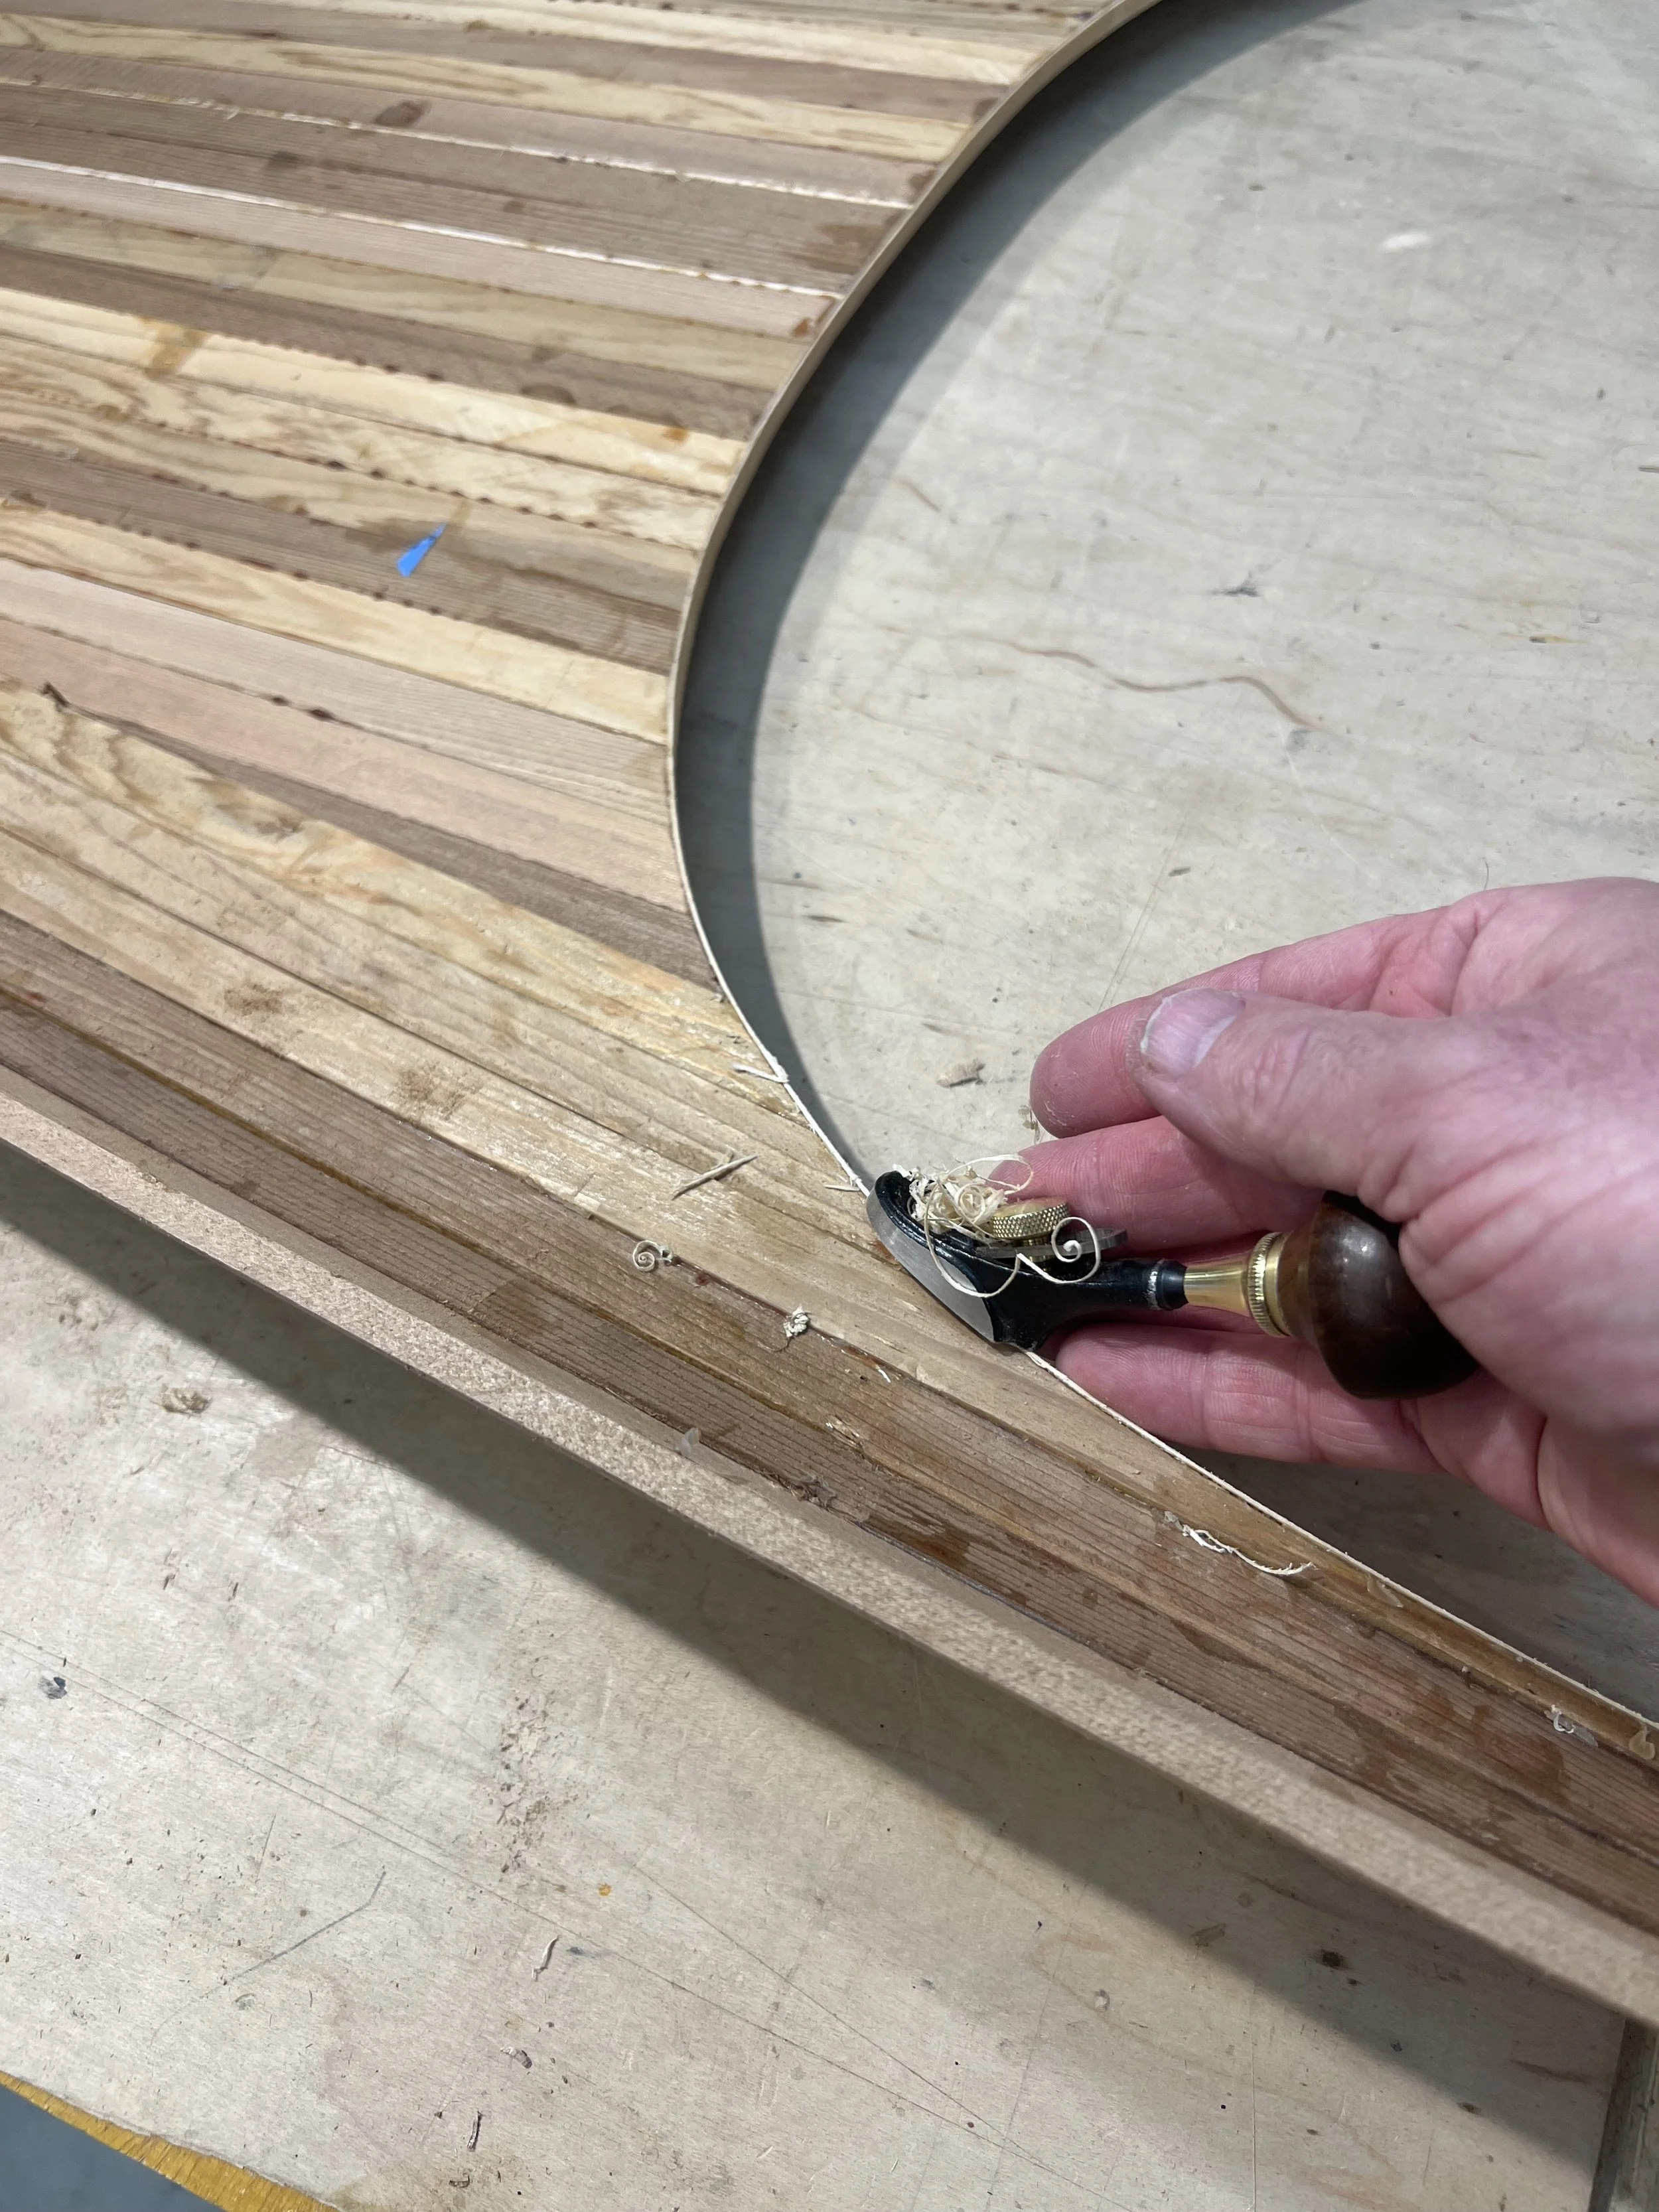
Cleaning up the 3/32" sitka spruce accent with a flat luthier palm plane underneath the deck
-
![]()
Laminating the cockpit recess assembly with 1/16" western red cedar strips to somewhat match deck pattern. The many colors and patterns of the cedar strips to left.
-
![]()
Finishing up the laminates on cockpit recess assembly
-
![]()
Hotglue risers at opening edge and yellow glue to one another. Risers will be encapsulated in 4oz fiberglass cloth and epoxy. A large sawdust and epoxy fillet will strengthen deck to riser.
-
![]()
Center riser detail of Western Red Cedar, Sitka Spruce. Ebony, Sitka Spruce, Western Red Cedar riser detail.
-
![]()
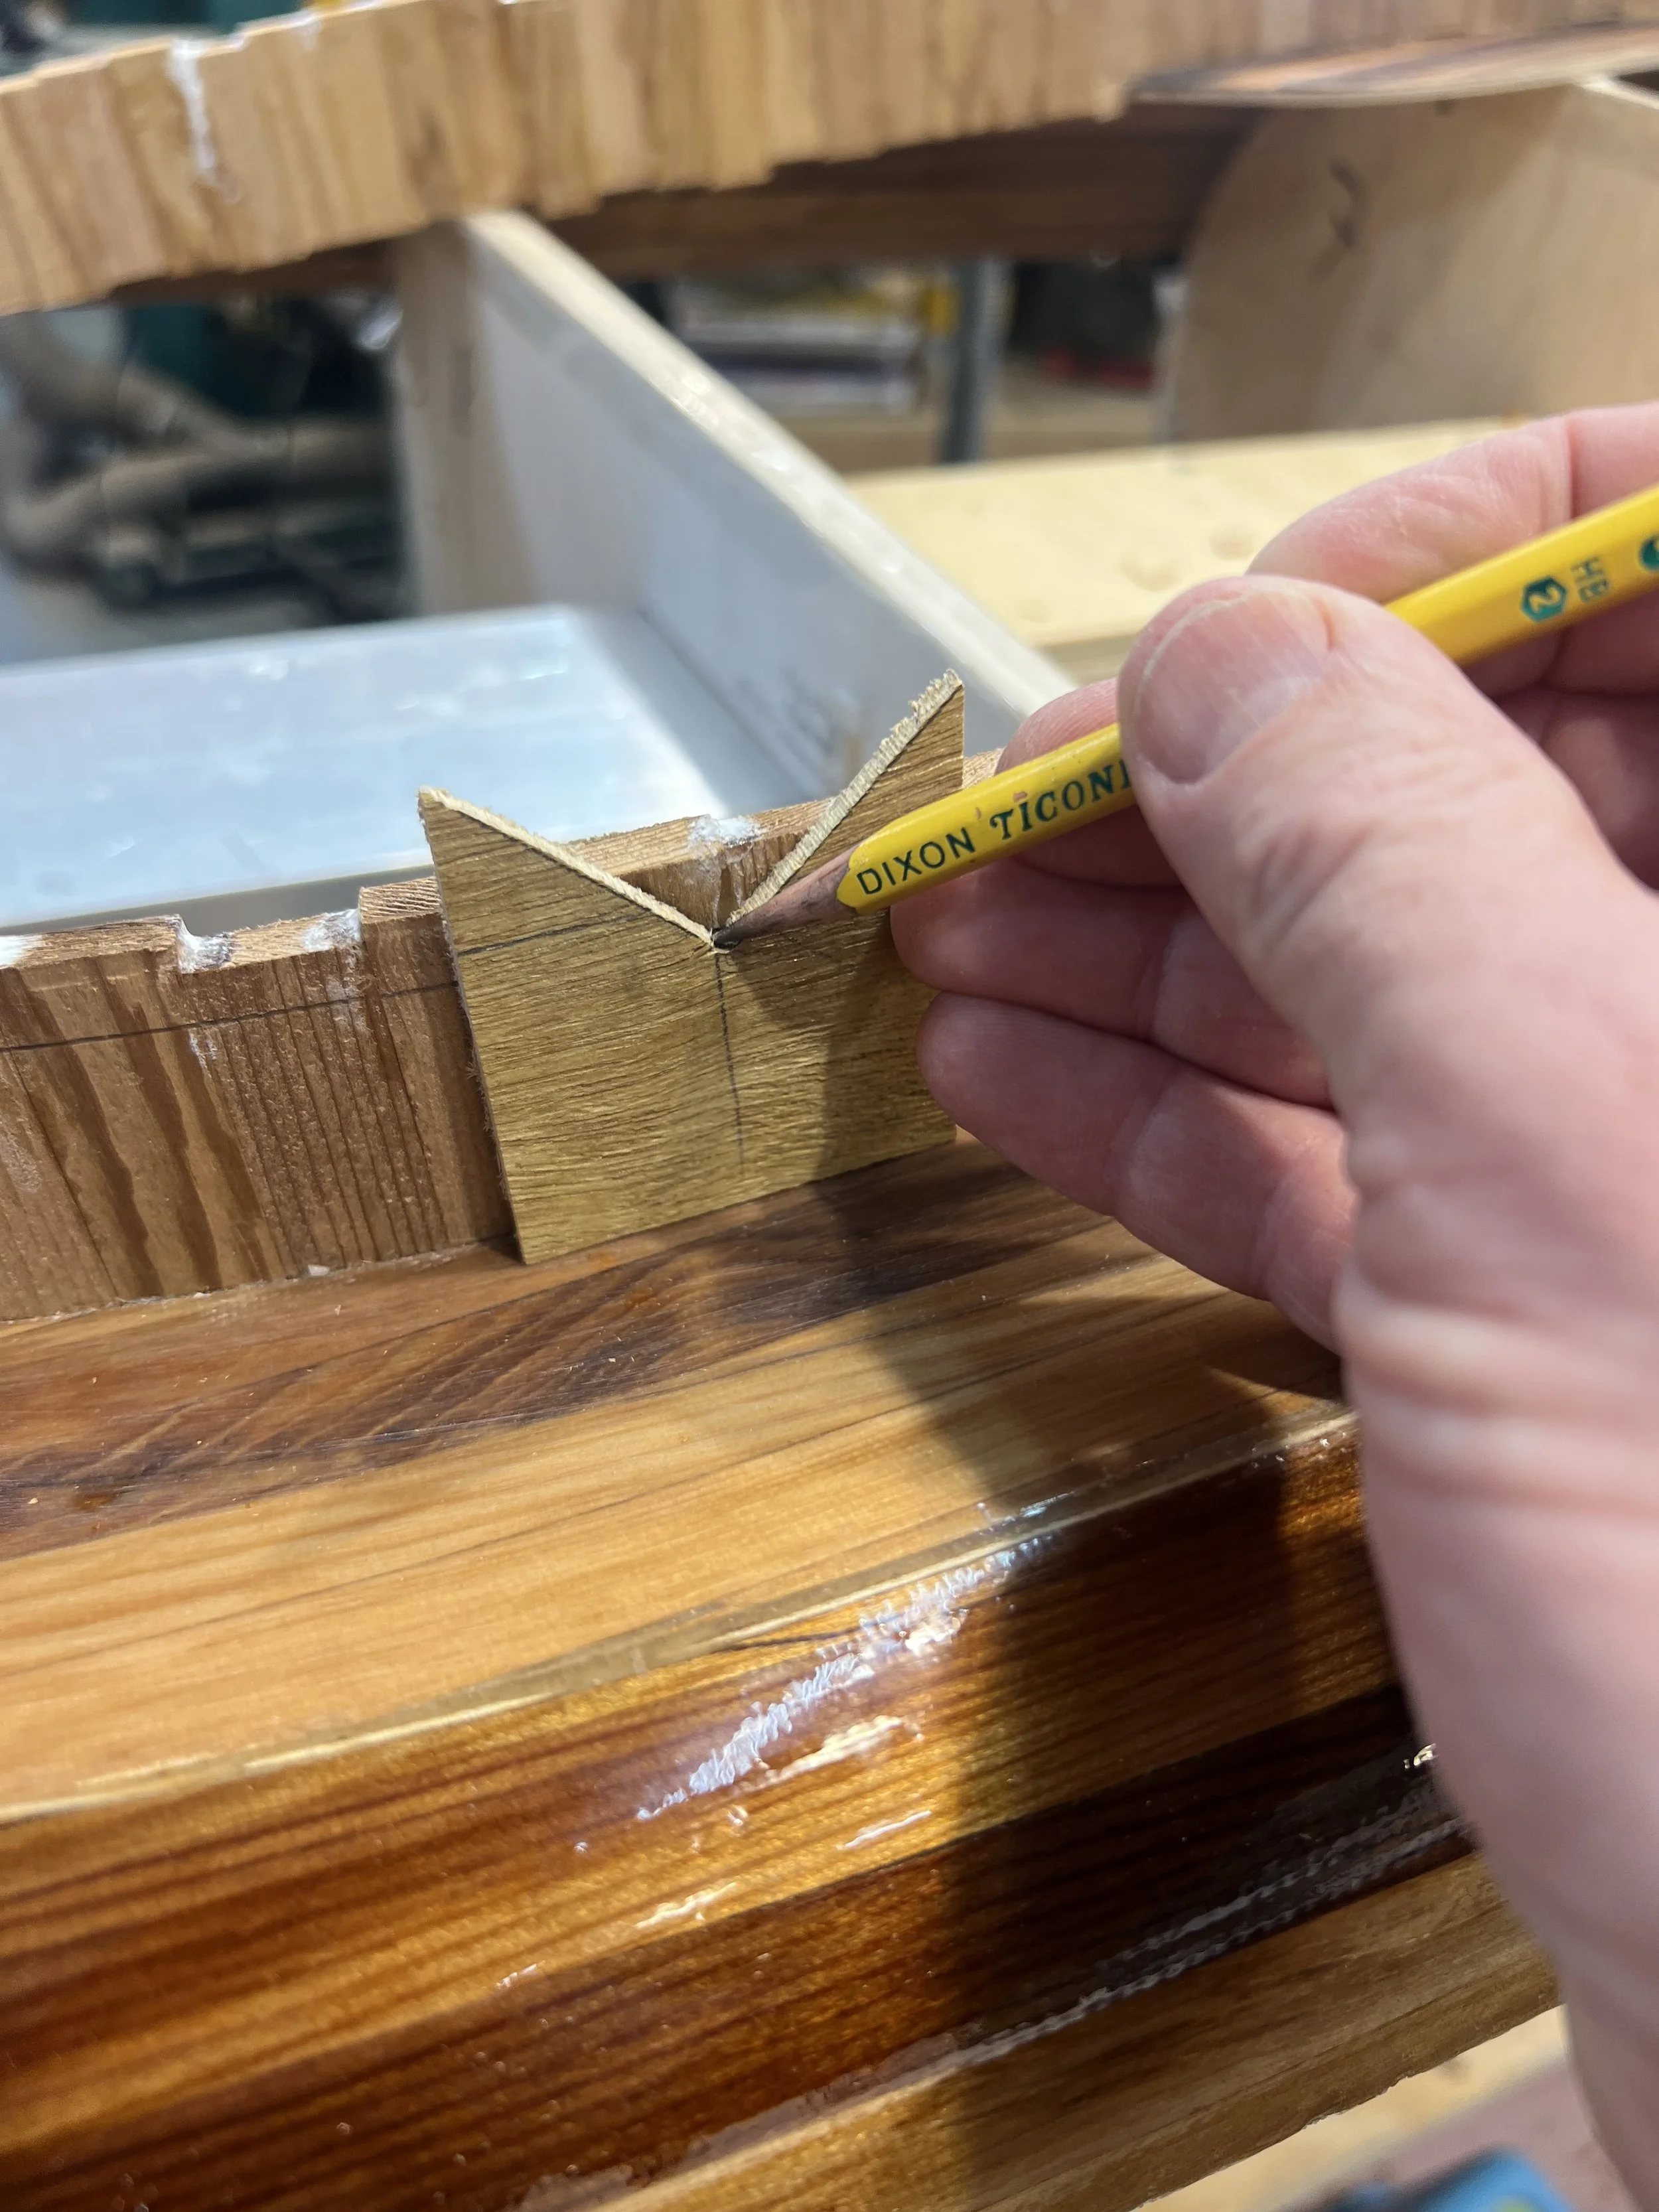
Scribing riser to 1 1/4" to be cut even.
-
![]()
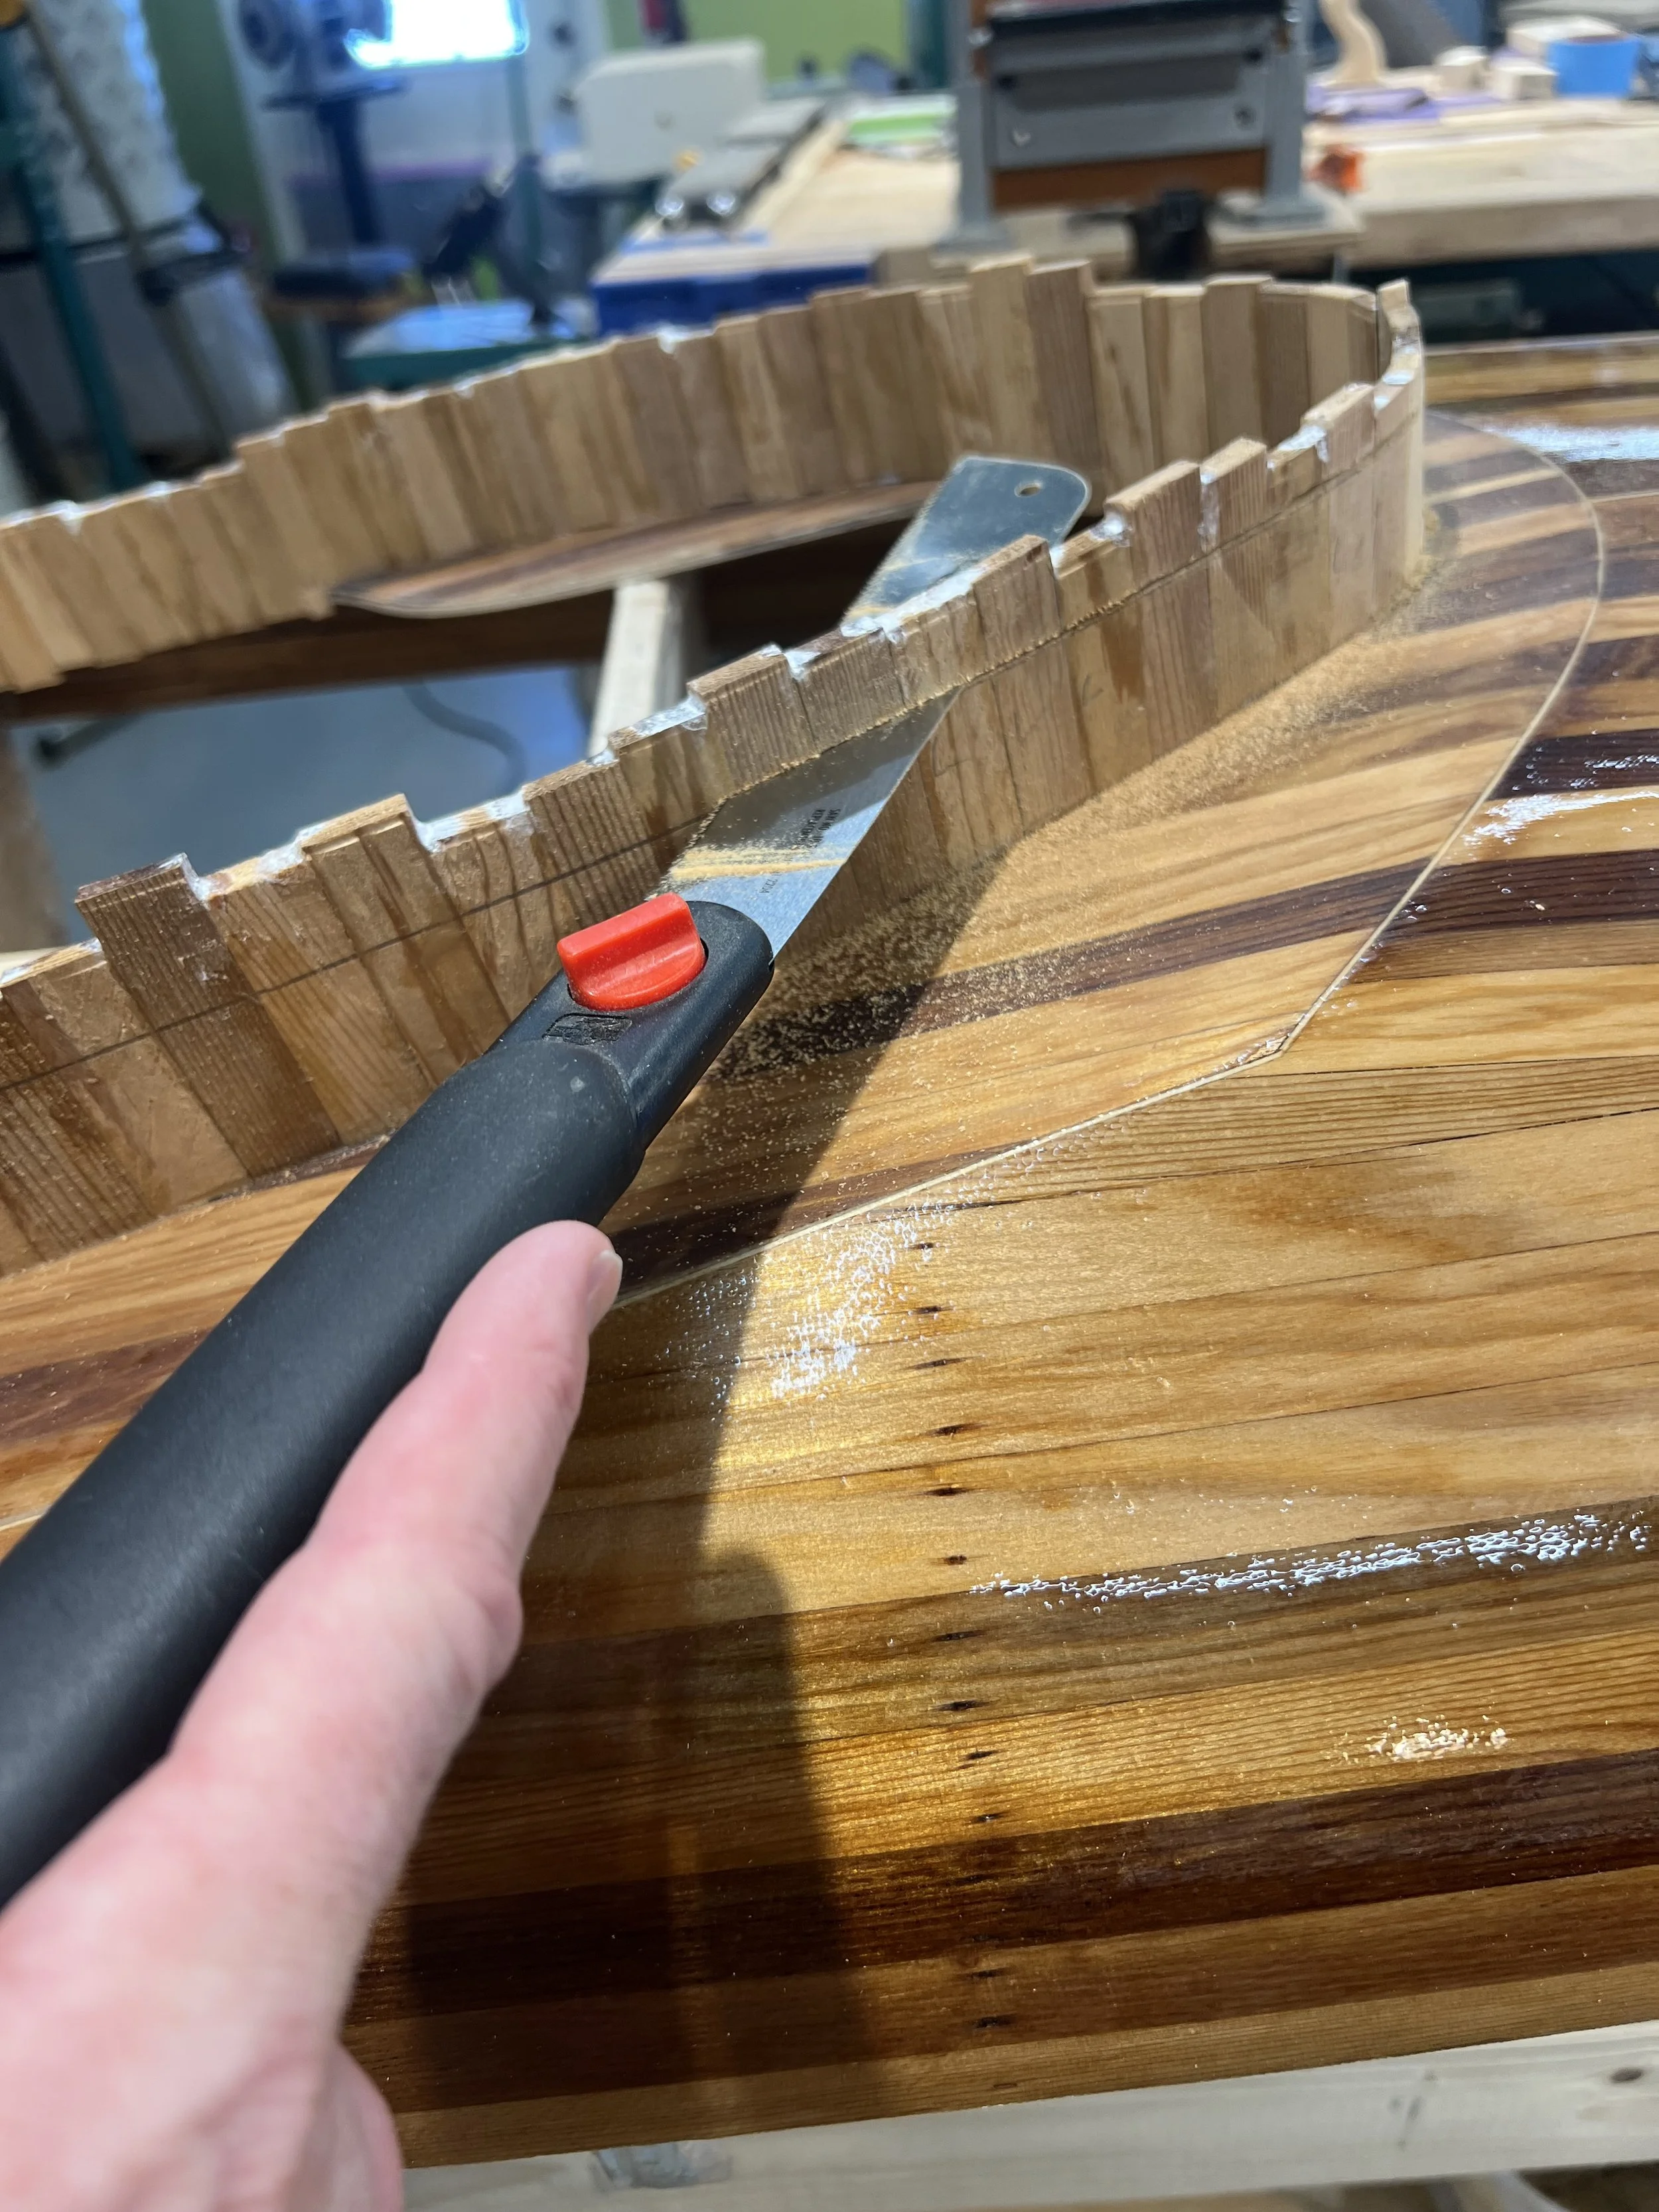
Cutting riser with thin kerfed pull saw. Next step to apply a 3/8" fillet of epoxy and sawdust to deck to the riser intersection and cover with fiberglass cloth and epoxy.
-
![]()
Testing 18 thin 1/16"x1/4" Mahogany and Sitka Spruce strips that make up lip laminate to hold spray skirt.
-
![]()
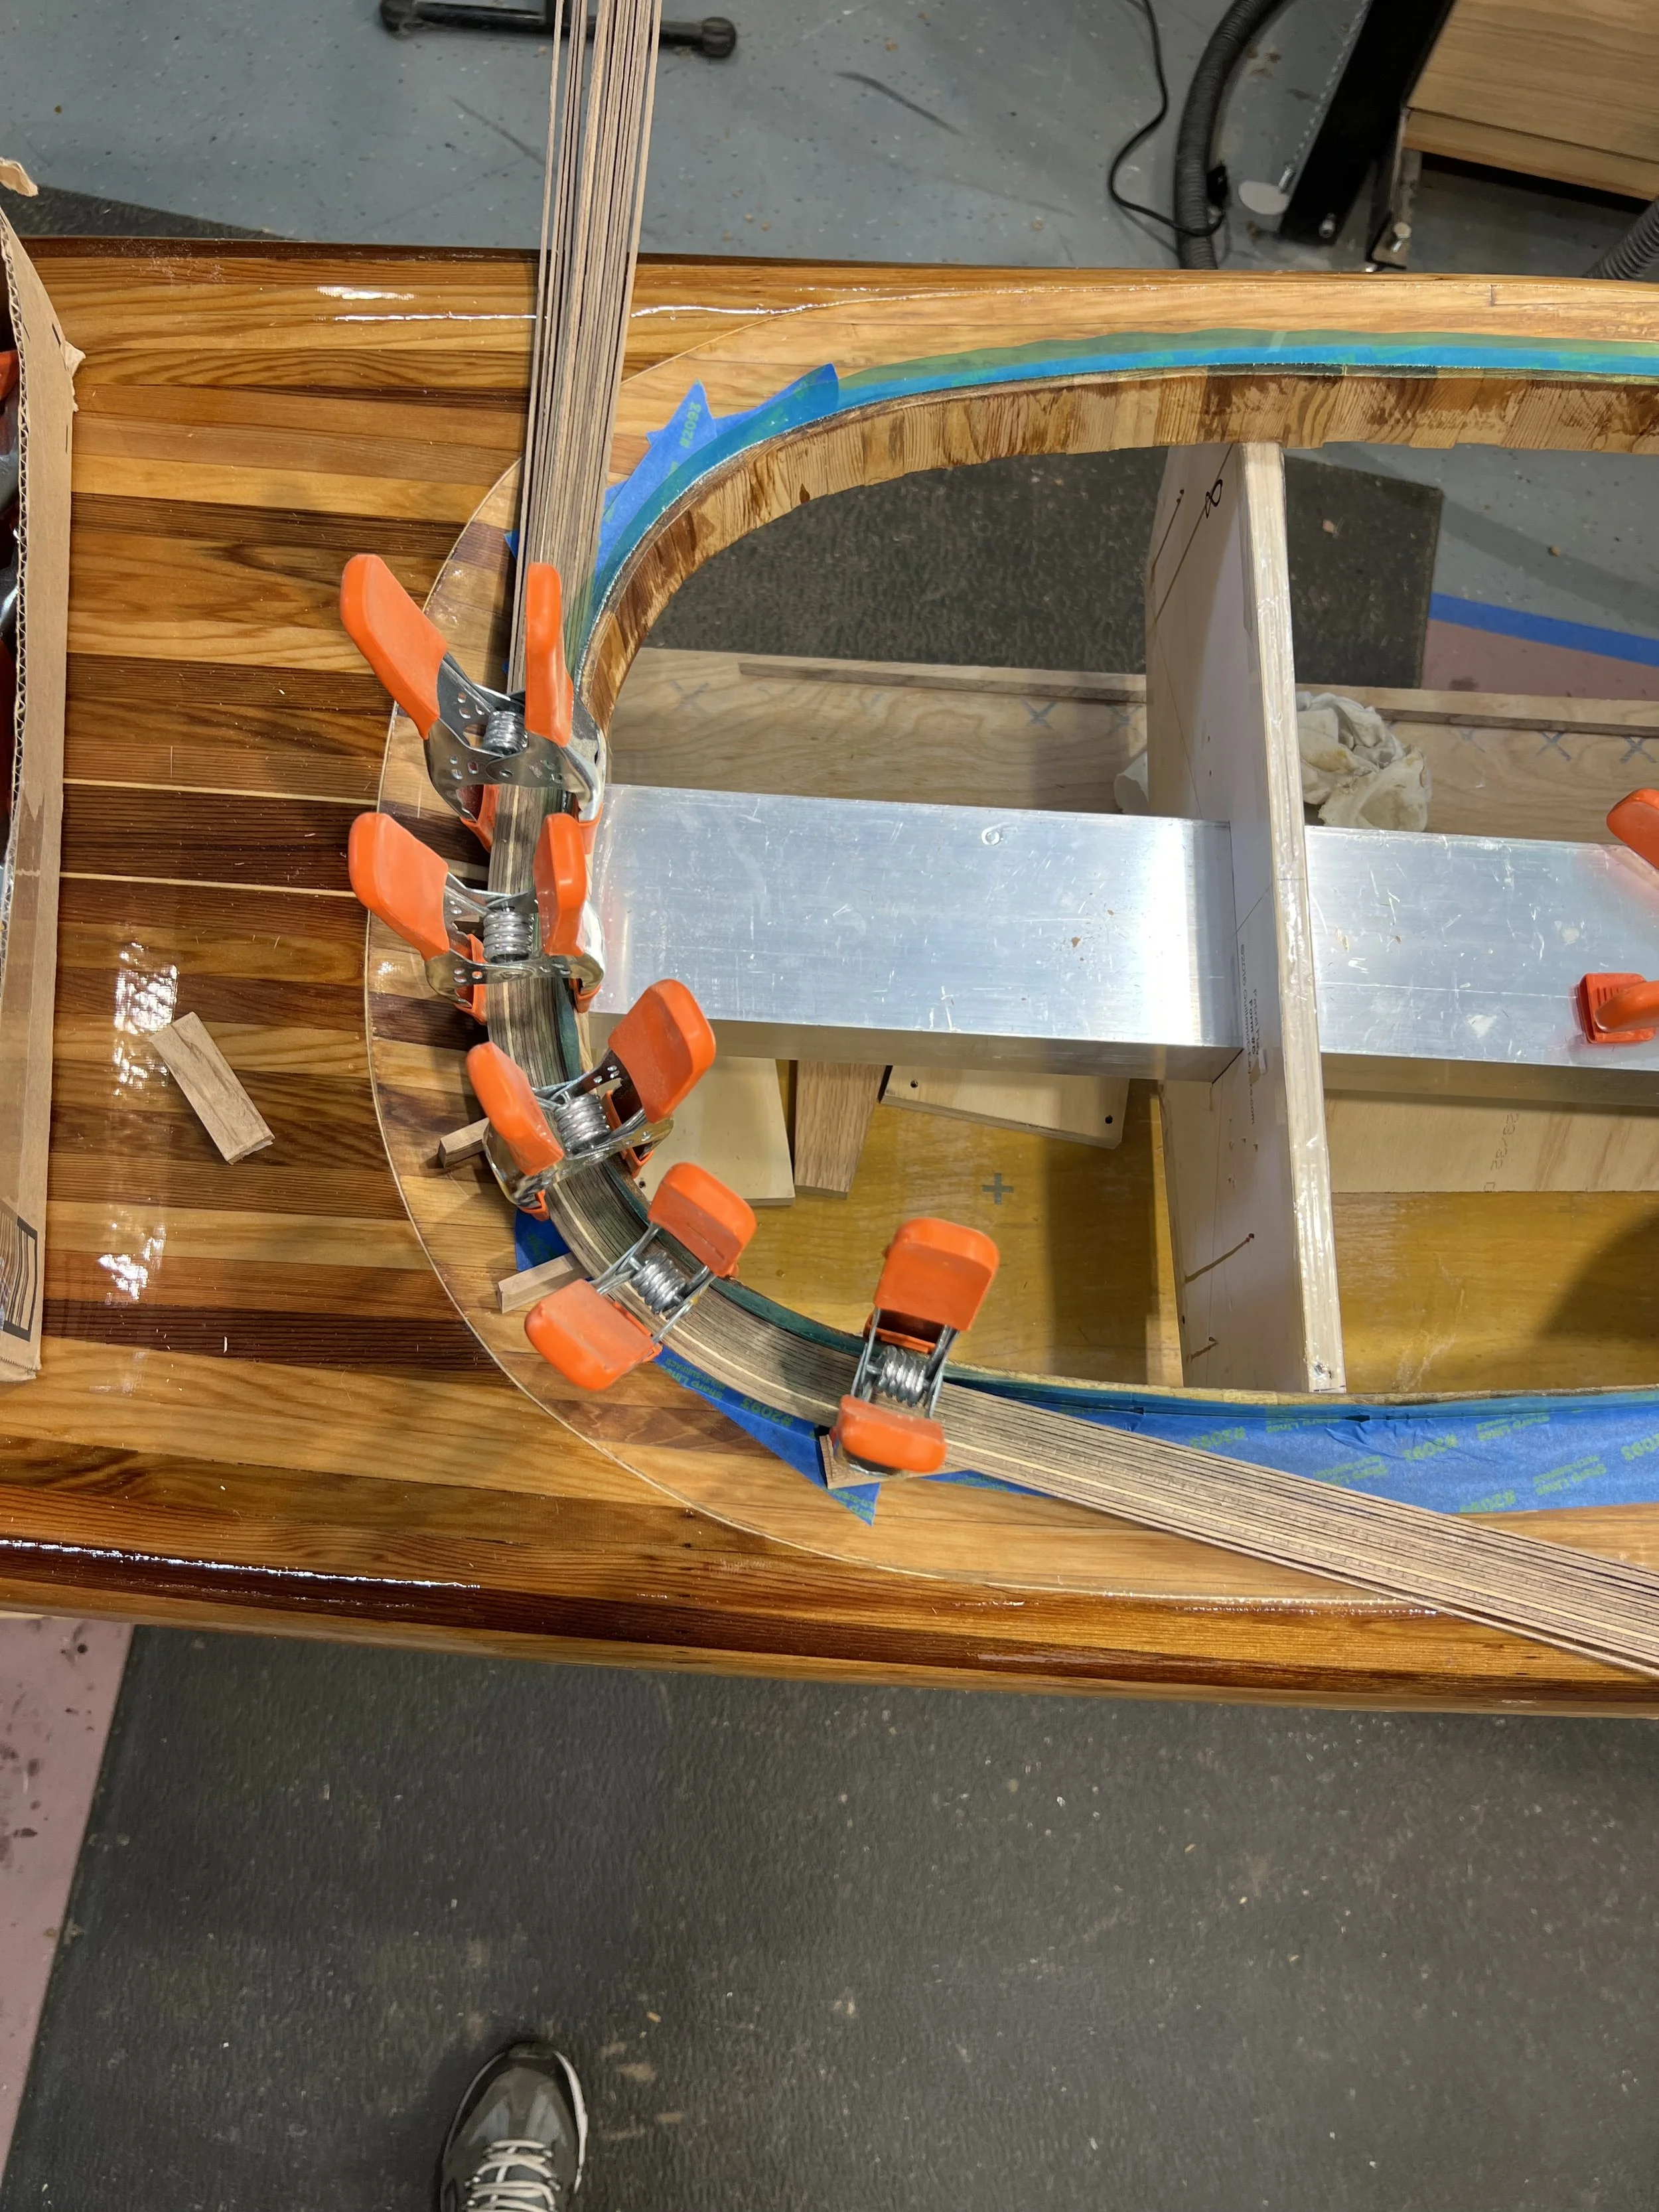
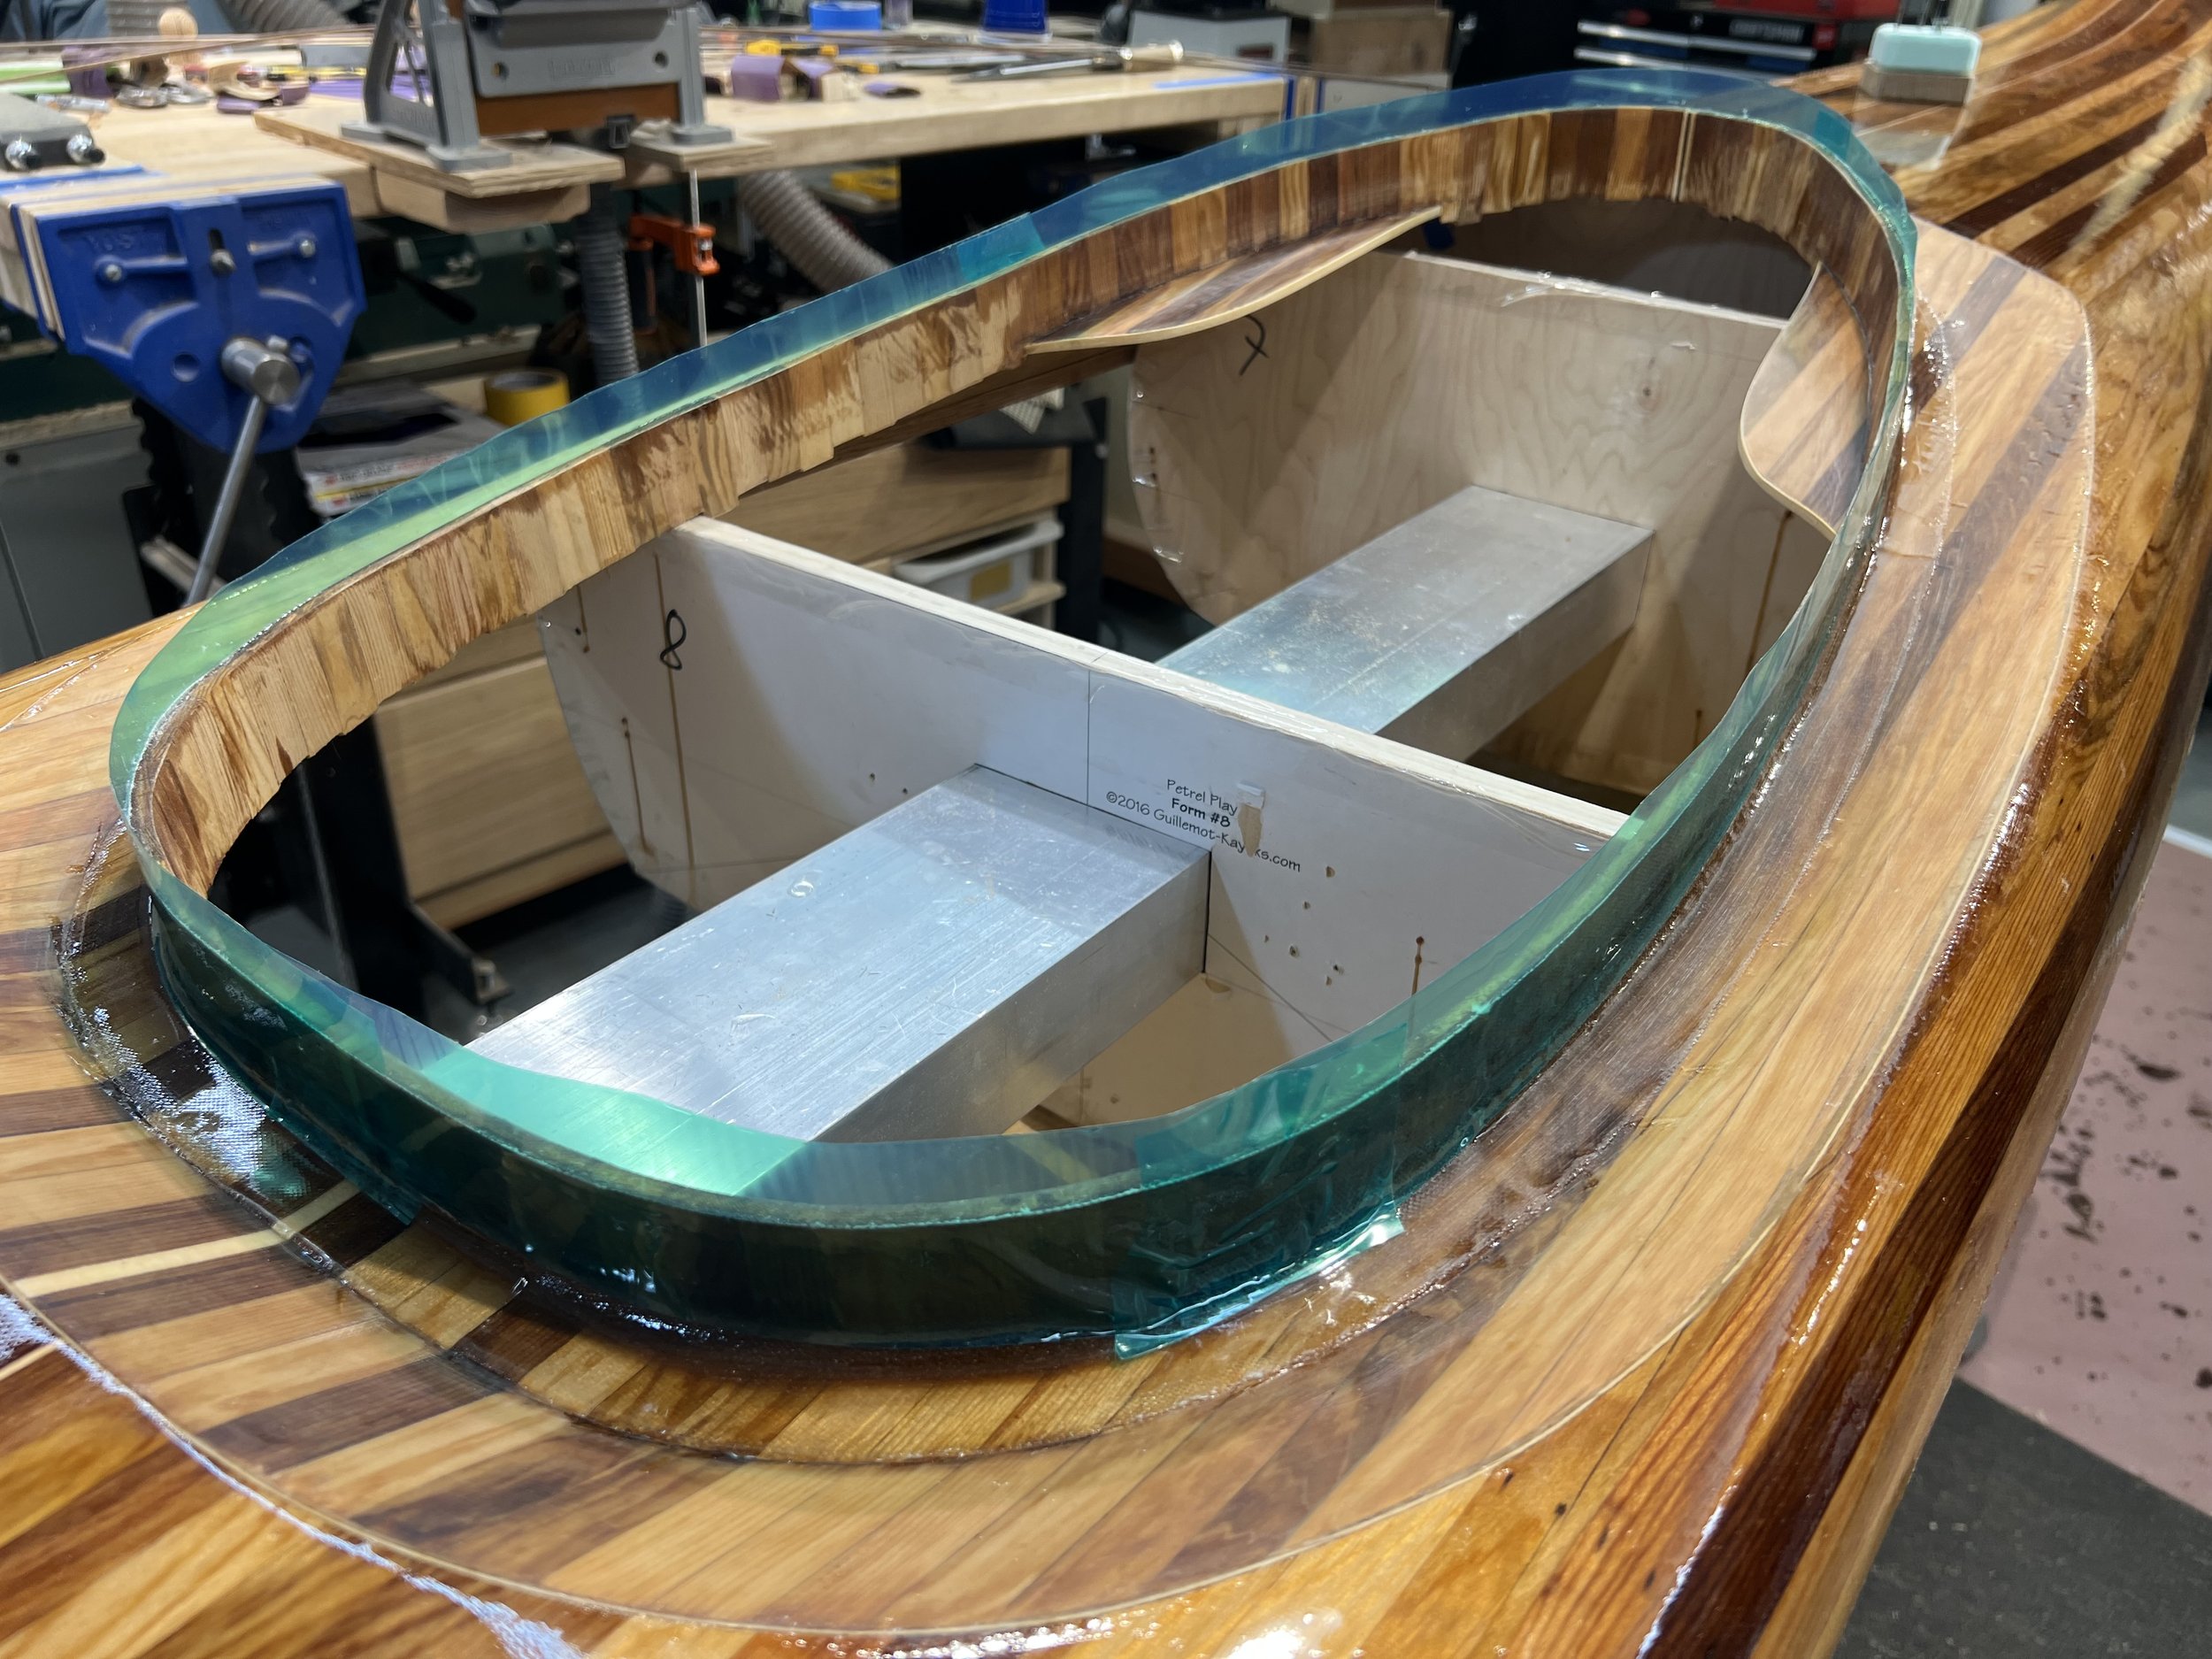
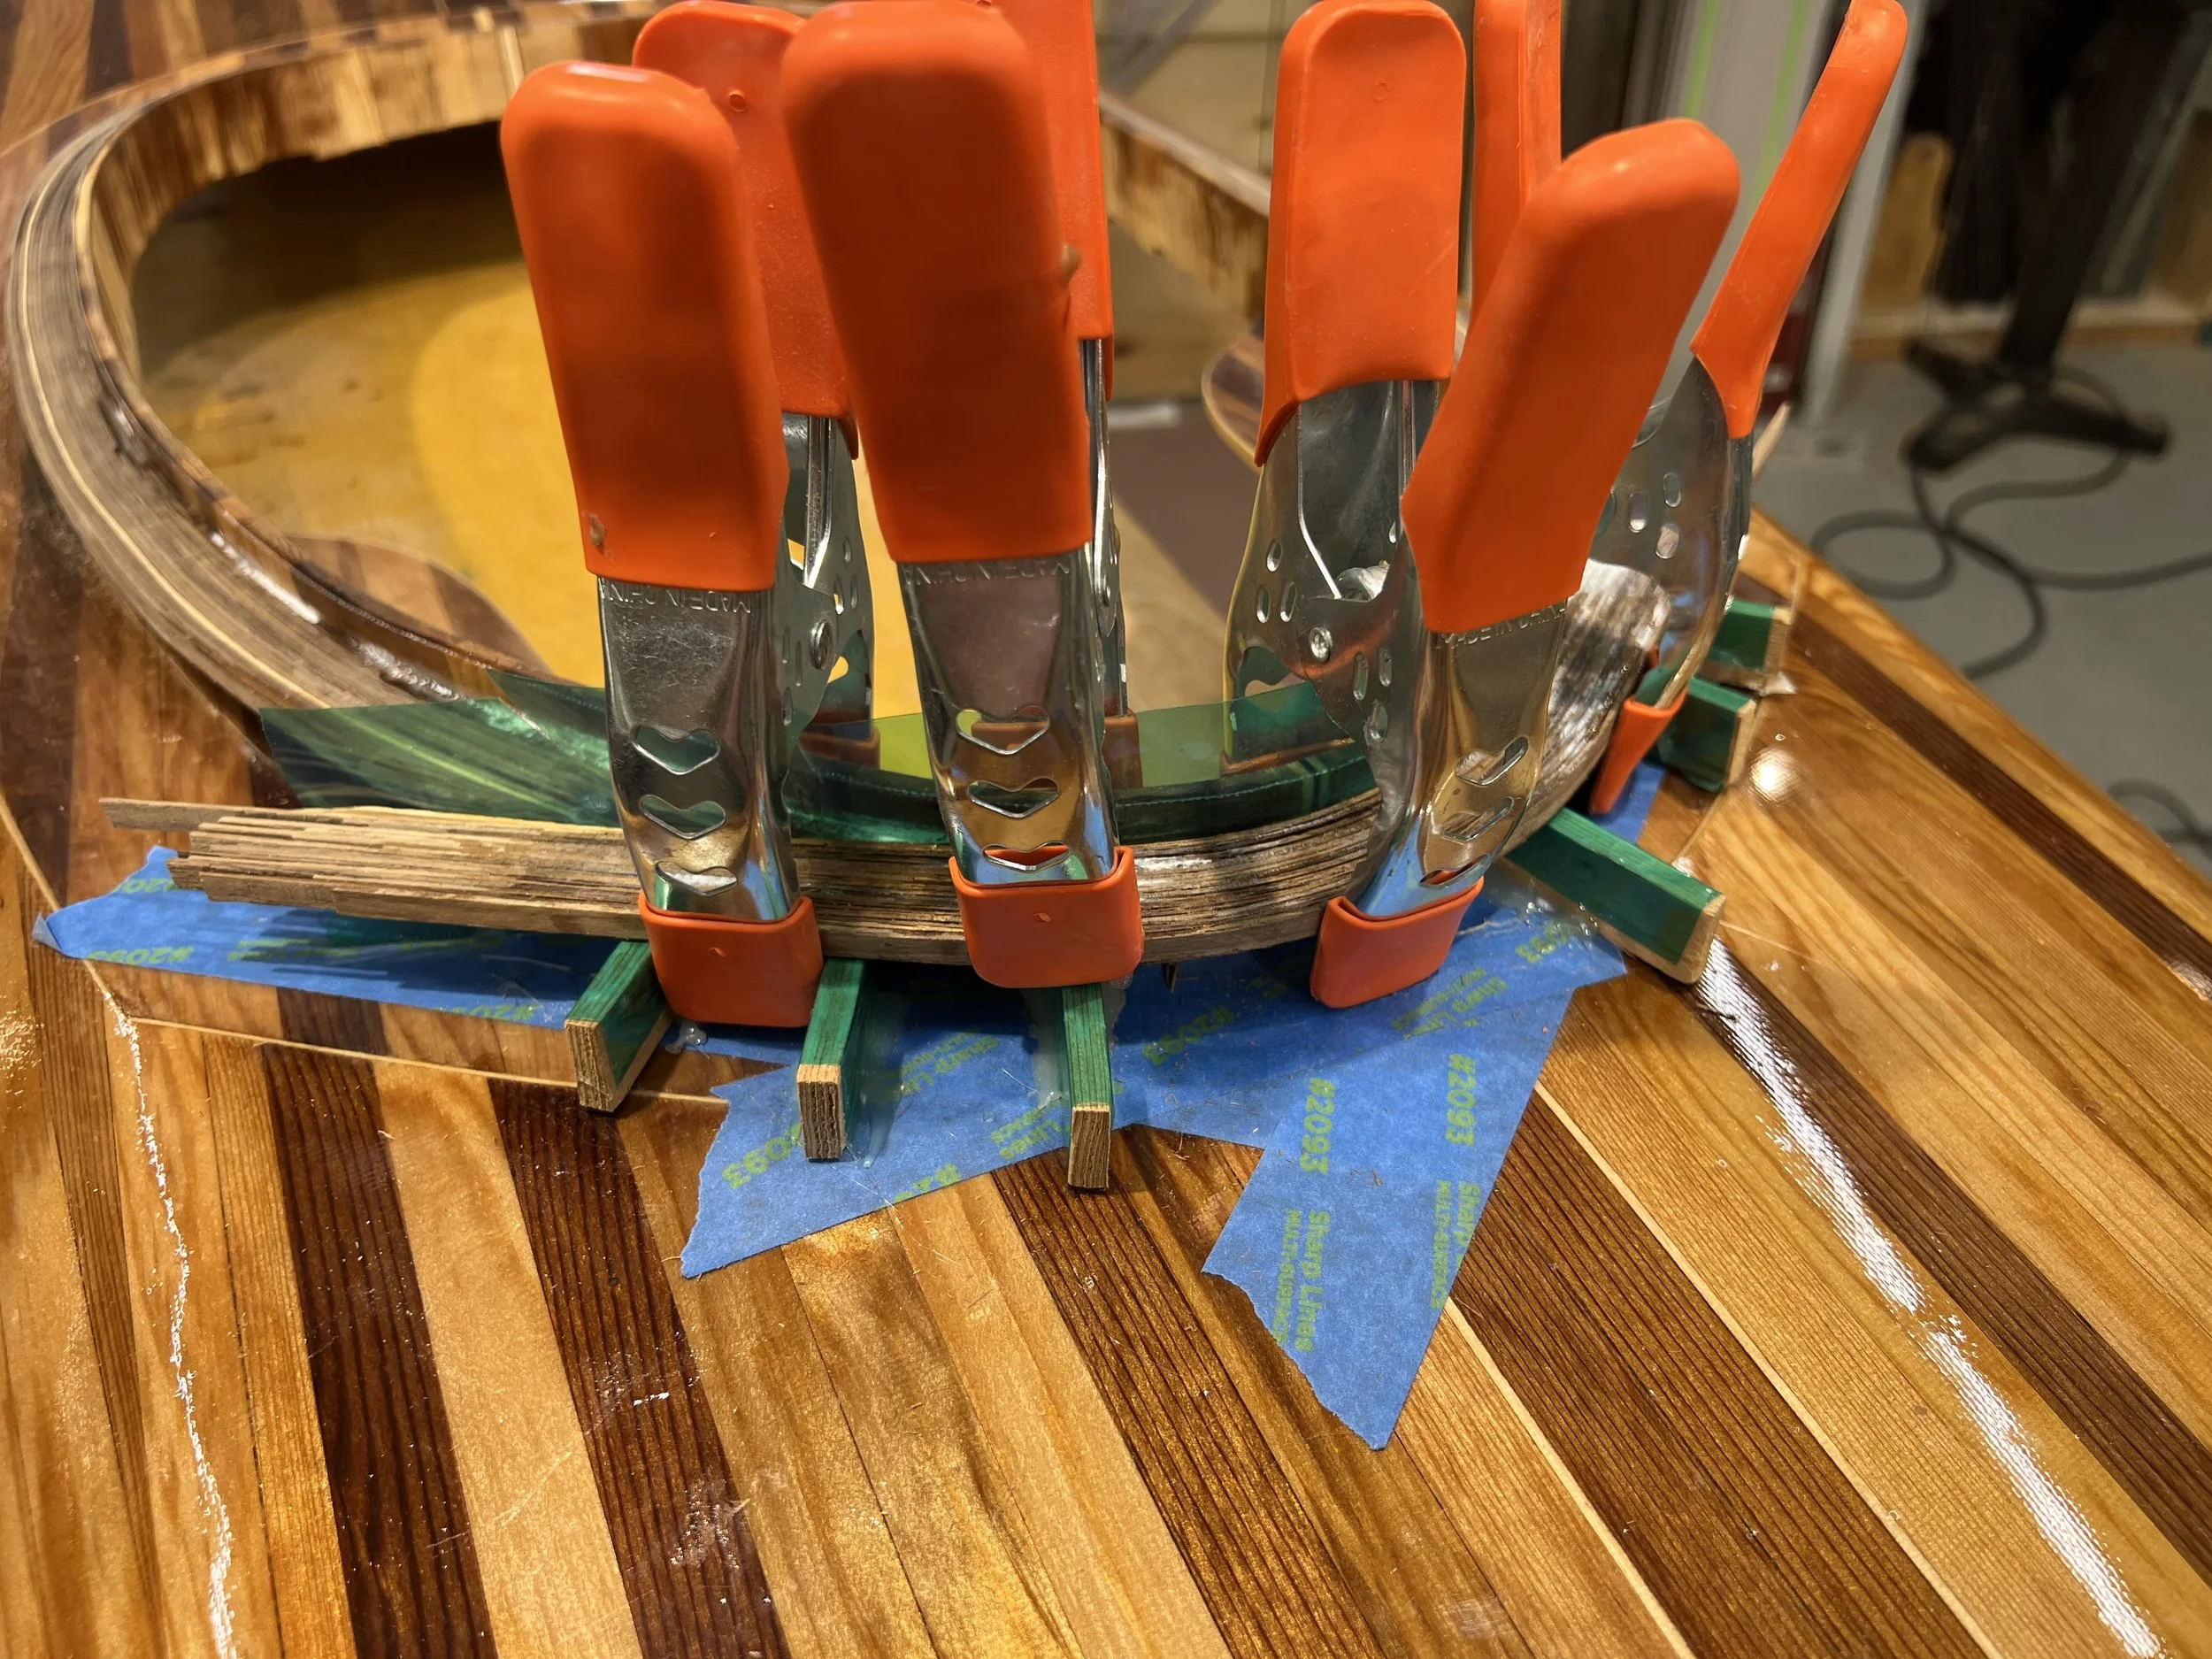
Green flashing tape (APT, 2 MIL Polyester tape) covering riser to create a mold for riser lip. Slightly tenacious and impervious to all adhesives.
-
![]()
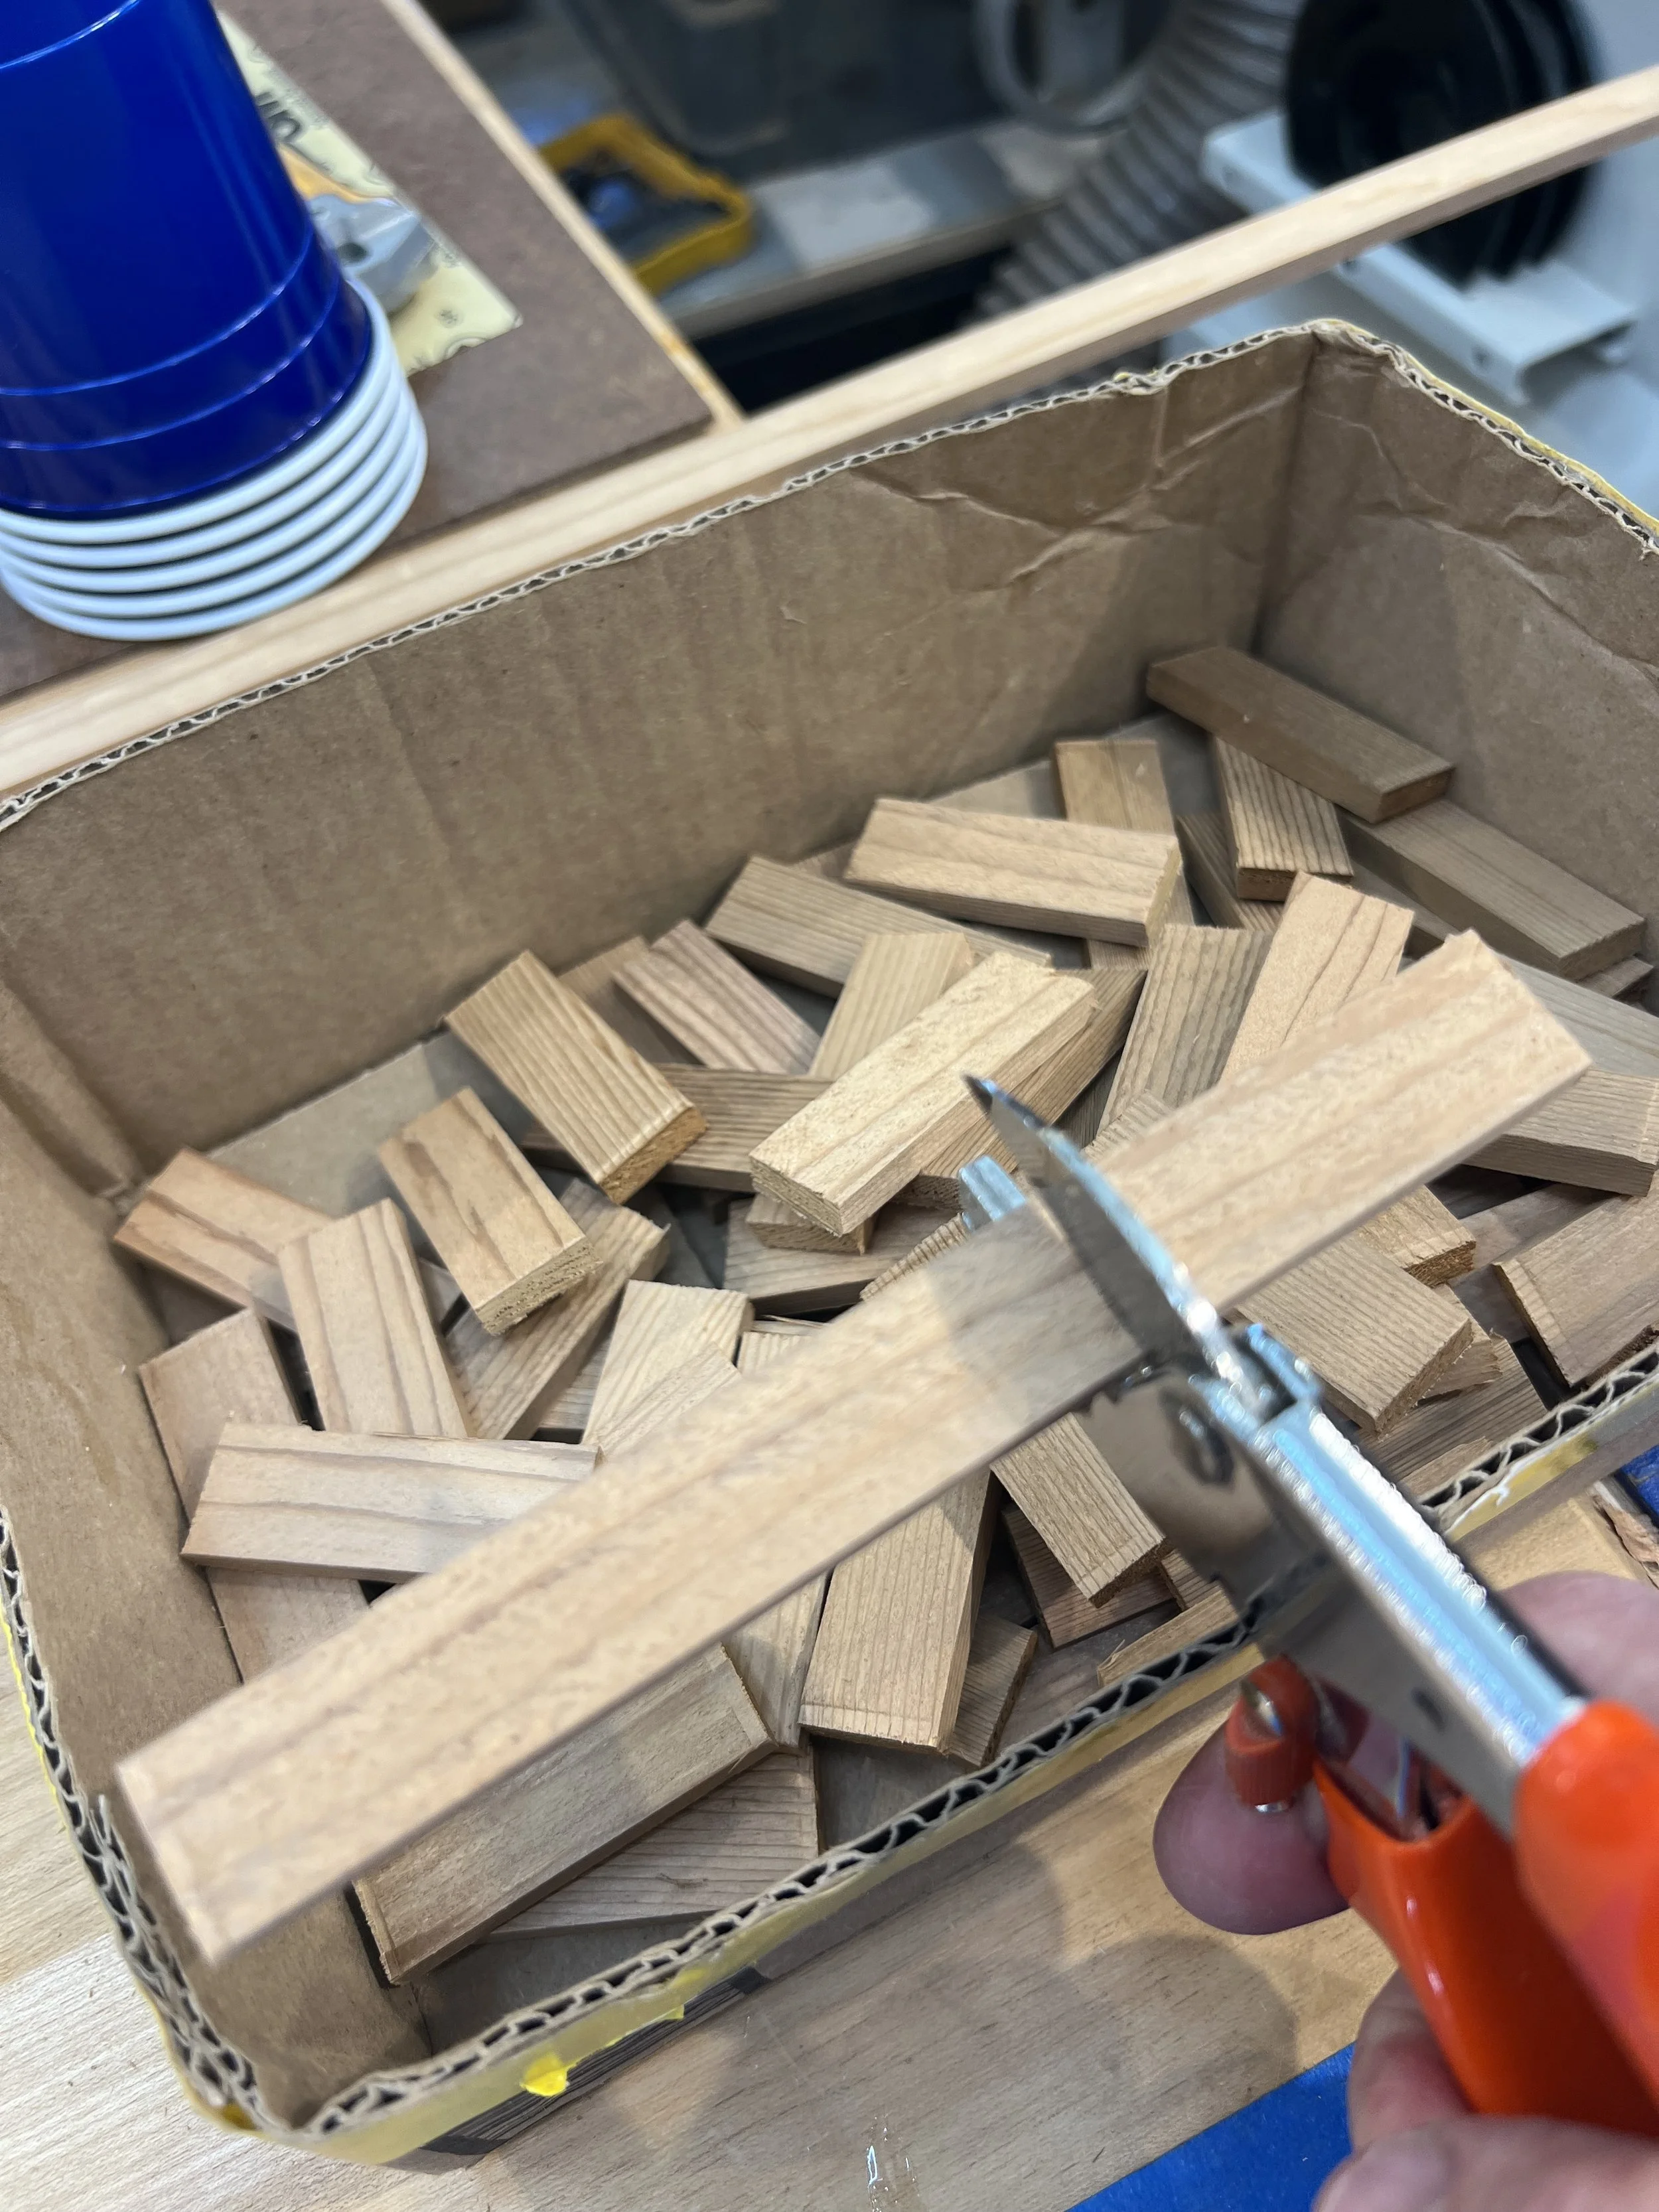
Cutting scrap strips to 2'' with anvil type shears for cockpit lip spacer temporary stand..
-
![]()
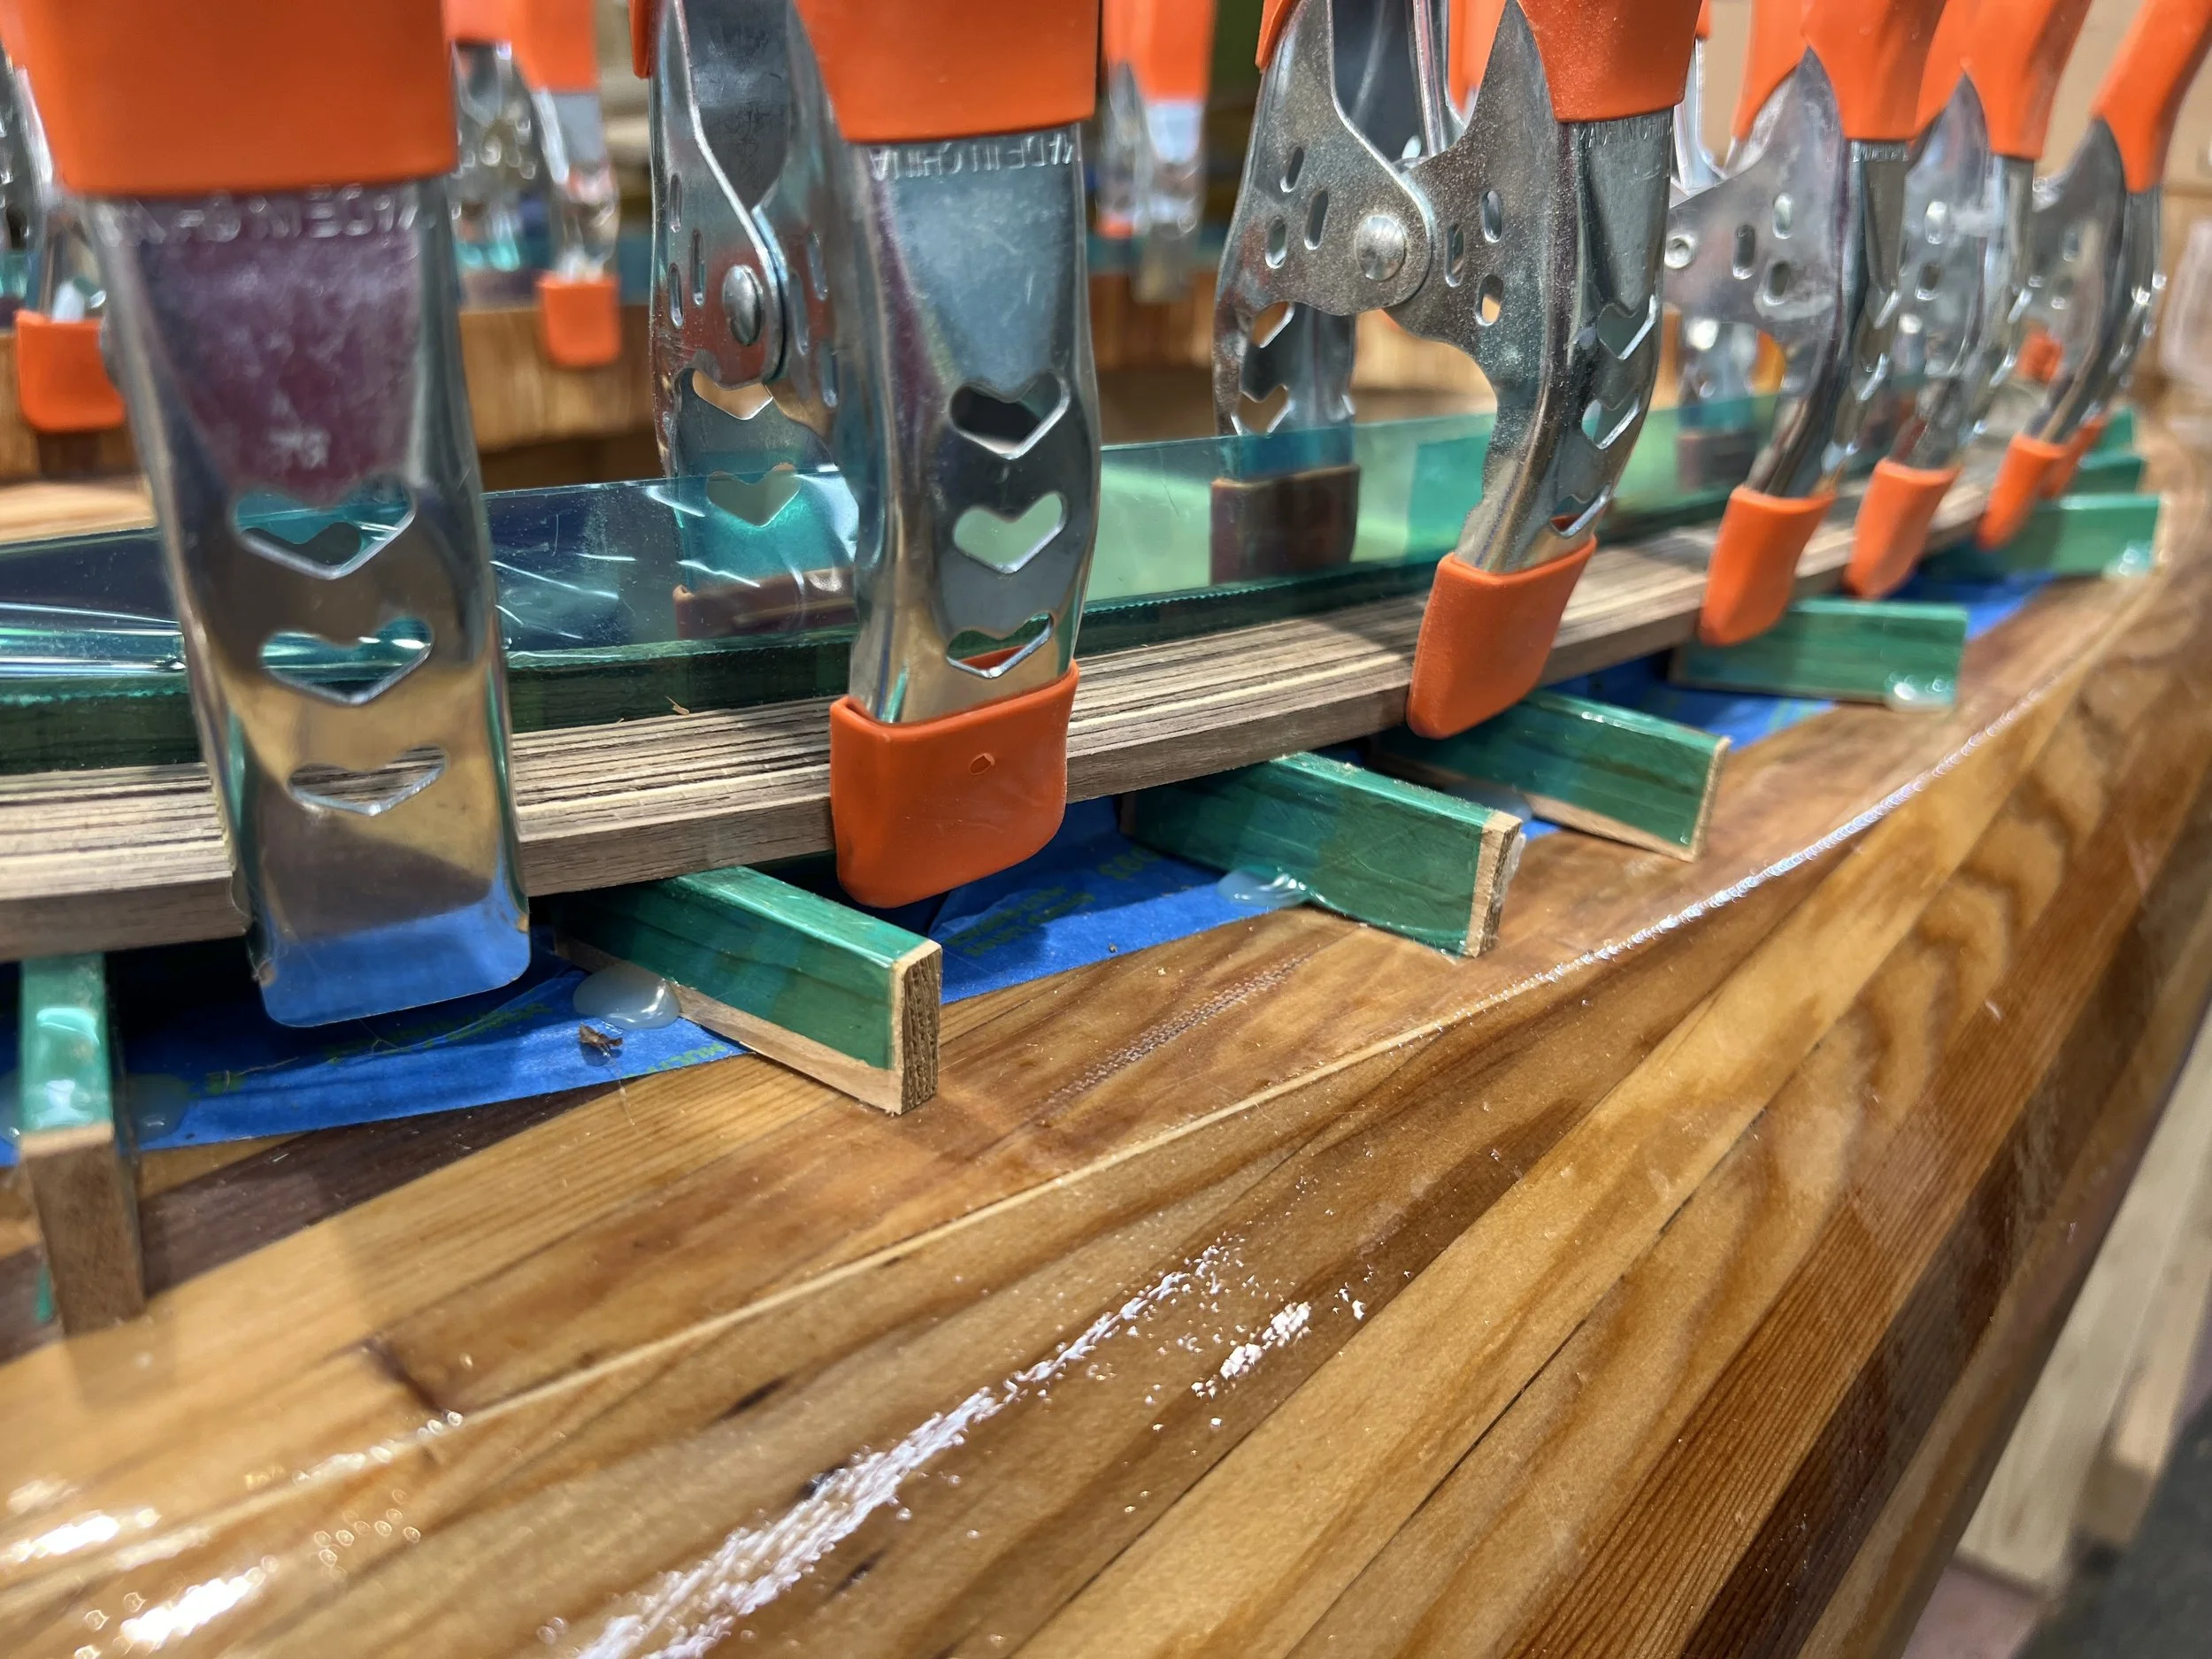
Flash tape covered spacers hot glued to original blue masking tape to set lip height to 3/4"
-
![]()
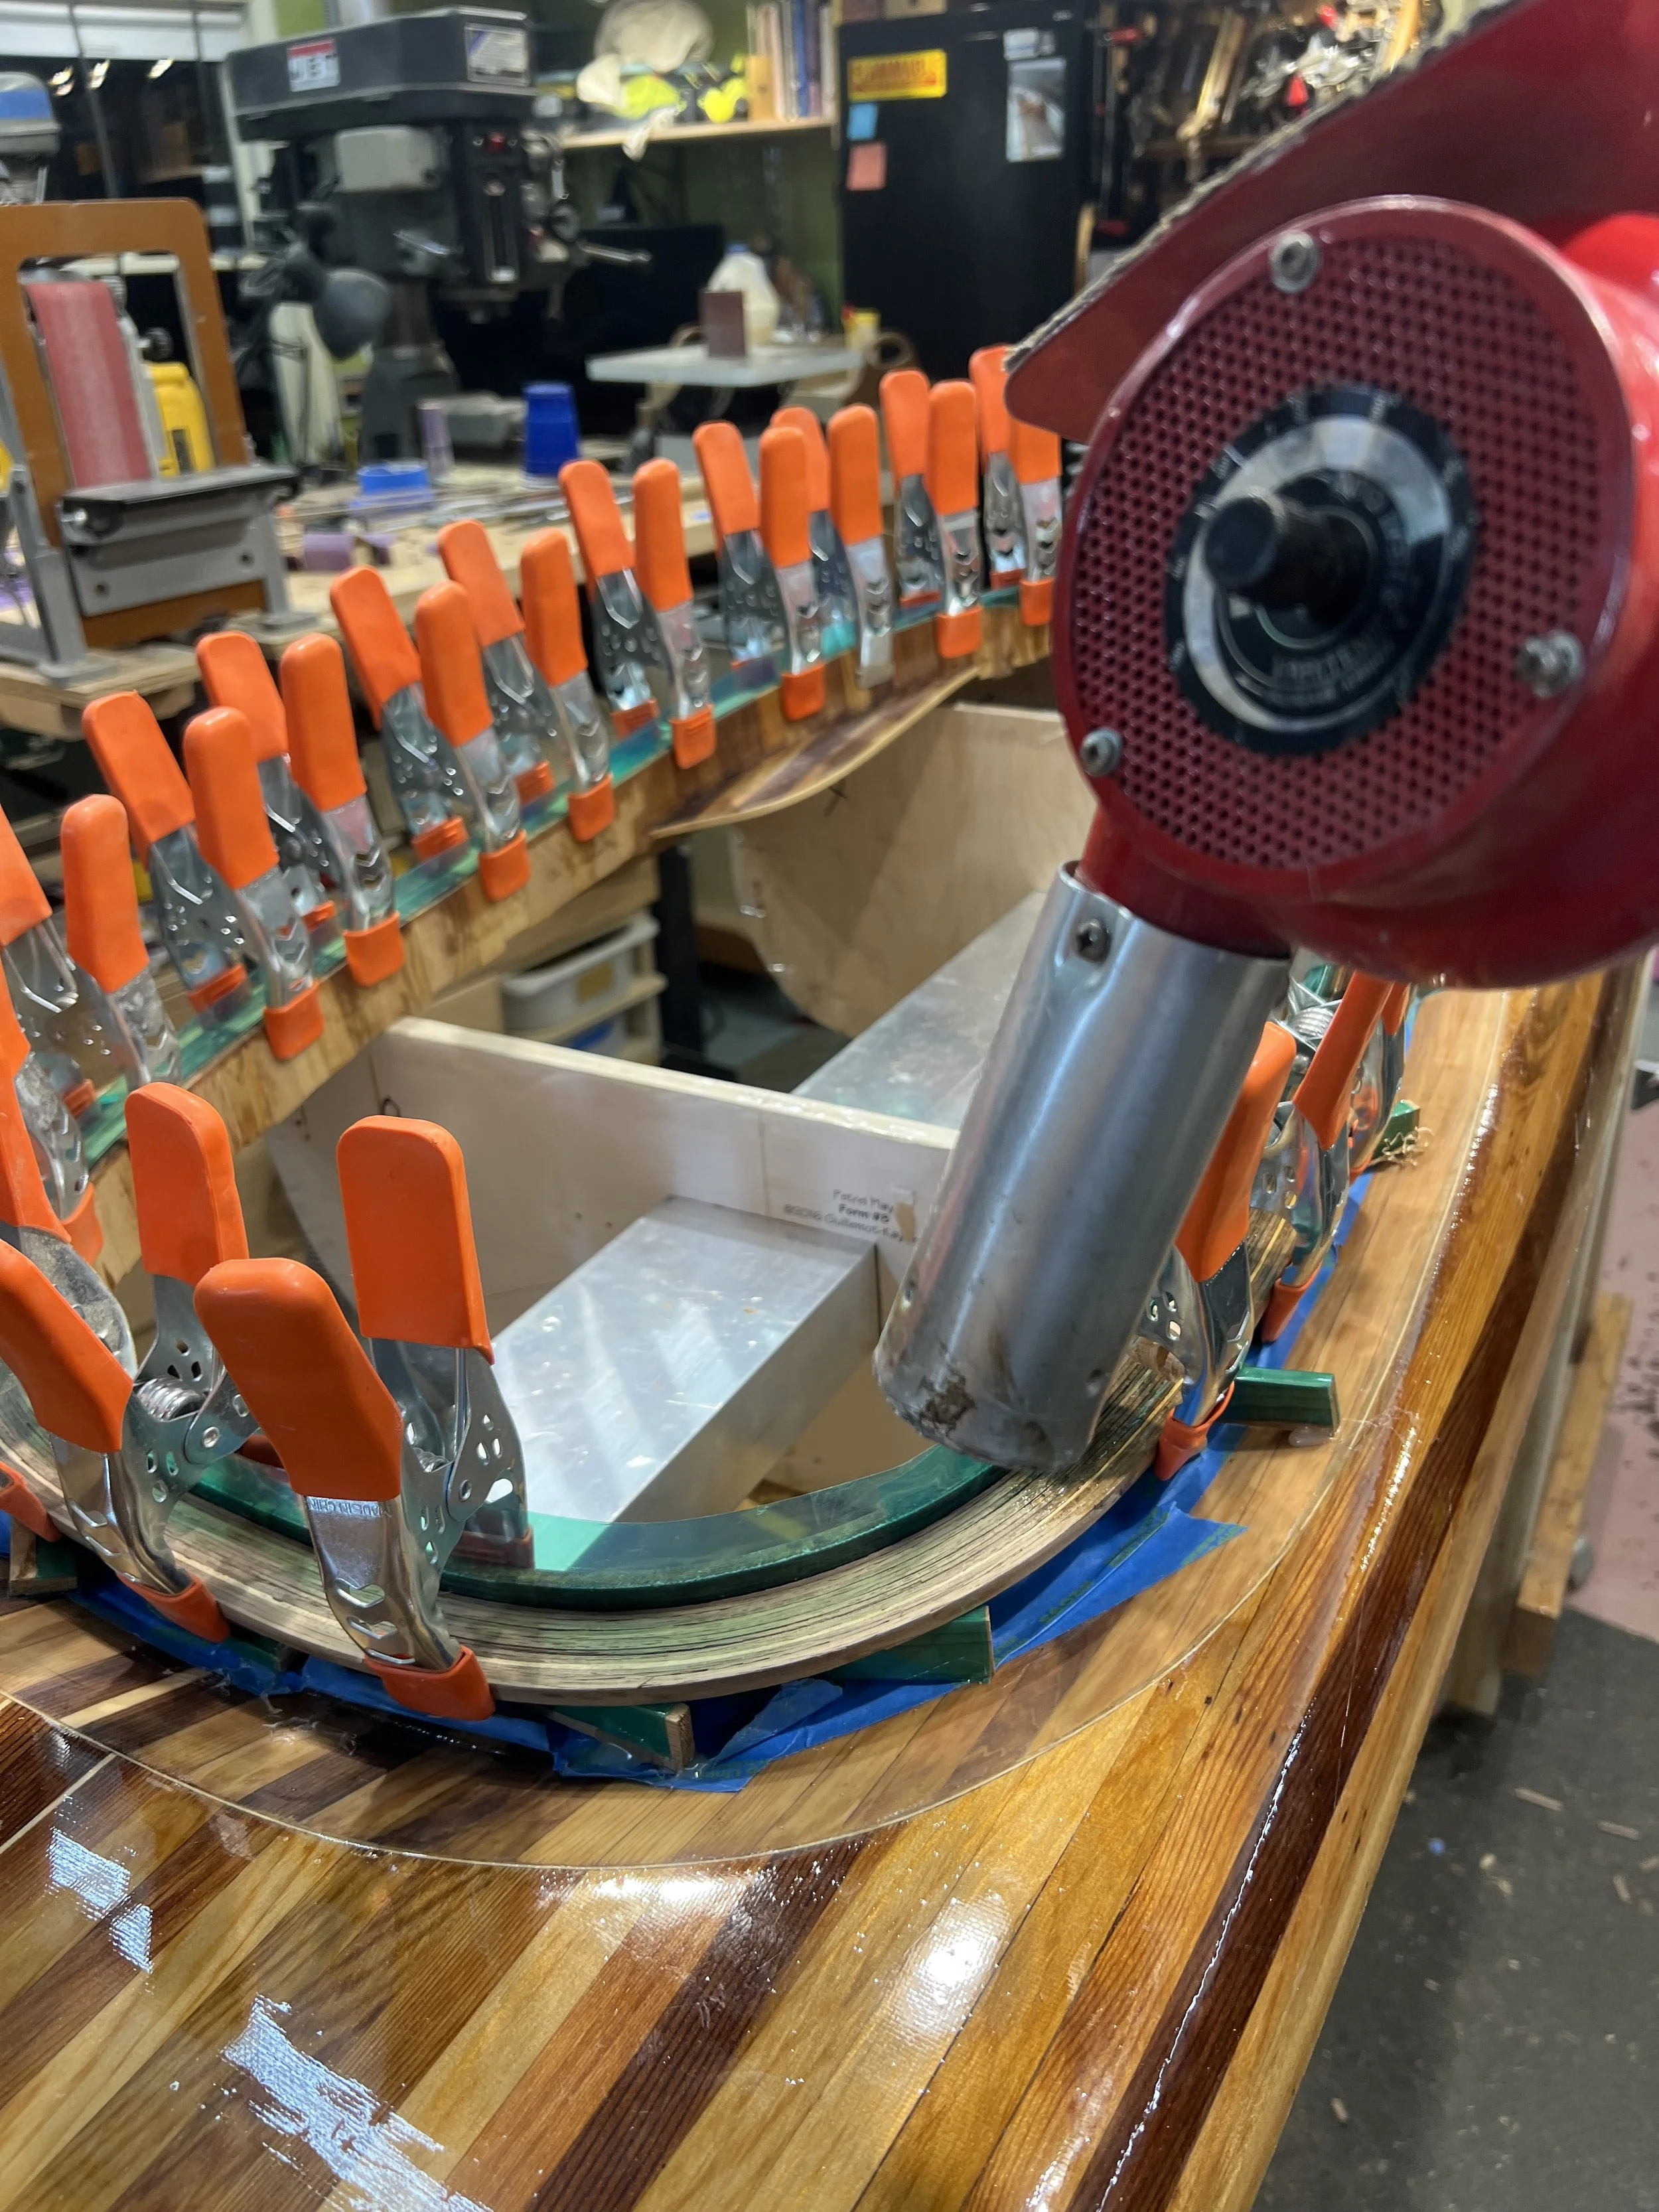
Heating cockpit lip to accelerate capillary action before brushing on epoxy.
-
![]()
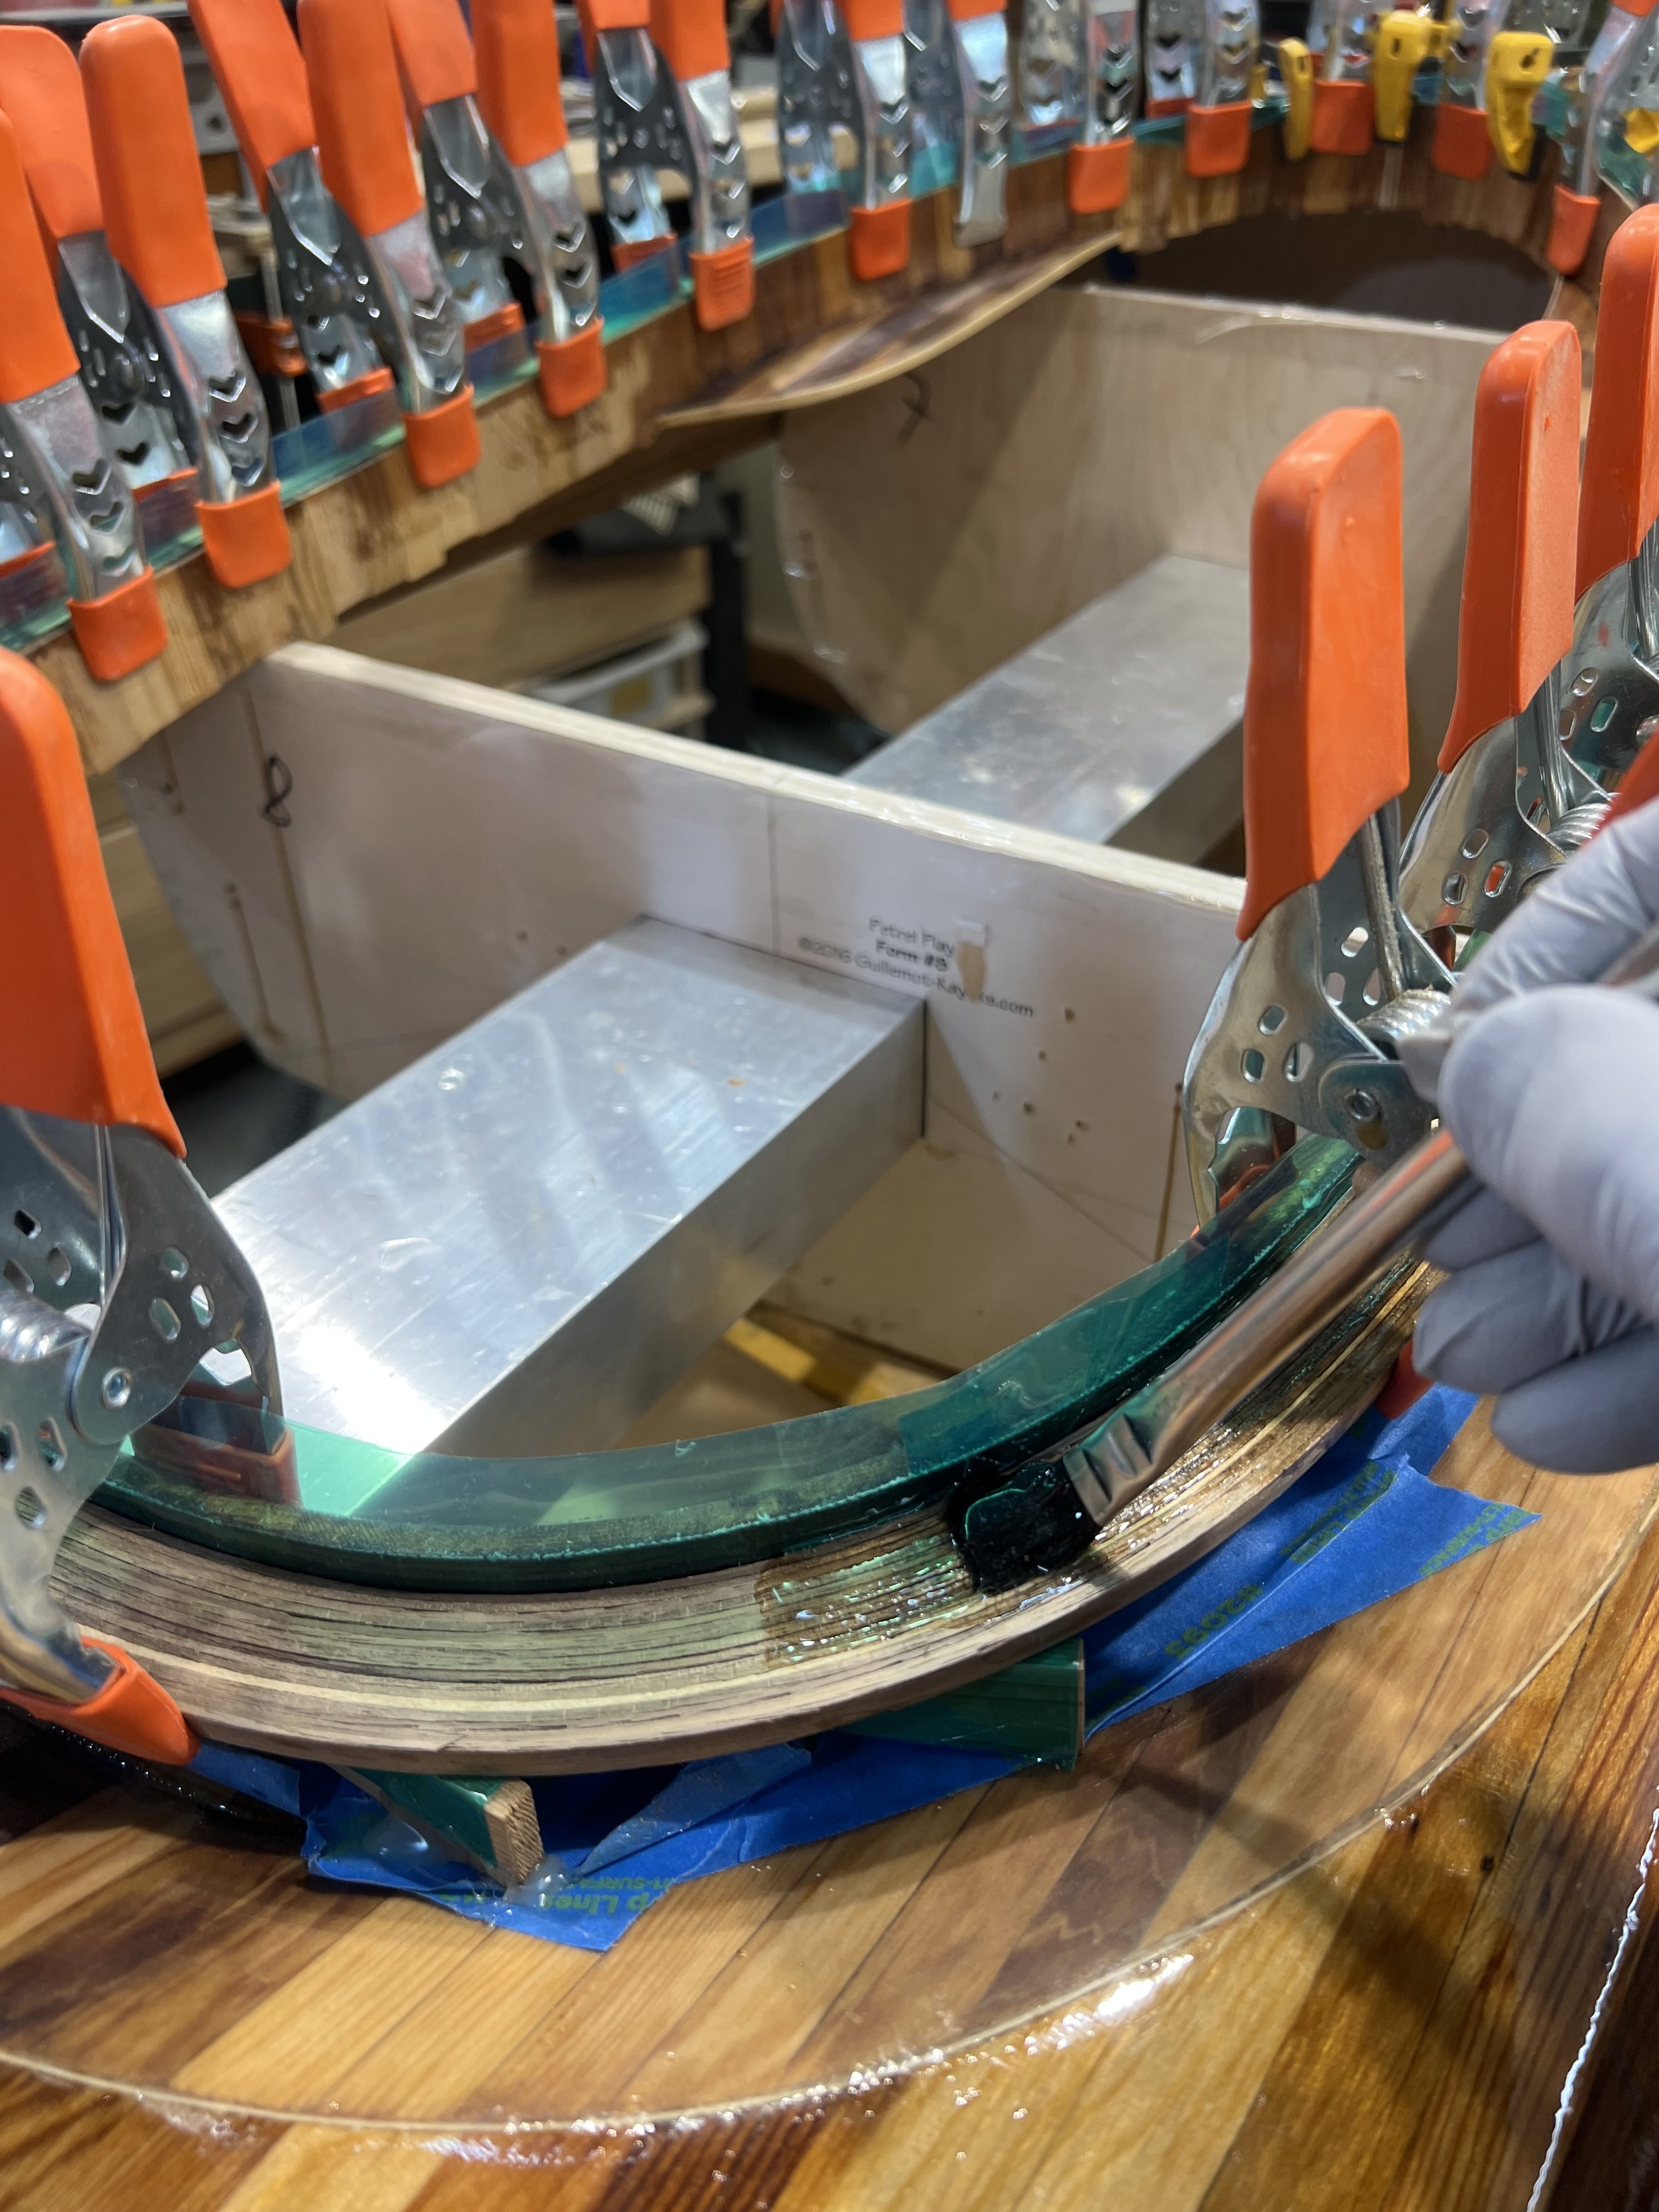
Brushing riser with epoxy 2 clamps at time. Capillary action will bond layers.
-
![]()
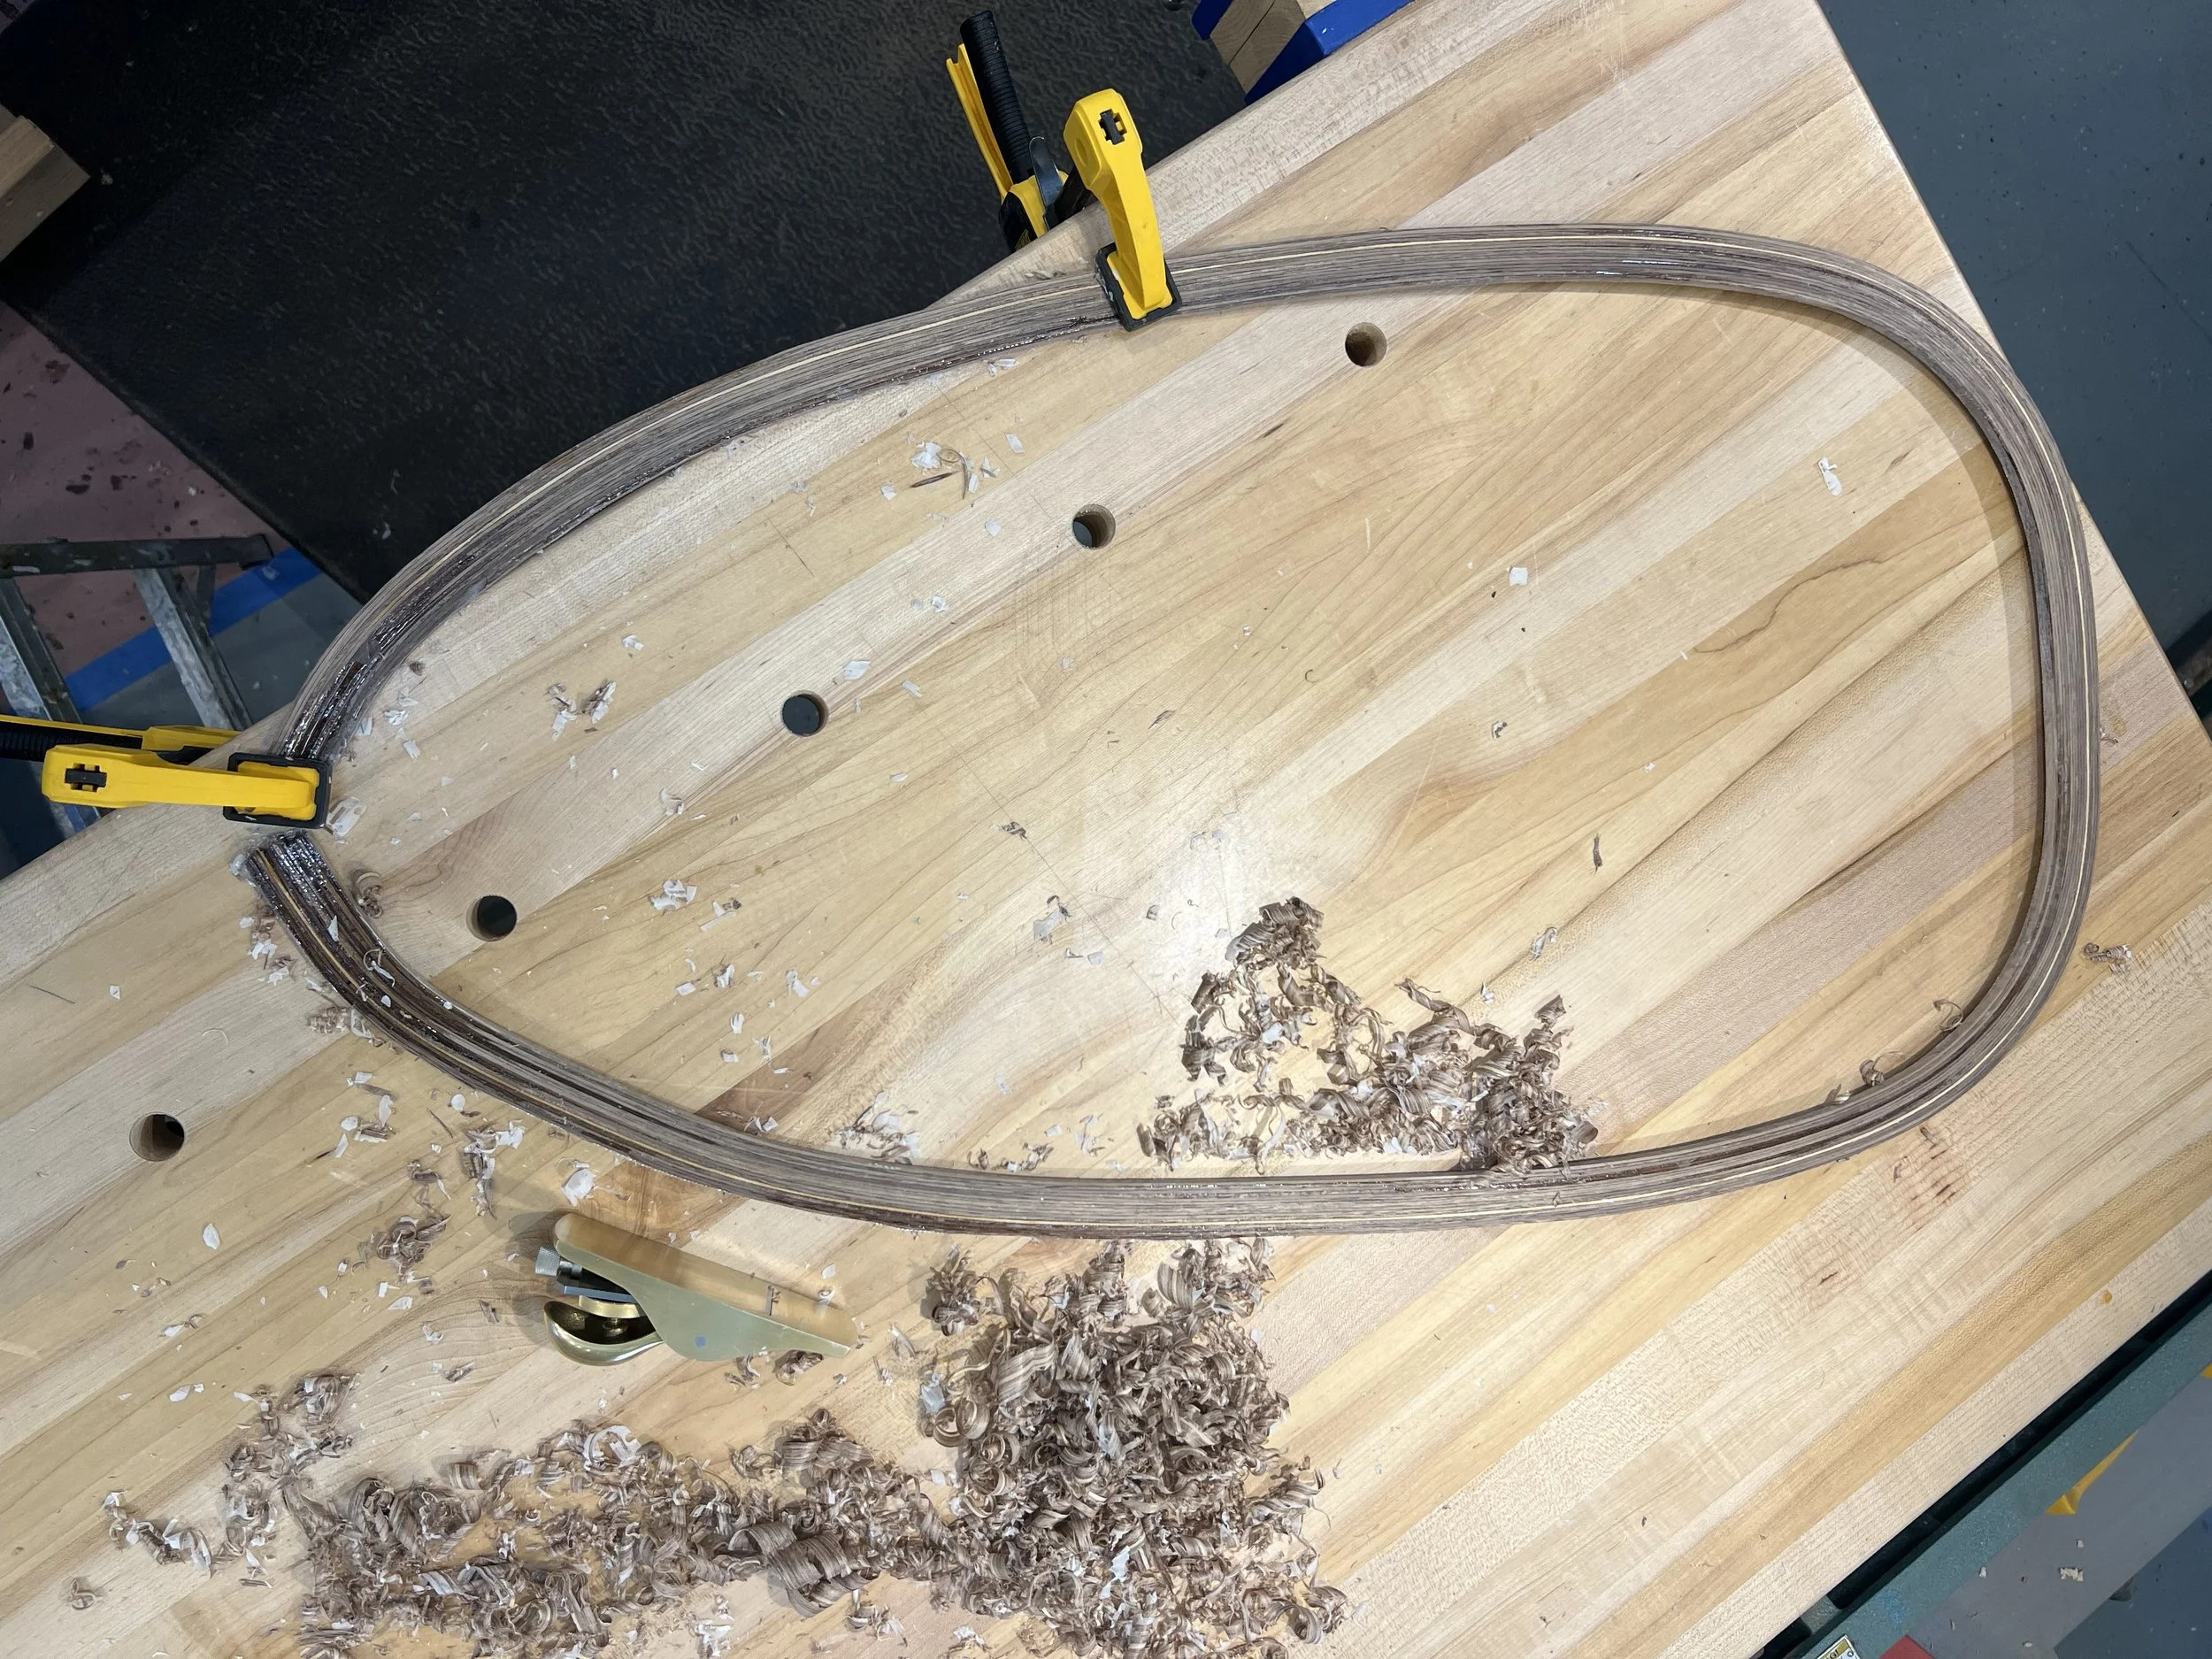
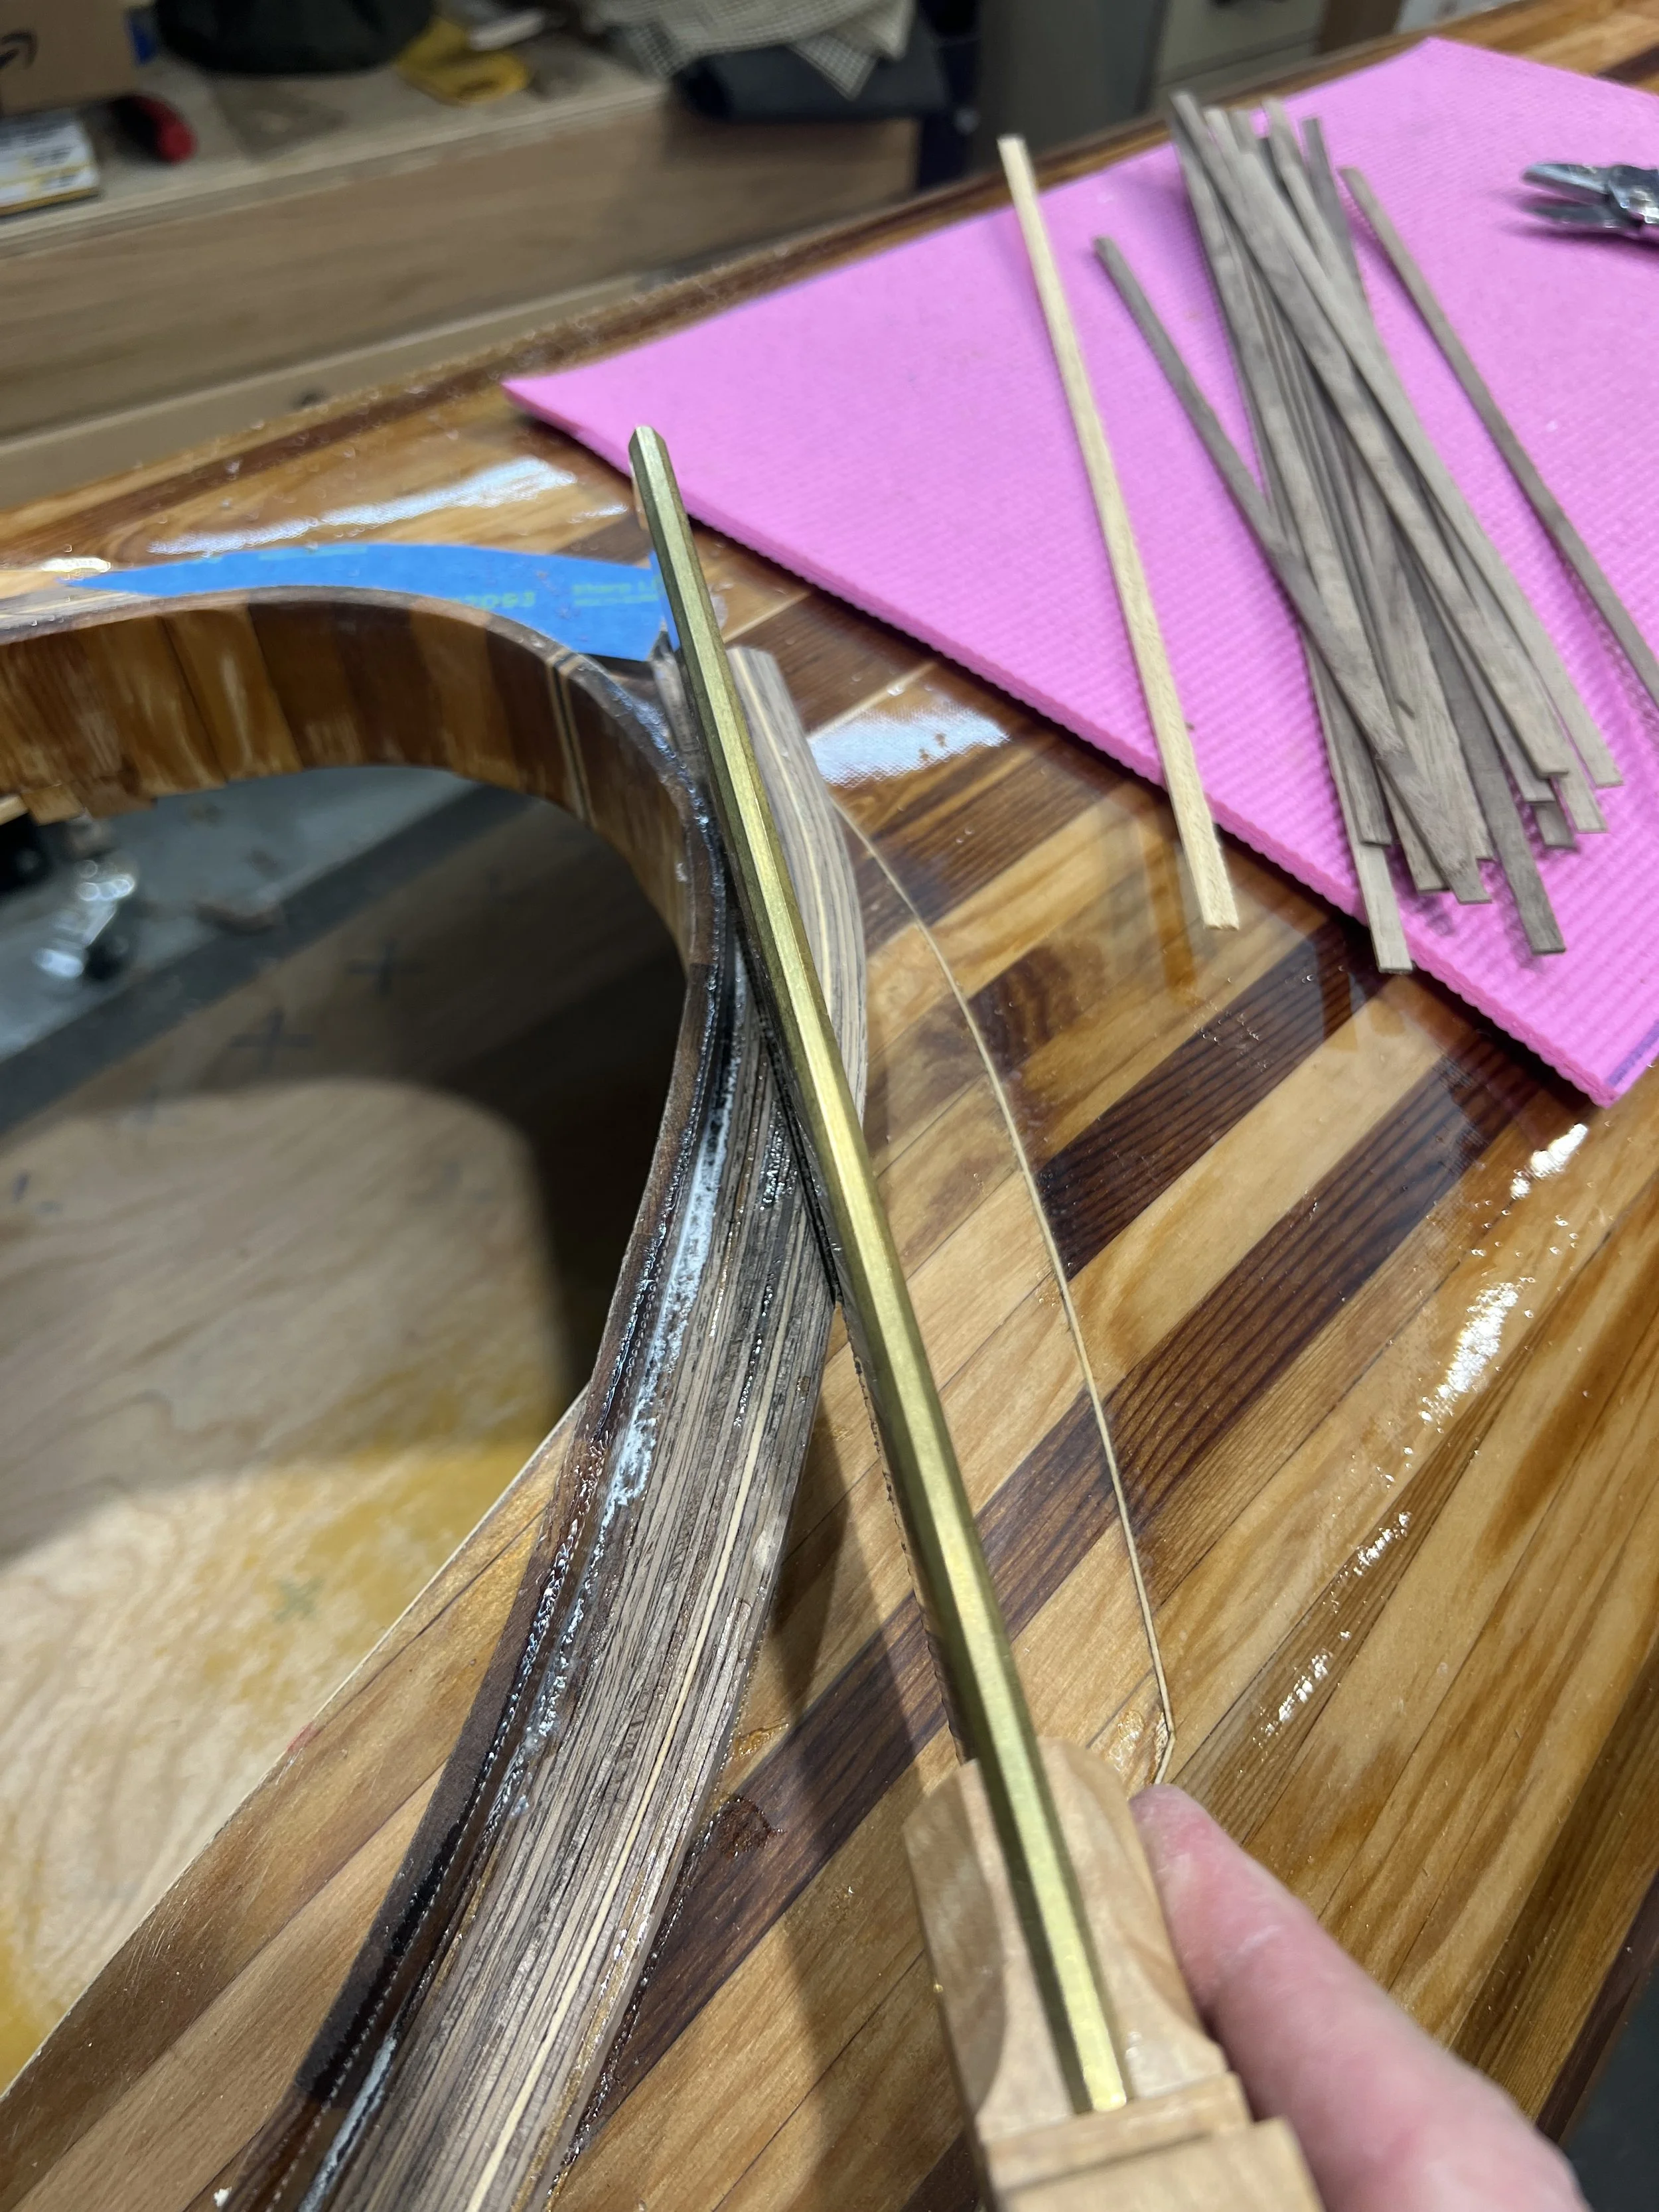
Lip removed easily because of flash tape. Cleaning up riser lip before adhering to cockpit riser.
-
![]()
3/4" high spacer to set lip before C.A adhesive.
-
![]()
Tangent cut of wrap around spray skirt lip. Next step - curved laminate on front of cockpit opening.
-
![]()
Curved front clamped ready for C.A. glue to temporarly hold before removal and shaping.
-
![]()
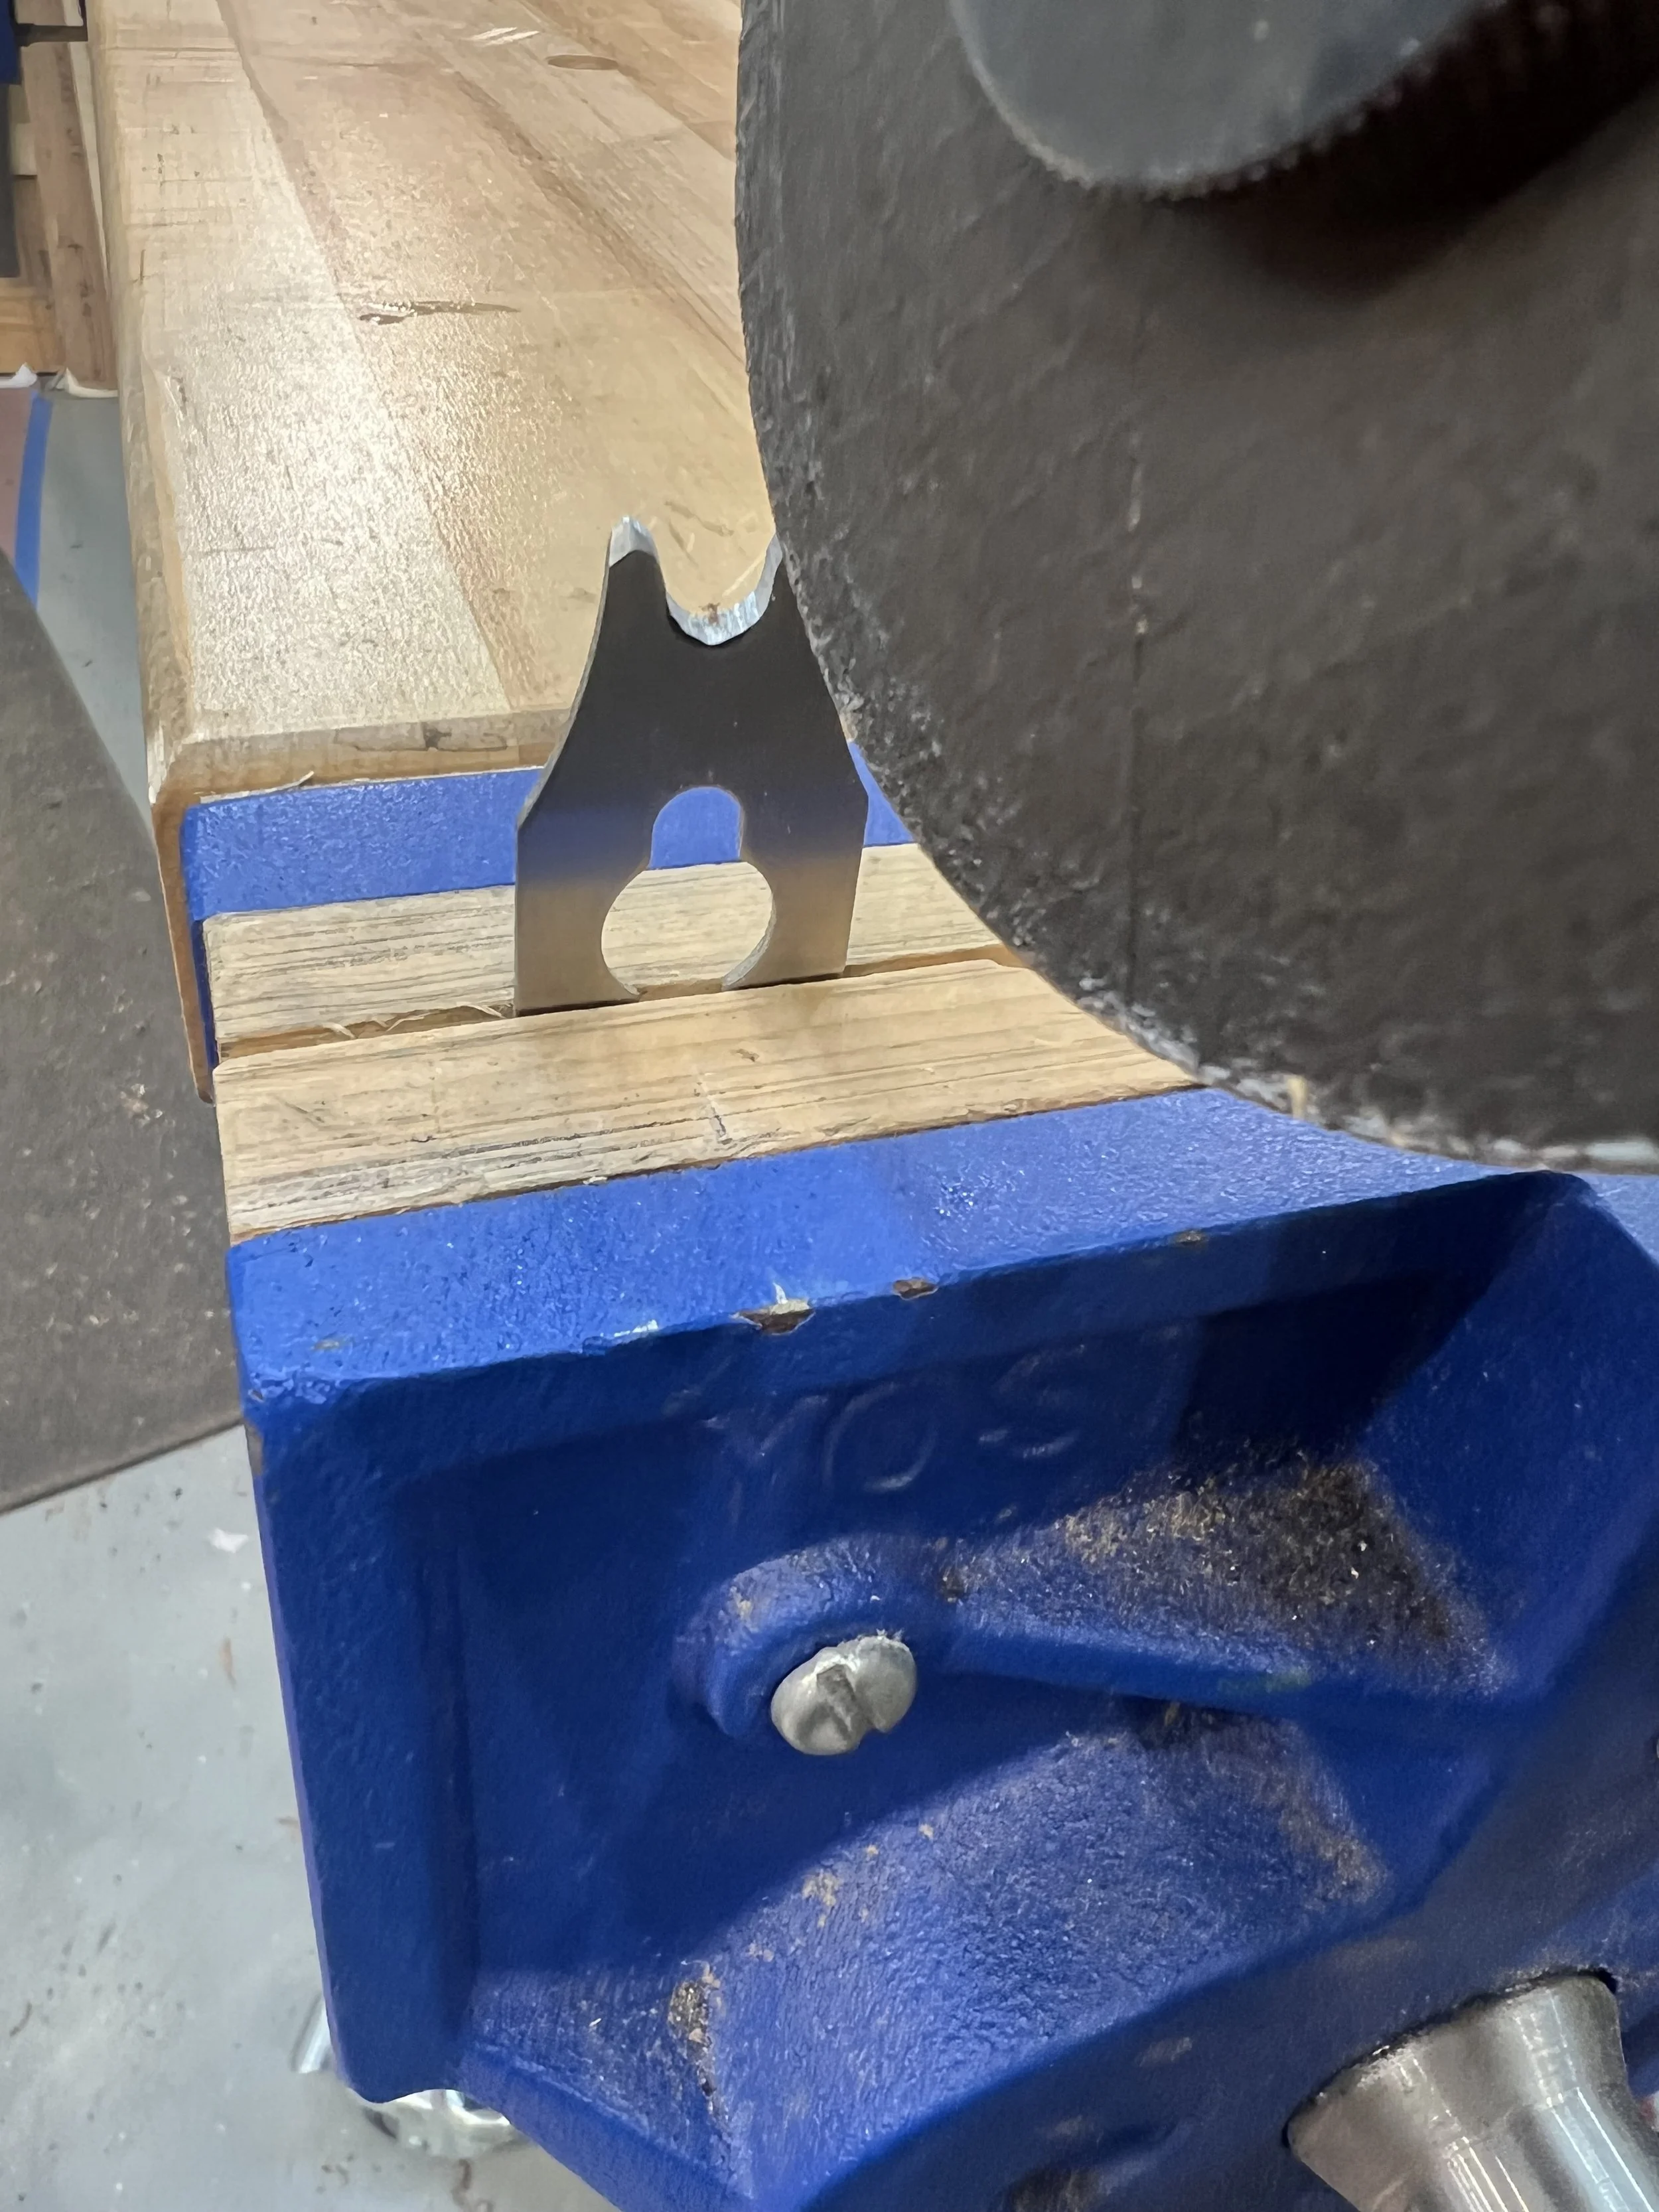
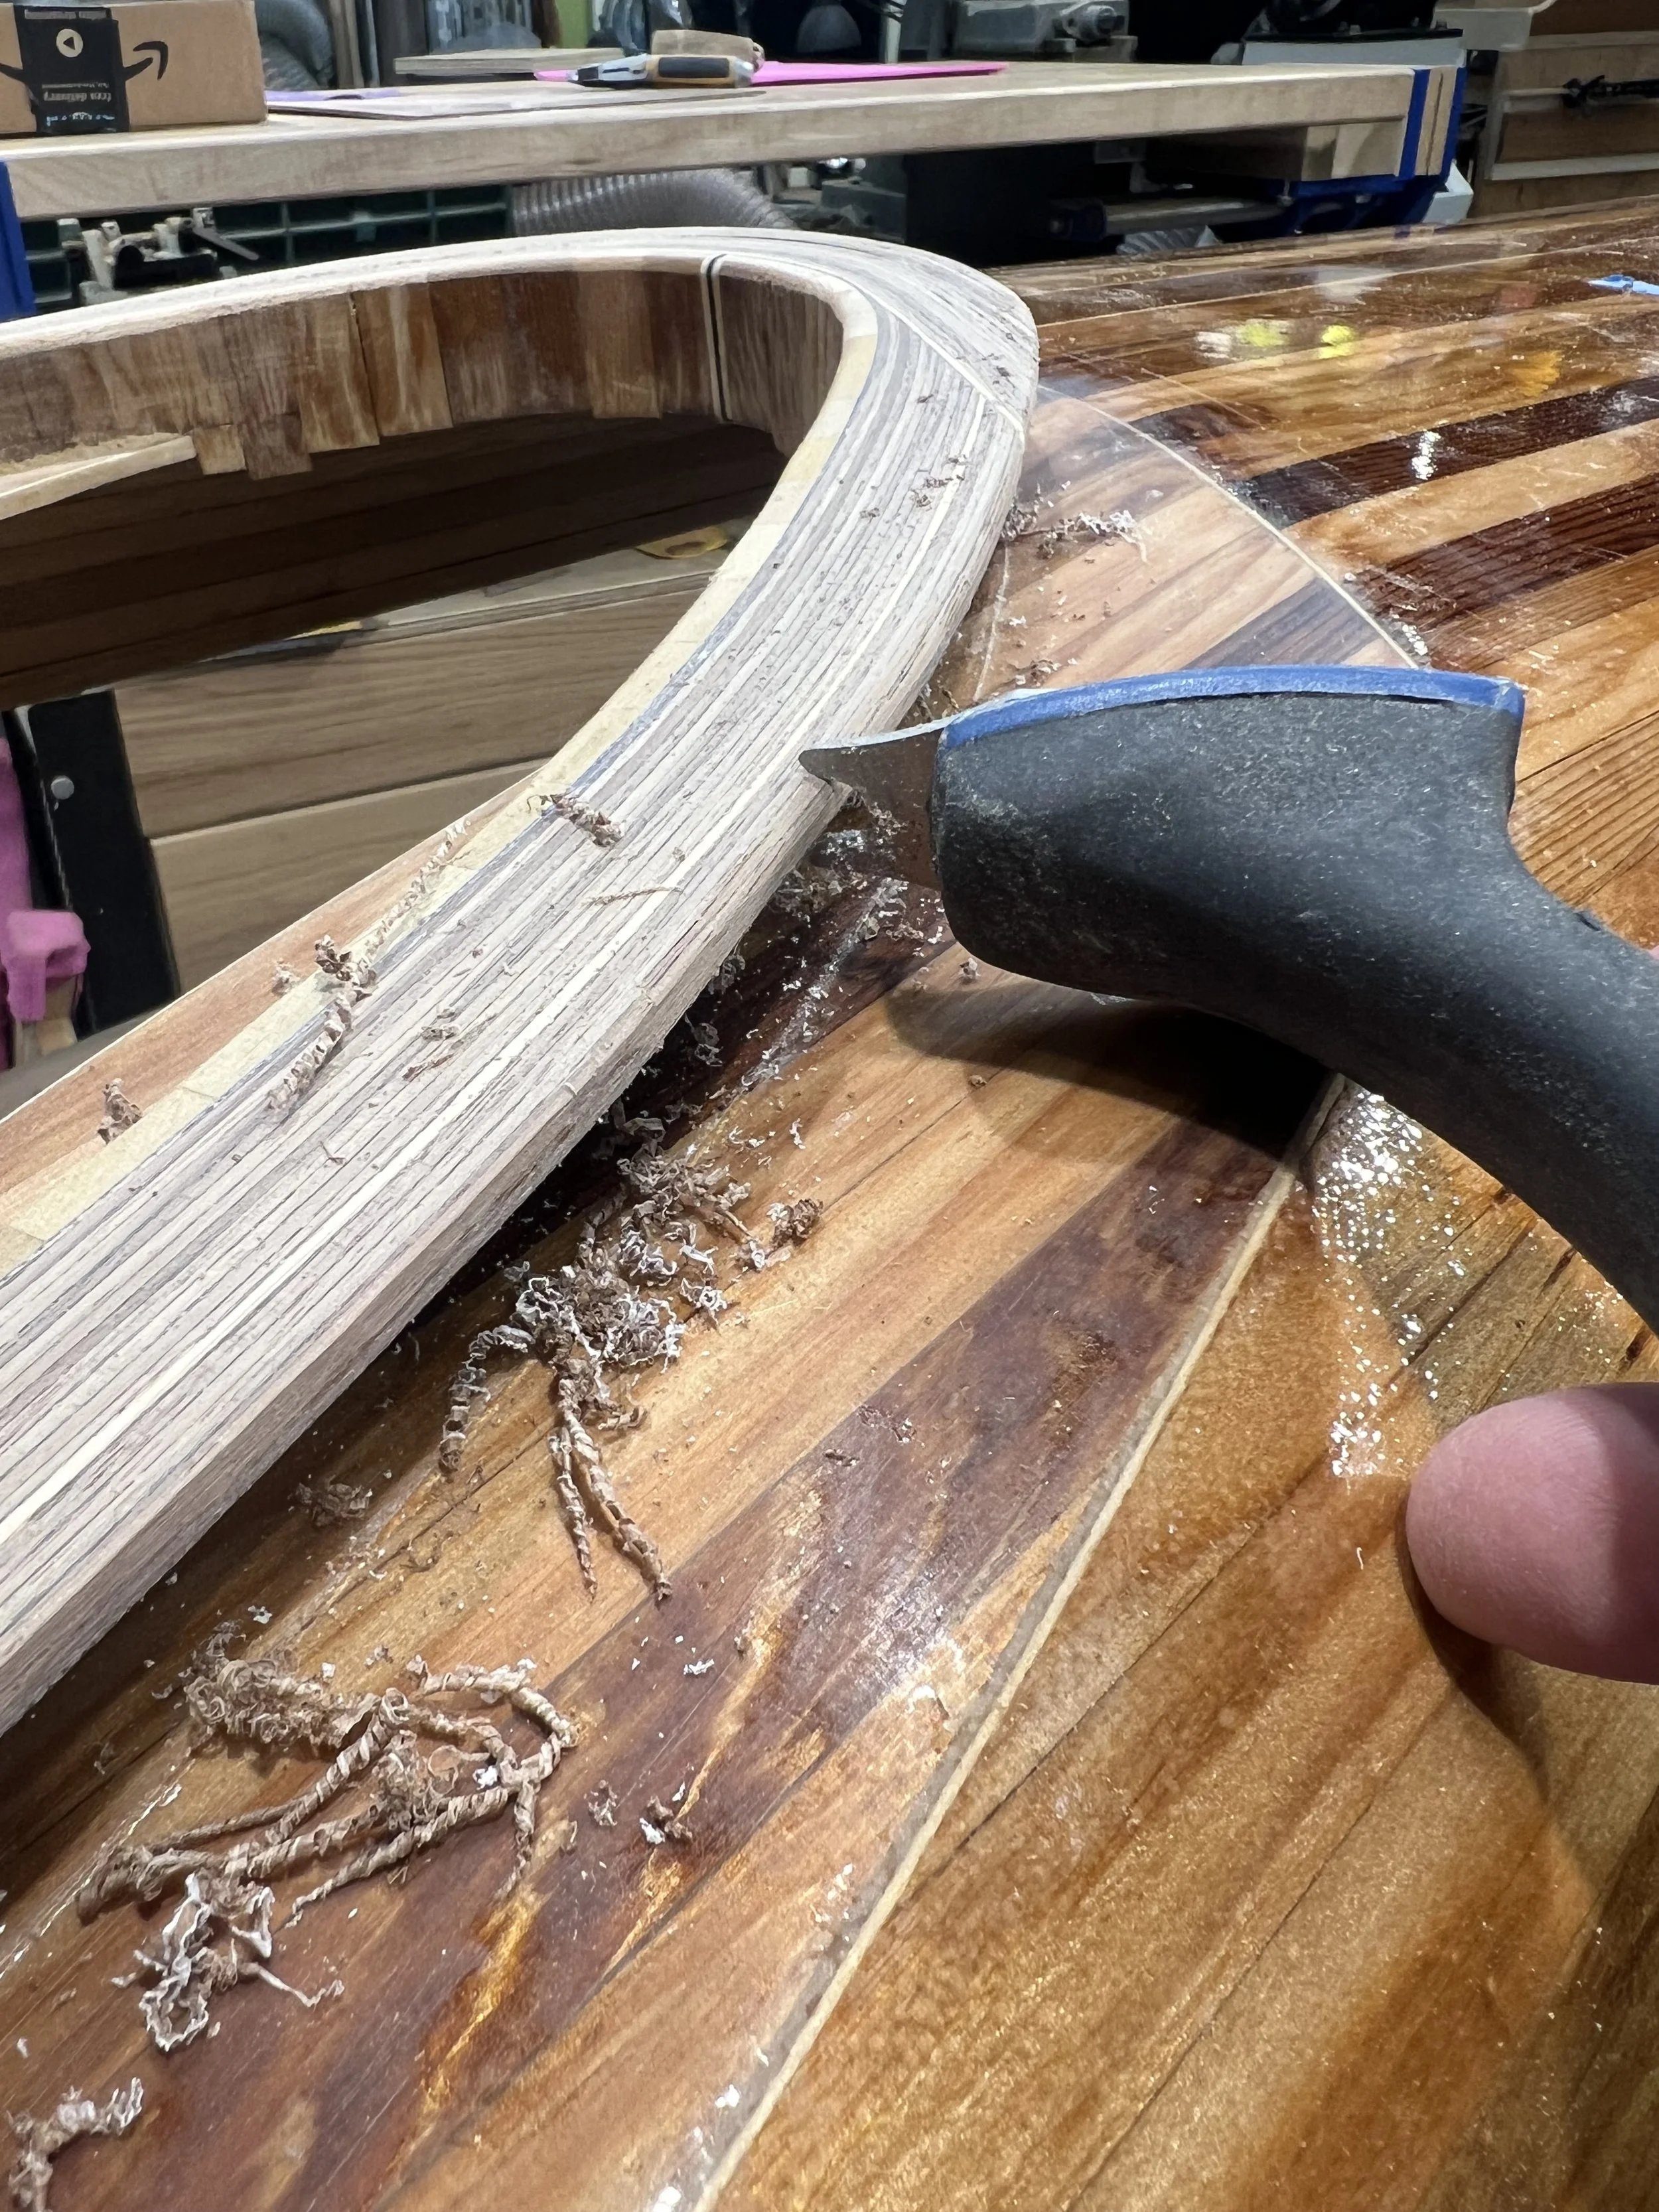
Curved front section adhered. Next step to sculpt a 1/4" bullnose on lip edge. Nick modifies a cheap scraper blade. I used a 1/16" thick cutting wheel for an angle grinder to cut concave profile.
-
![]()
Modified scraper worked like a charm creating bullnose.
-
![]()
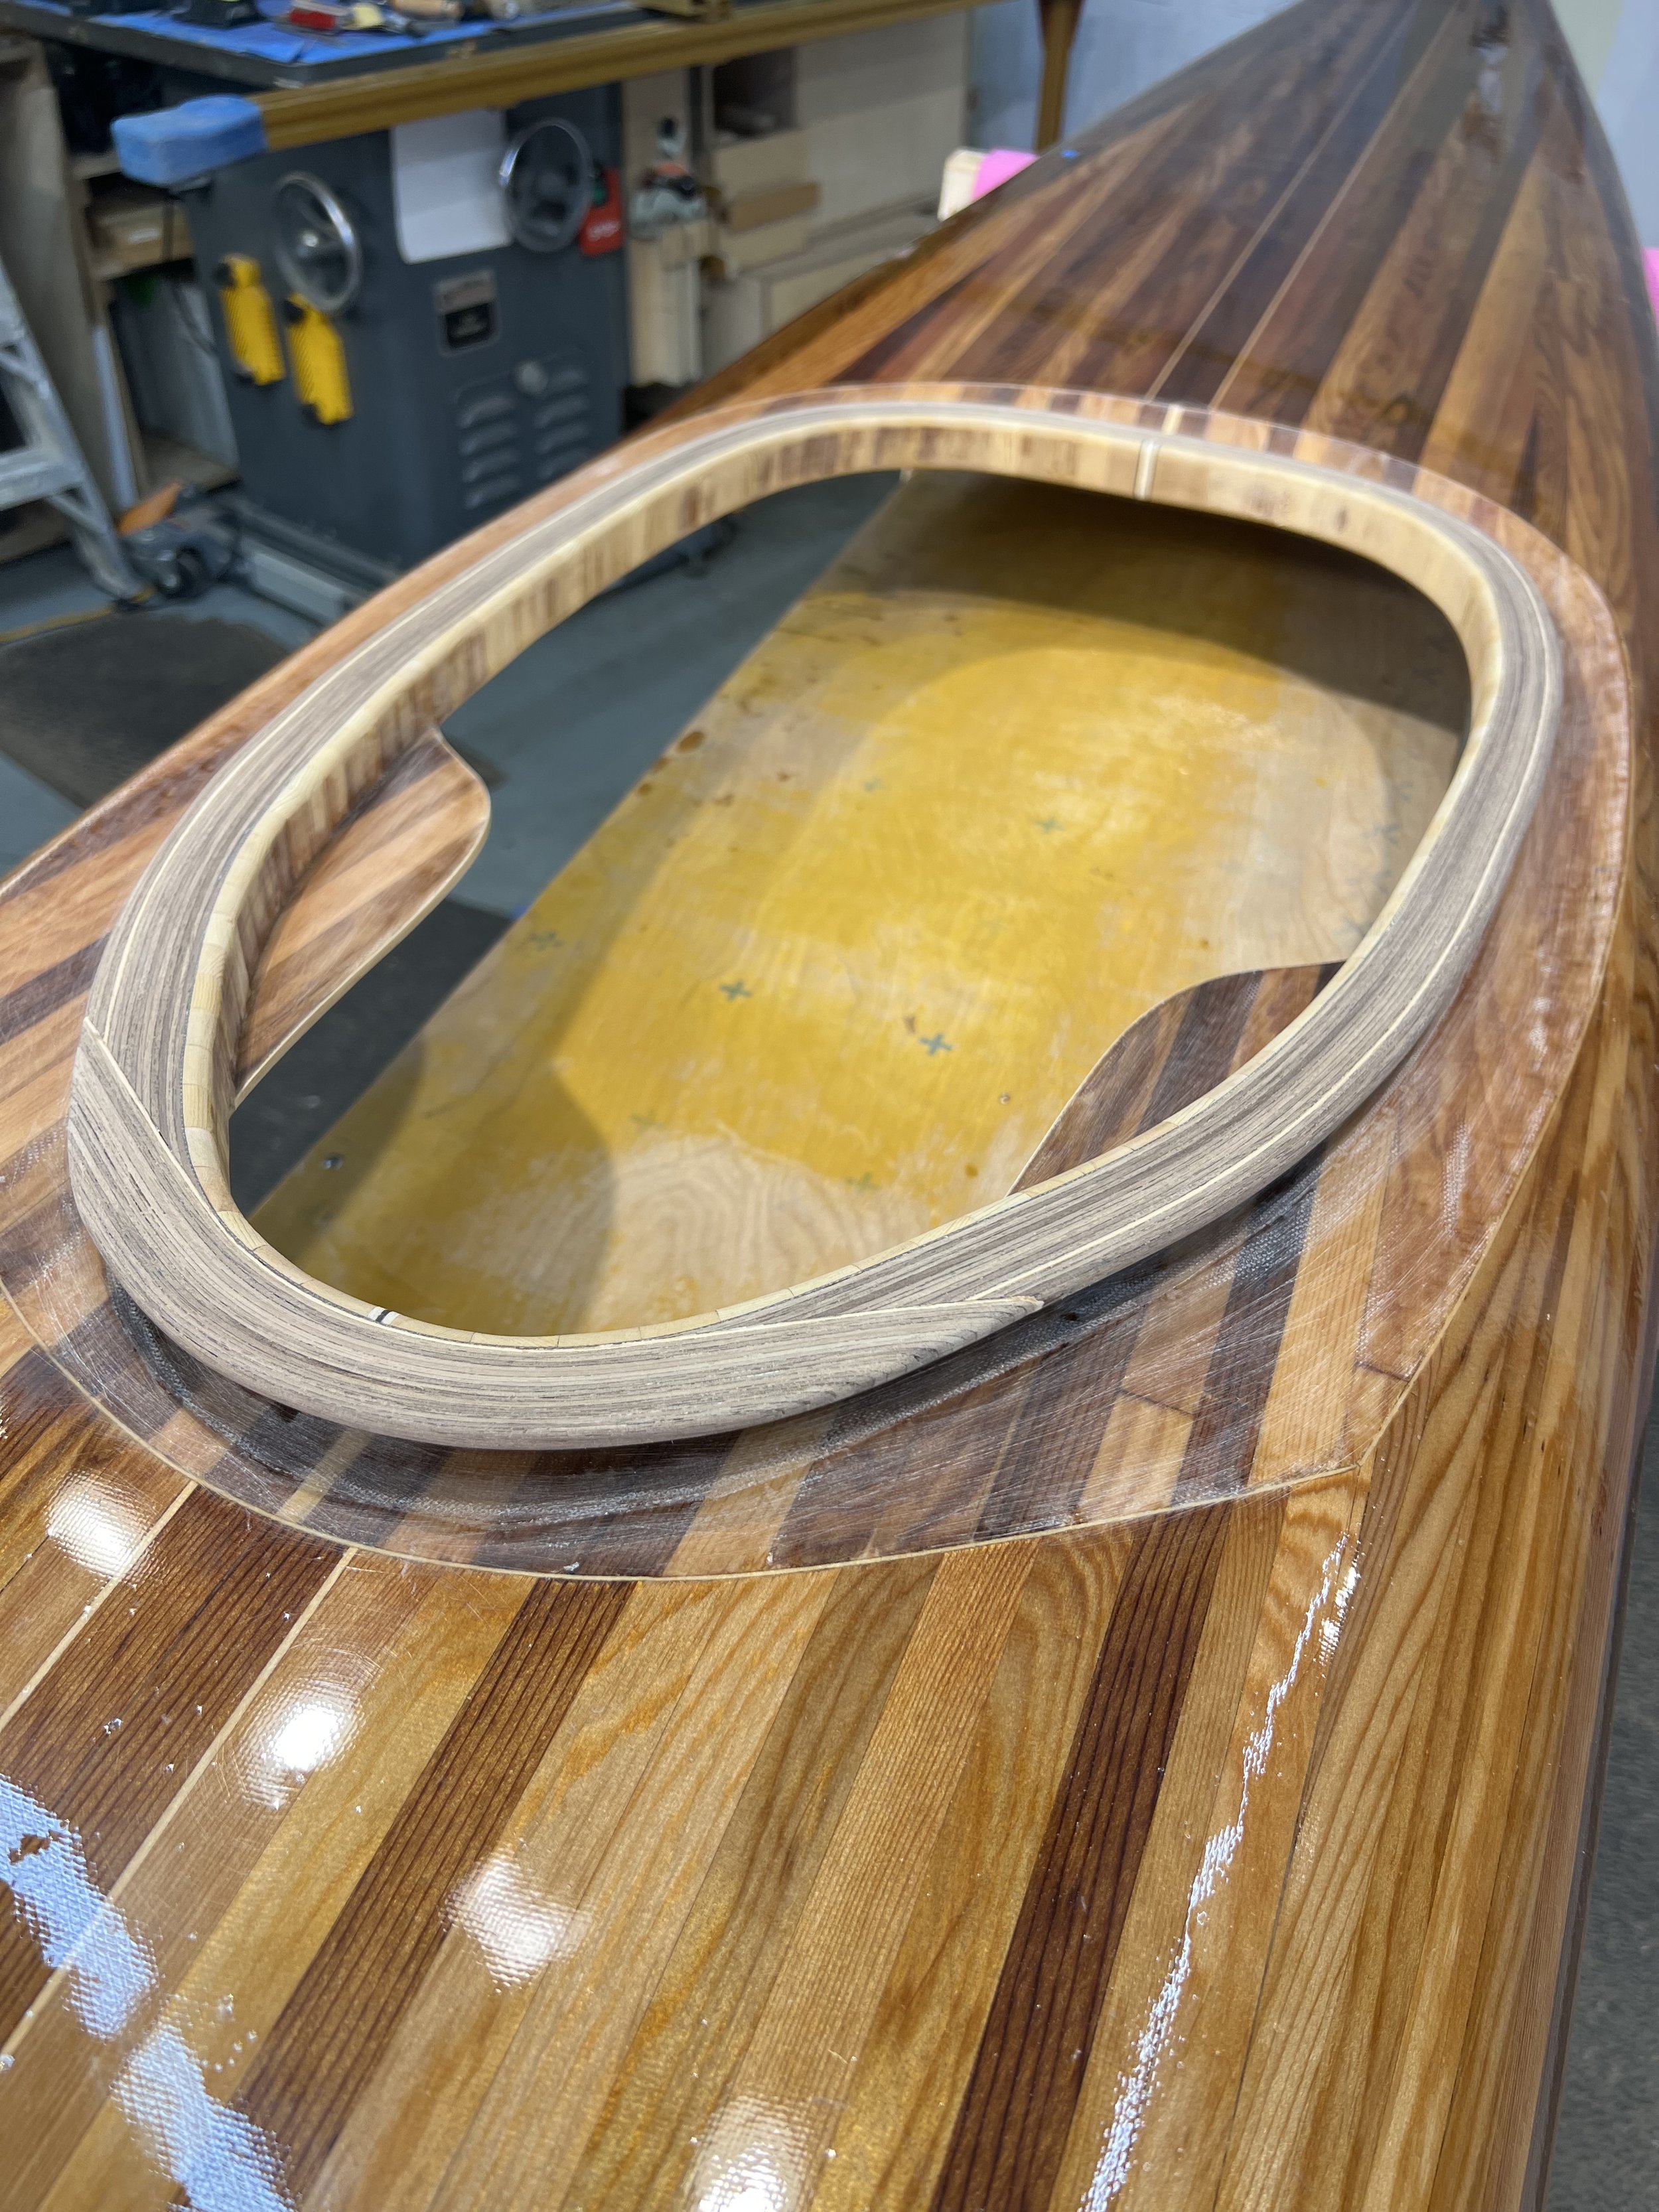
Top 1/4" riser combing is cut flush with horizontal lip surface. Sanded and laminate bullnose compete ready for epoxy and glass.
-
![]()
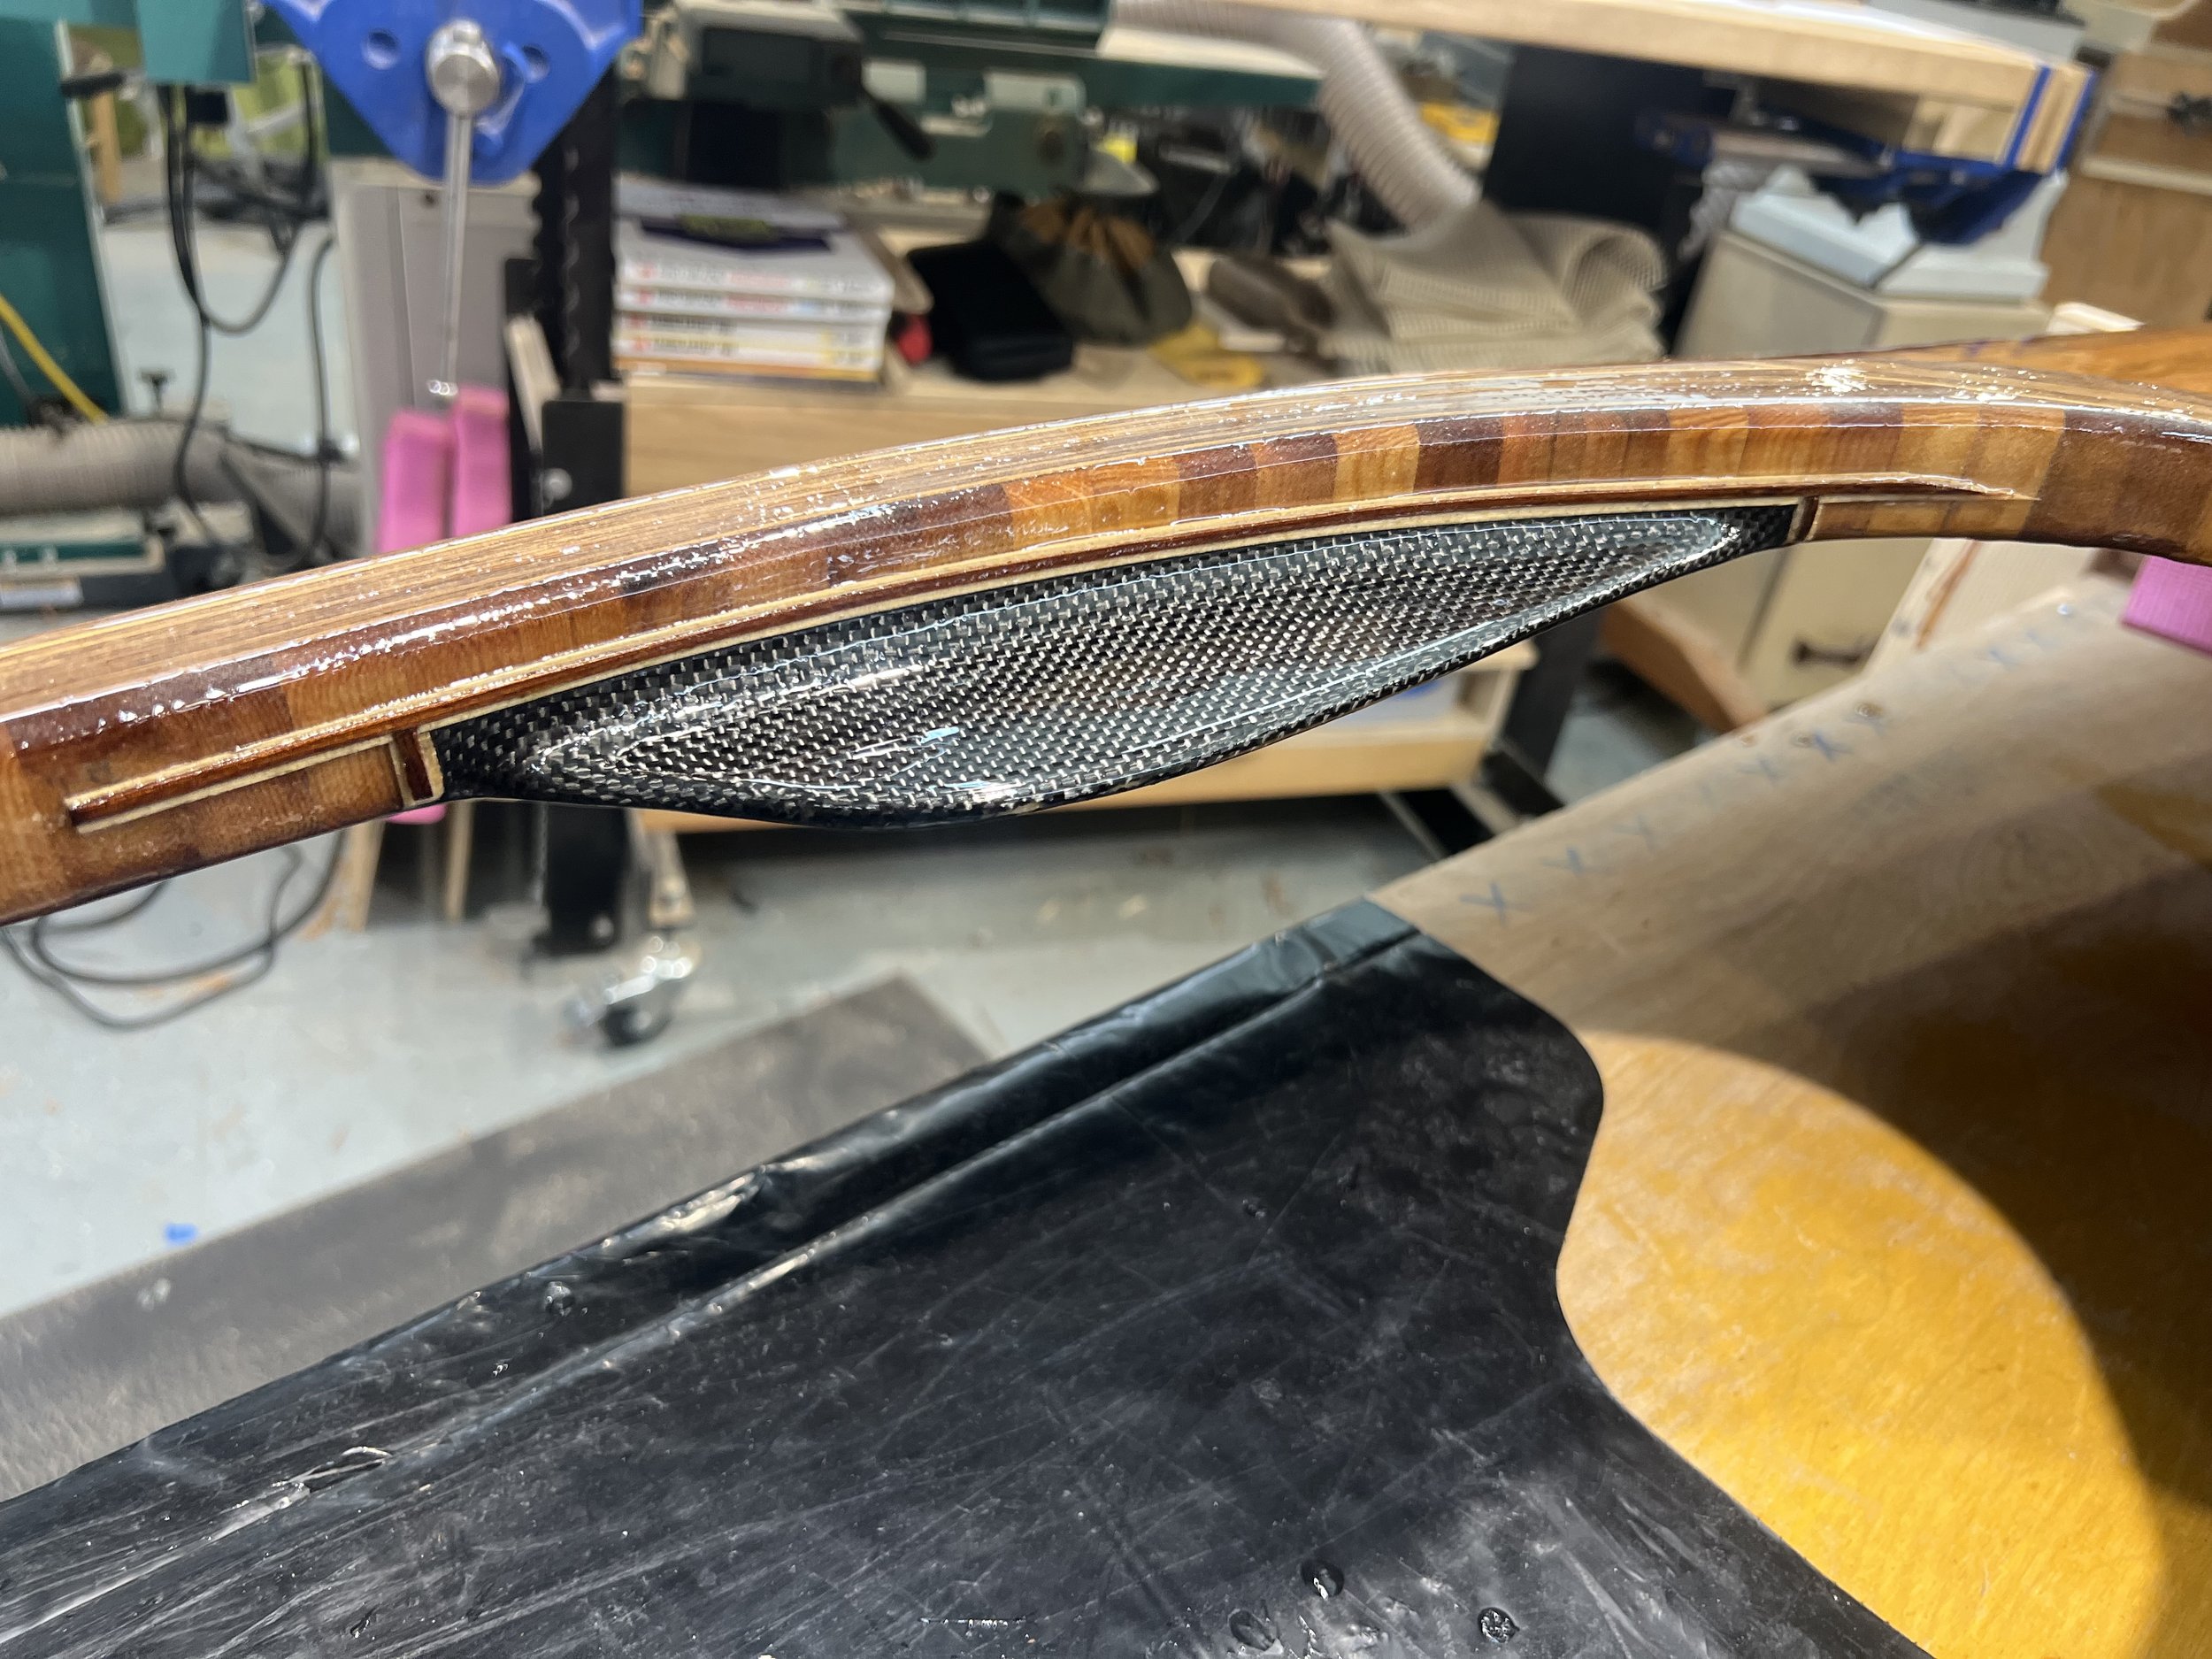
COVERING THIGH BRACES WITH CARBON FIBER CLOTH. I wasn't happy with the look of the epoxy wood fiber fillet between the veneered okoume thigh brace and cedar riser and thought it would be fun to experiment with carbon fiber cloth.
-
![]()
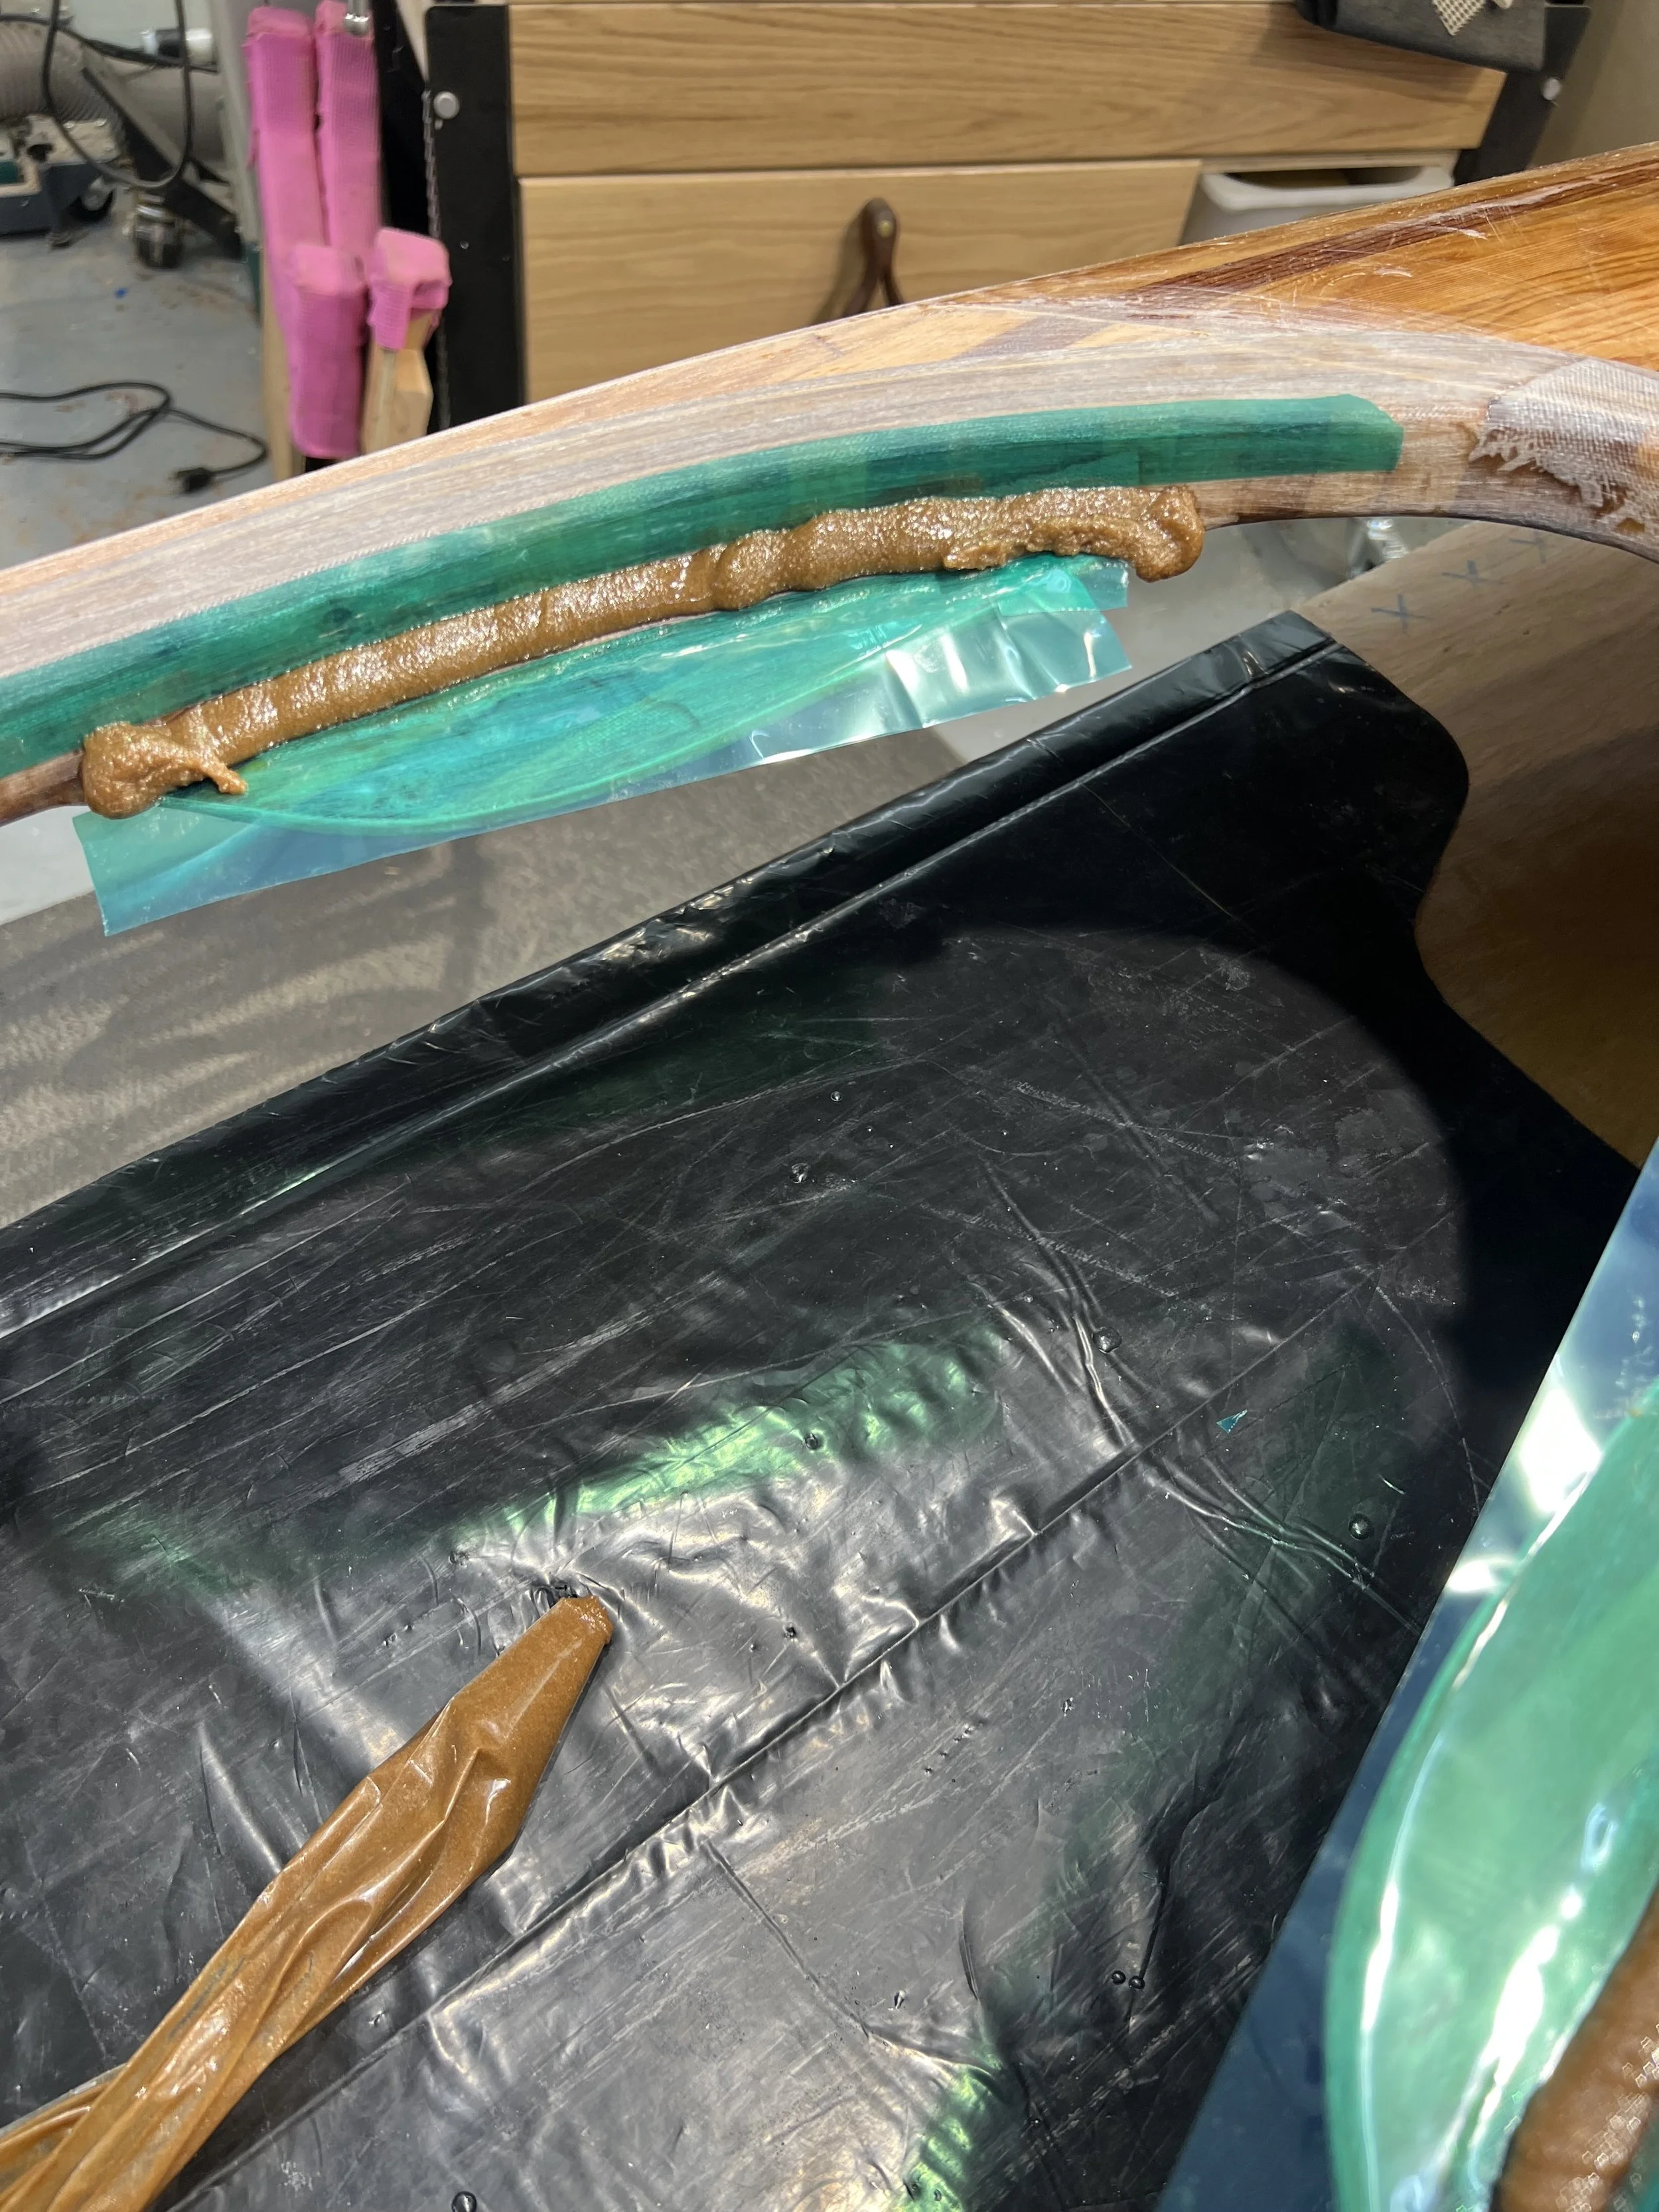
Epoxy wood fiber (also known as "dookie smutz" ) ready for swipe with 1/2" radius tongue depressor. Flashing tape barrier to contain filler. Easy to apply with a pastery bag.
-
![]()
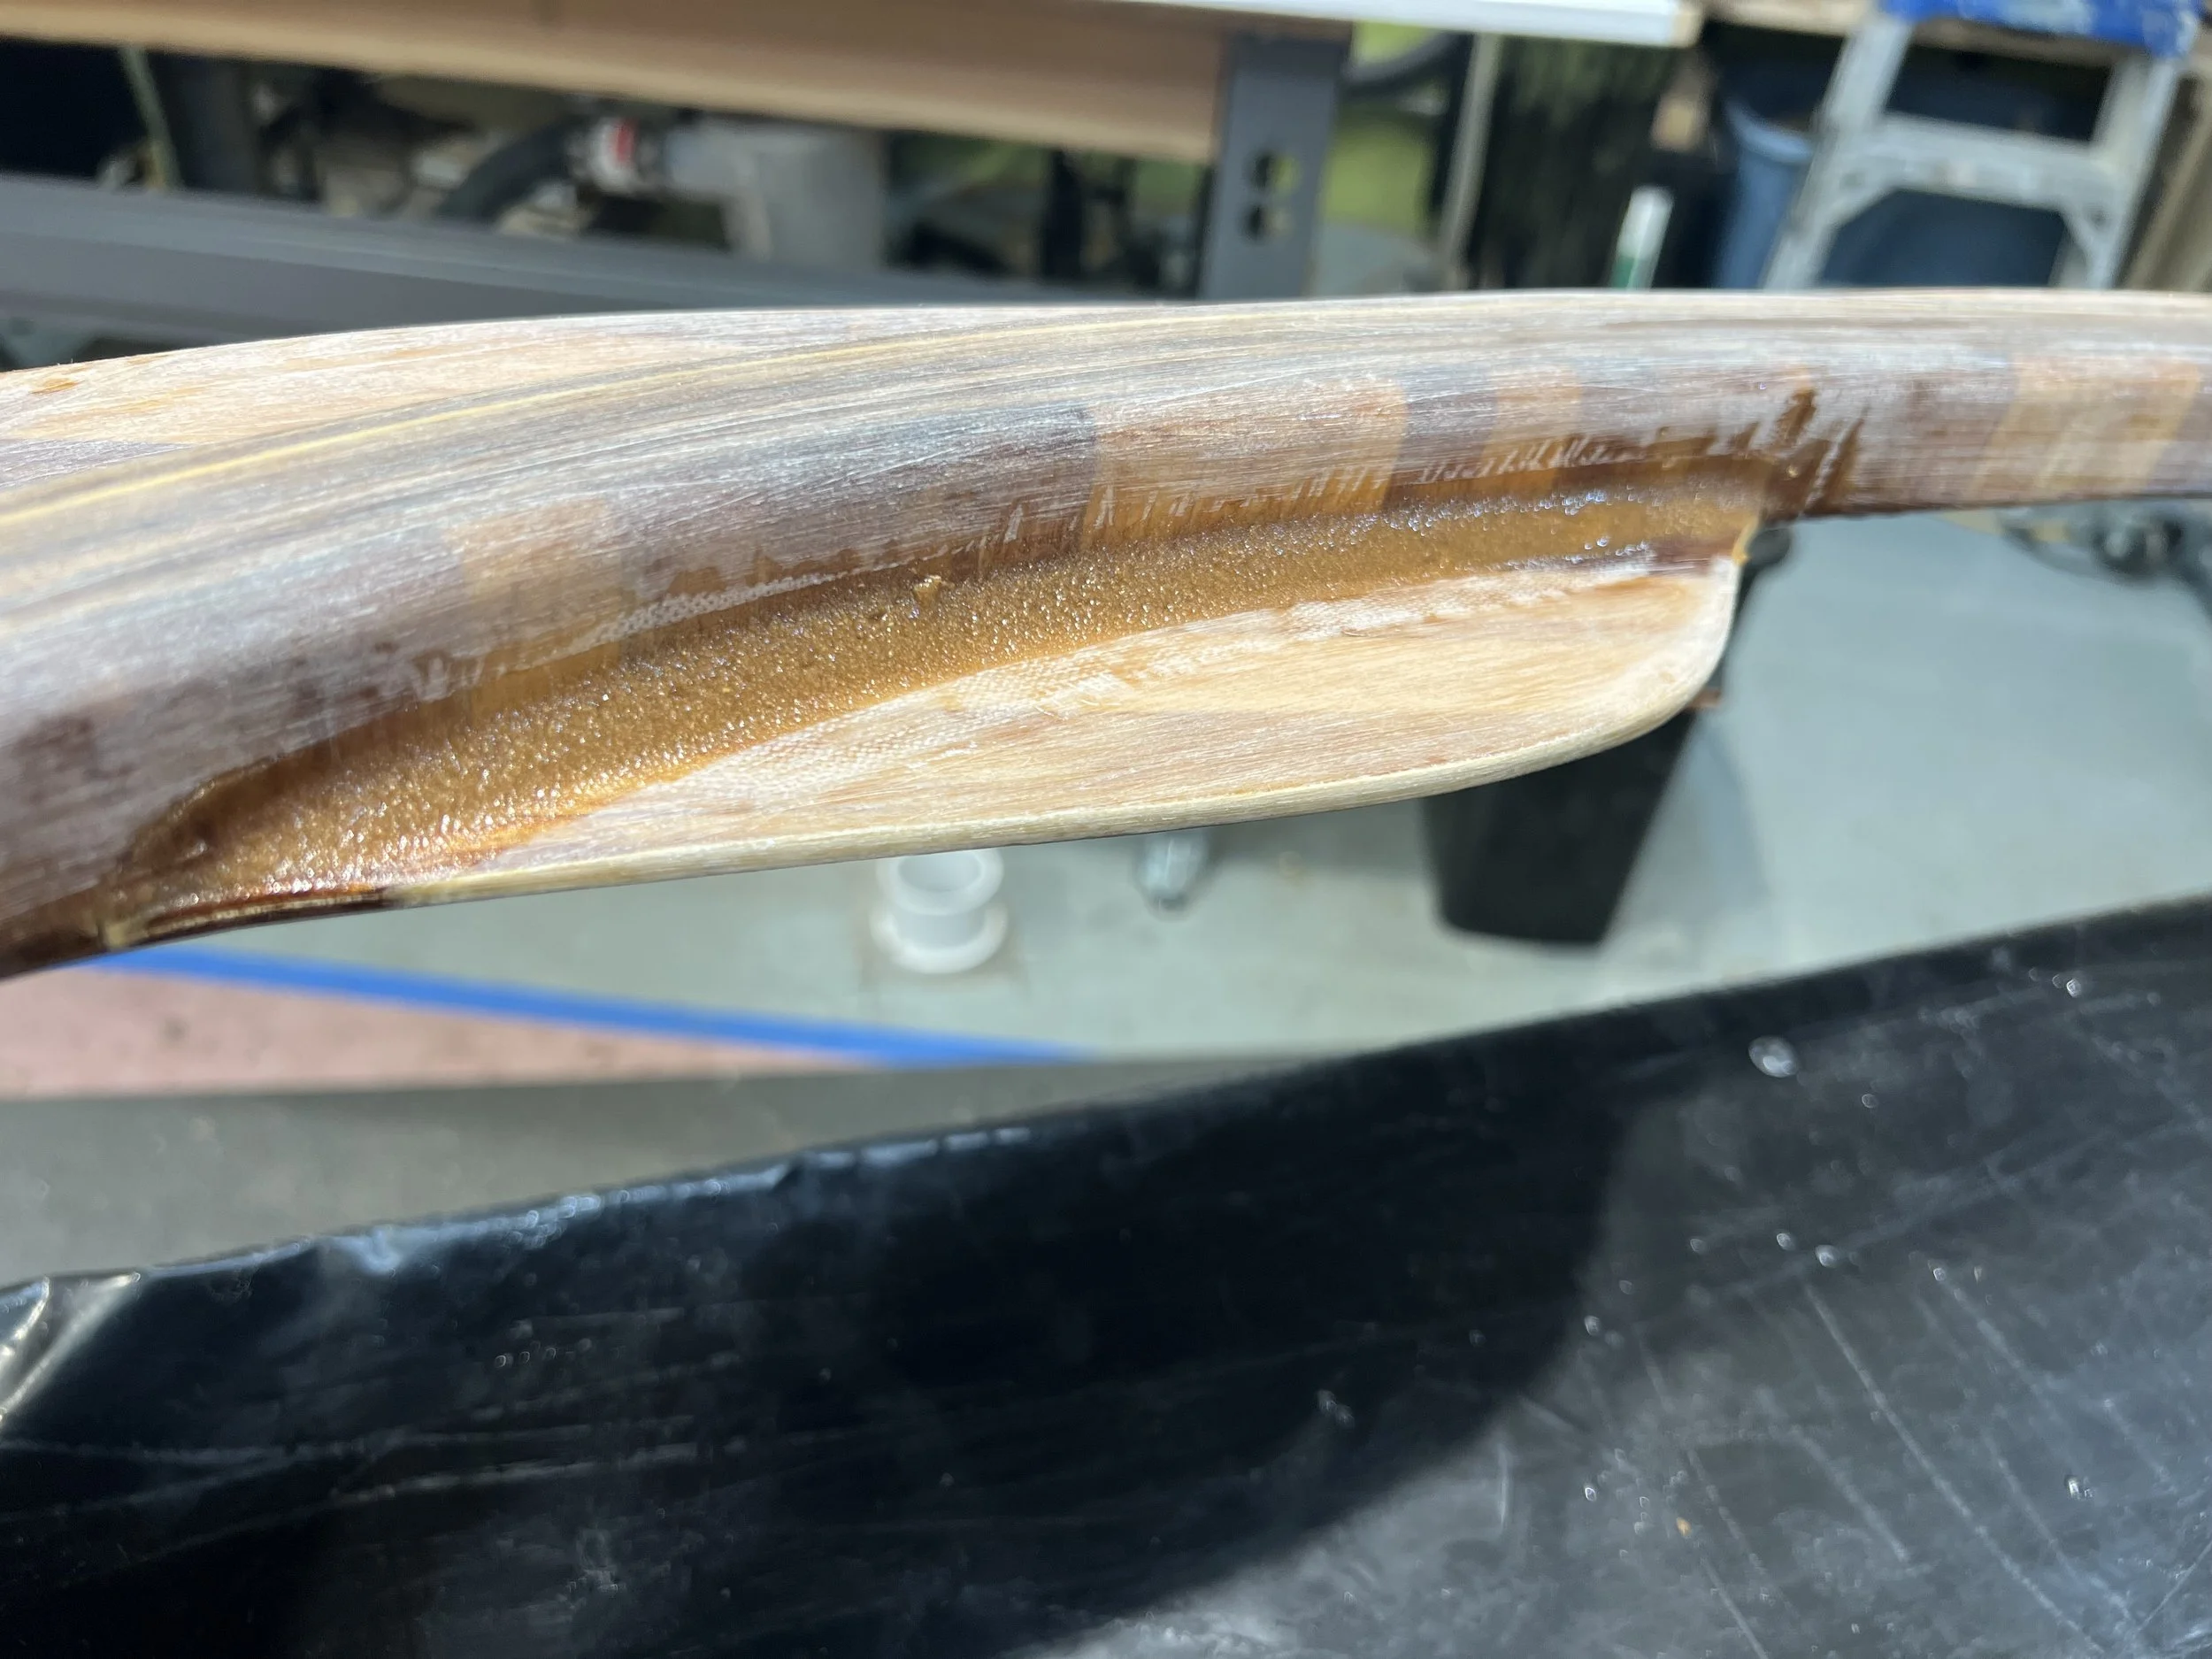
Fillet cleaned up. Normally entire boat is stained dark and fillet blends in but I chose to keep it natural and covered the okoume with a cedar veneer which hightlighted the fillet.
-
![]()
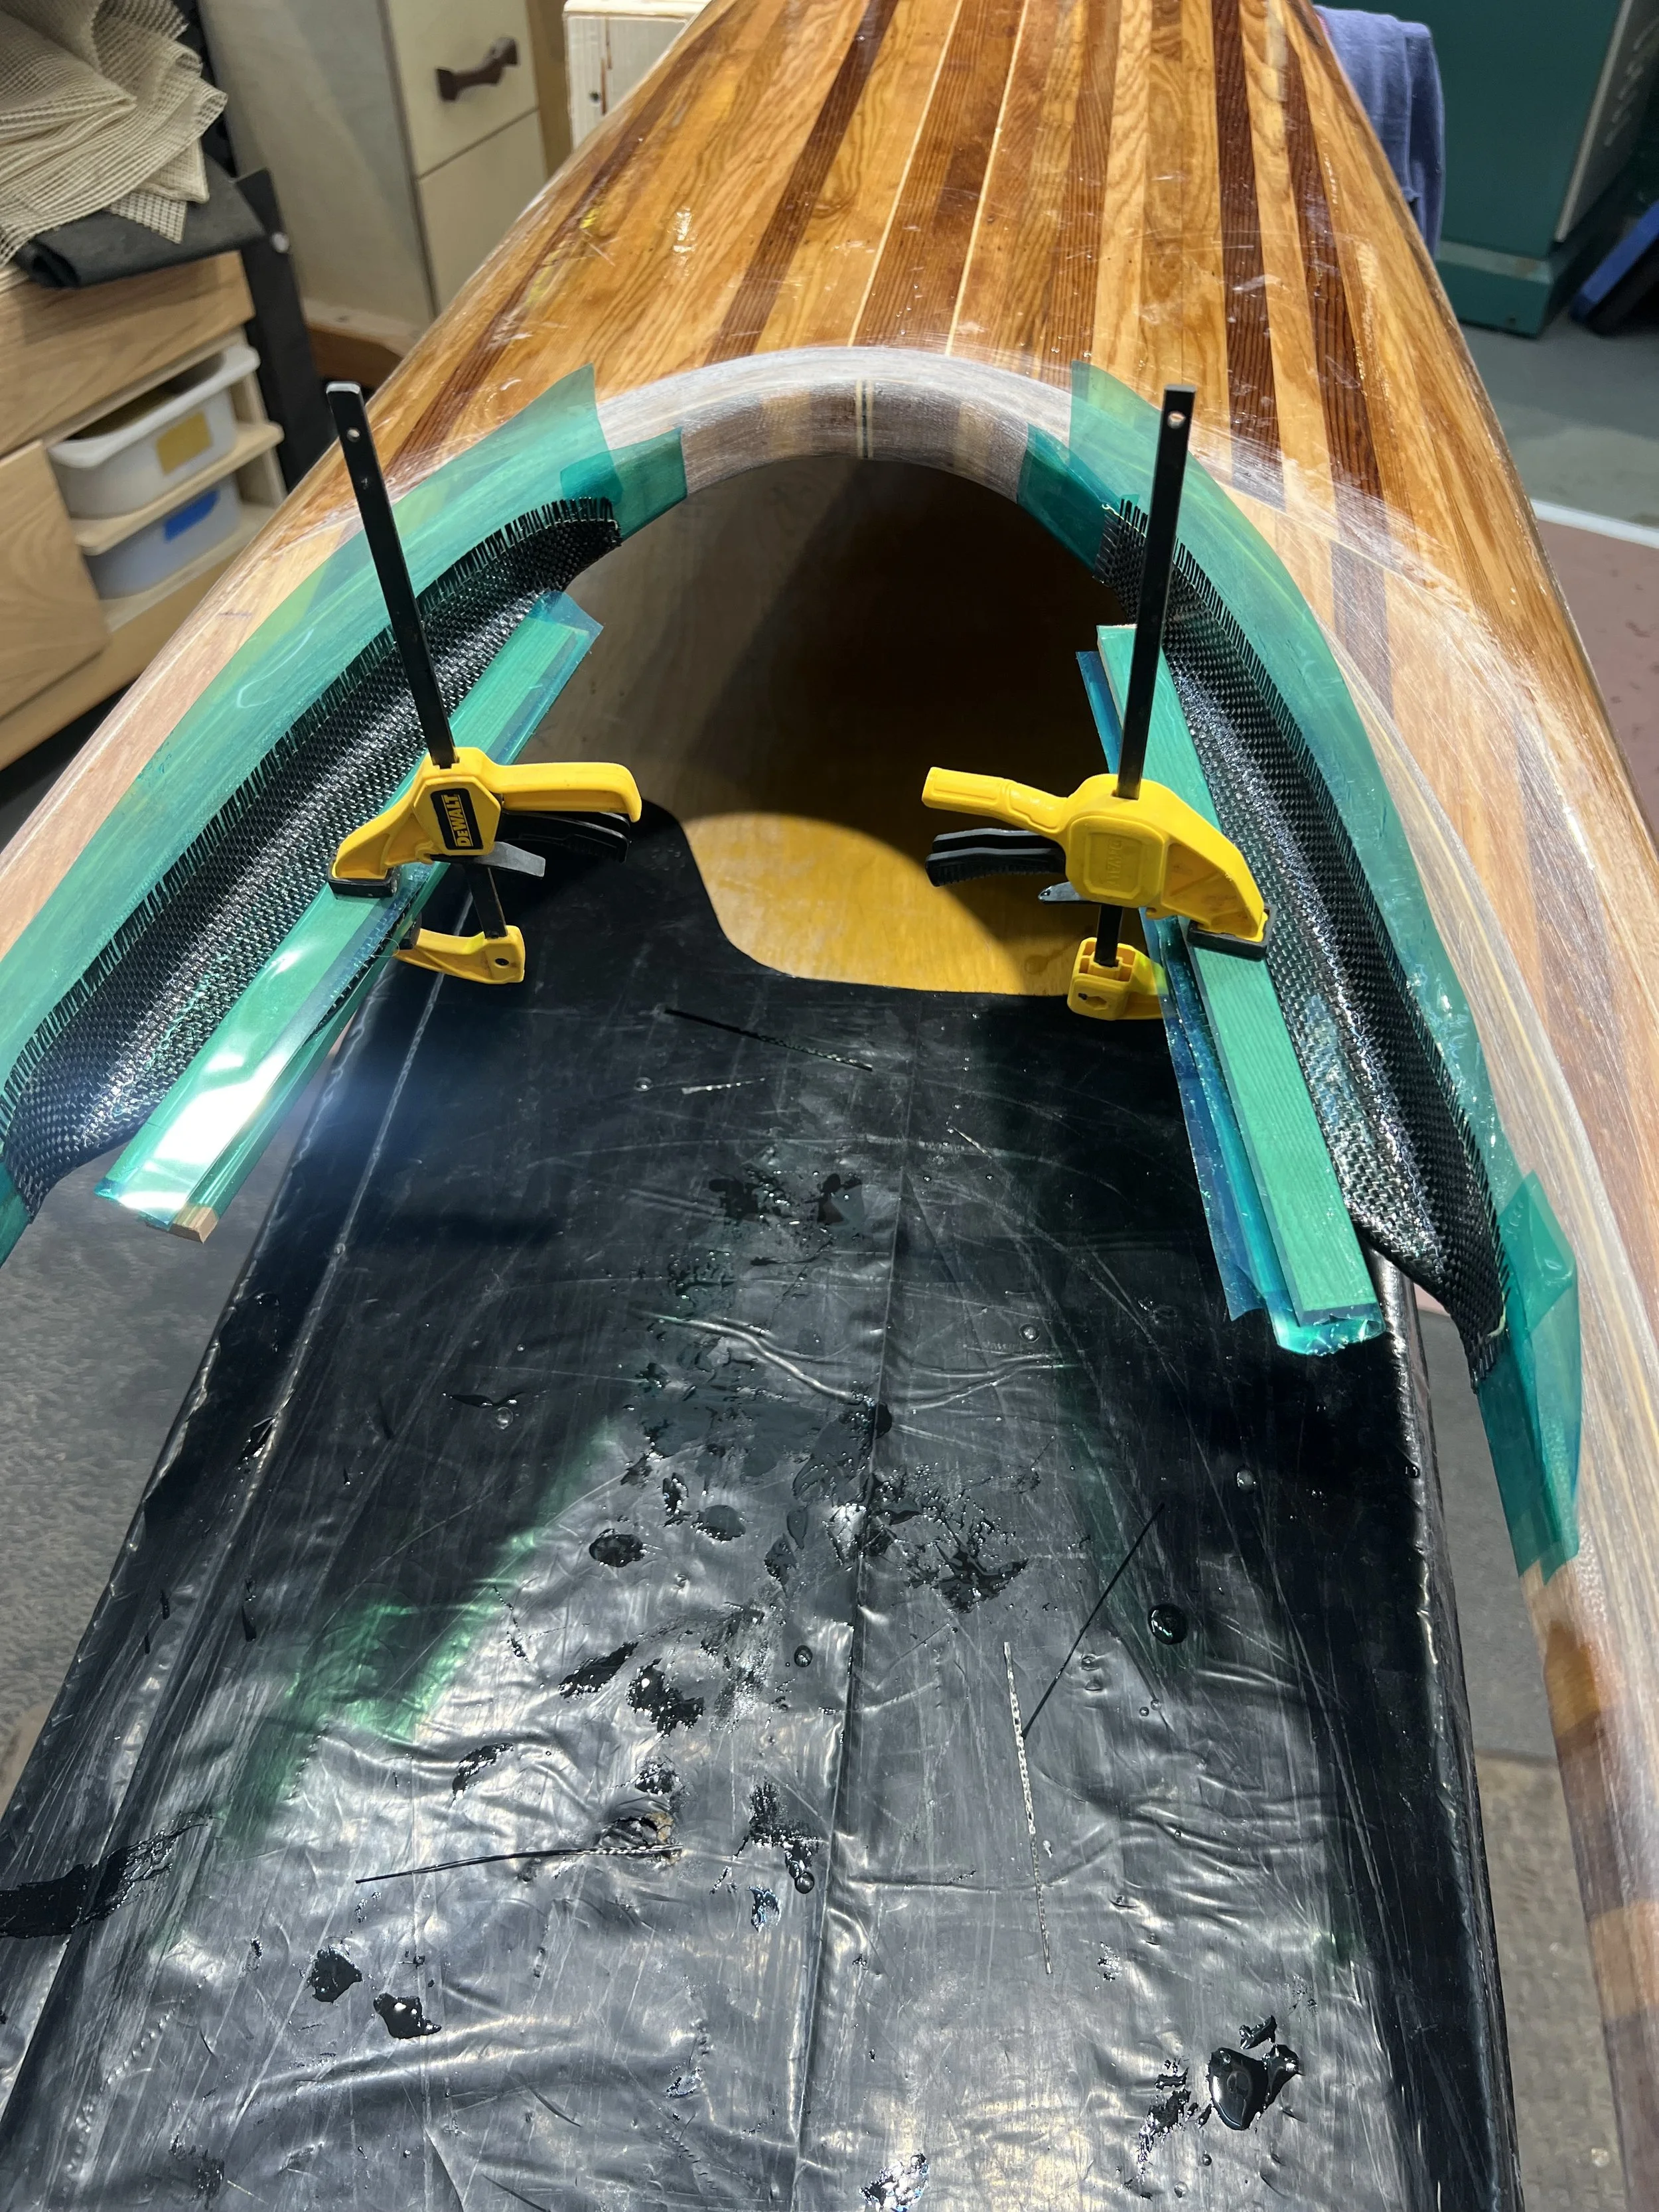
Thigh braces wrapped with 5.7 ounce plaine weave American made .012" carbon fiber cloth. Discoverd cloth is very ridgid and difficult to wrap aroung 3mm okoume and kept releasing from bottom of thigh brace. It needed a clamp or mold. Clamped flashing tape covered cedar worked great.
-
![]()
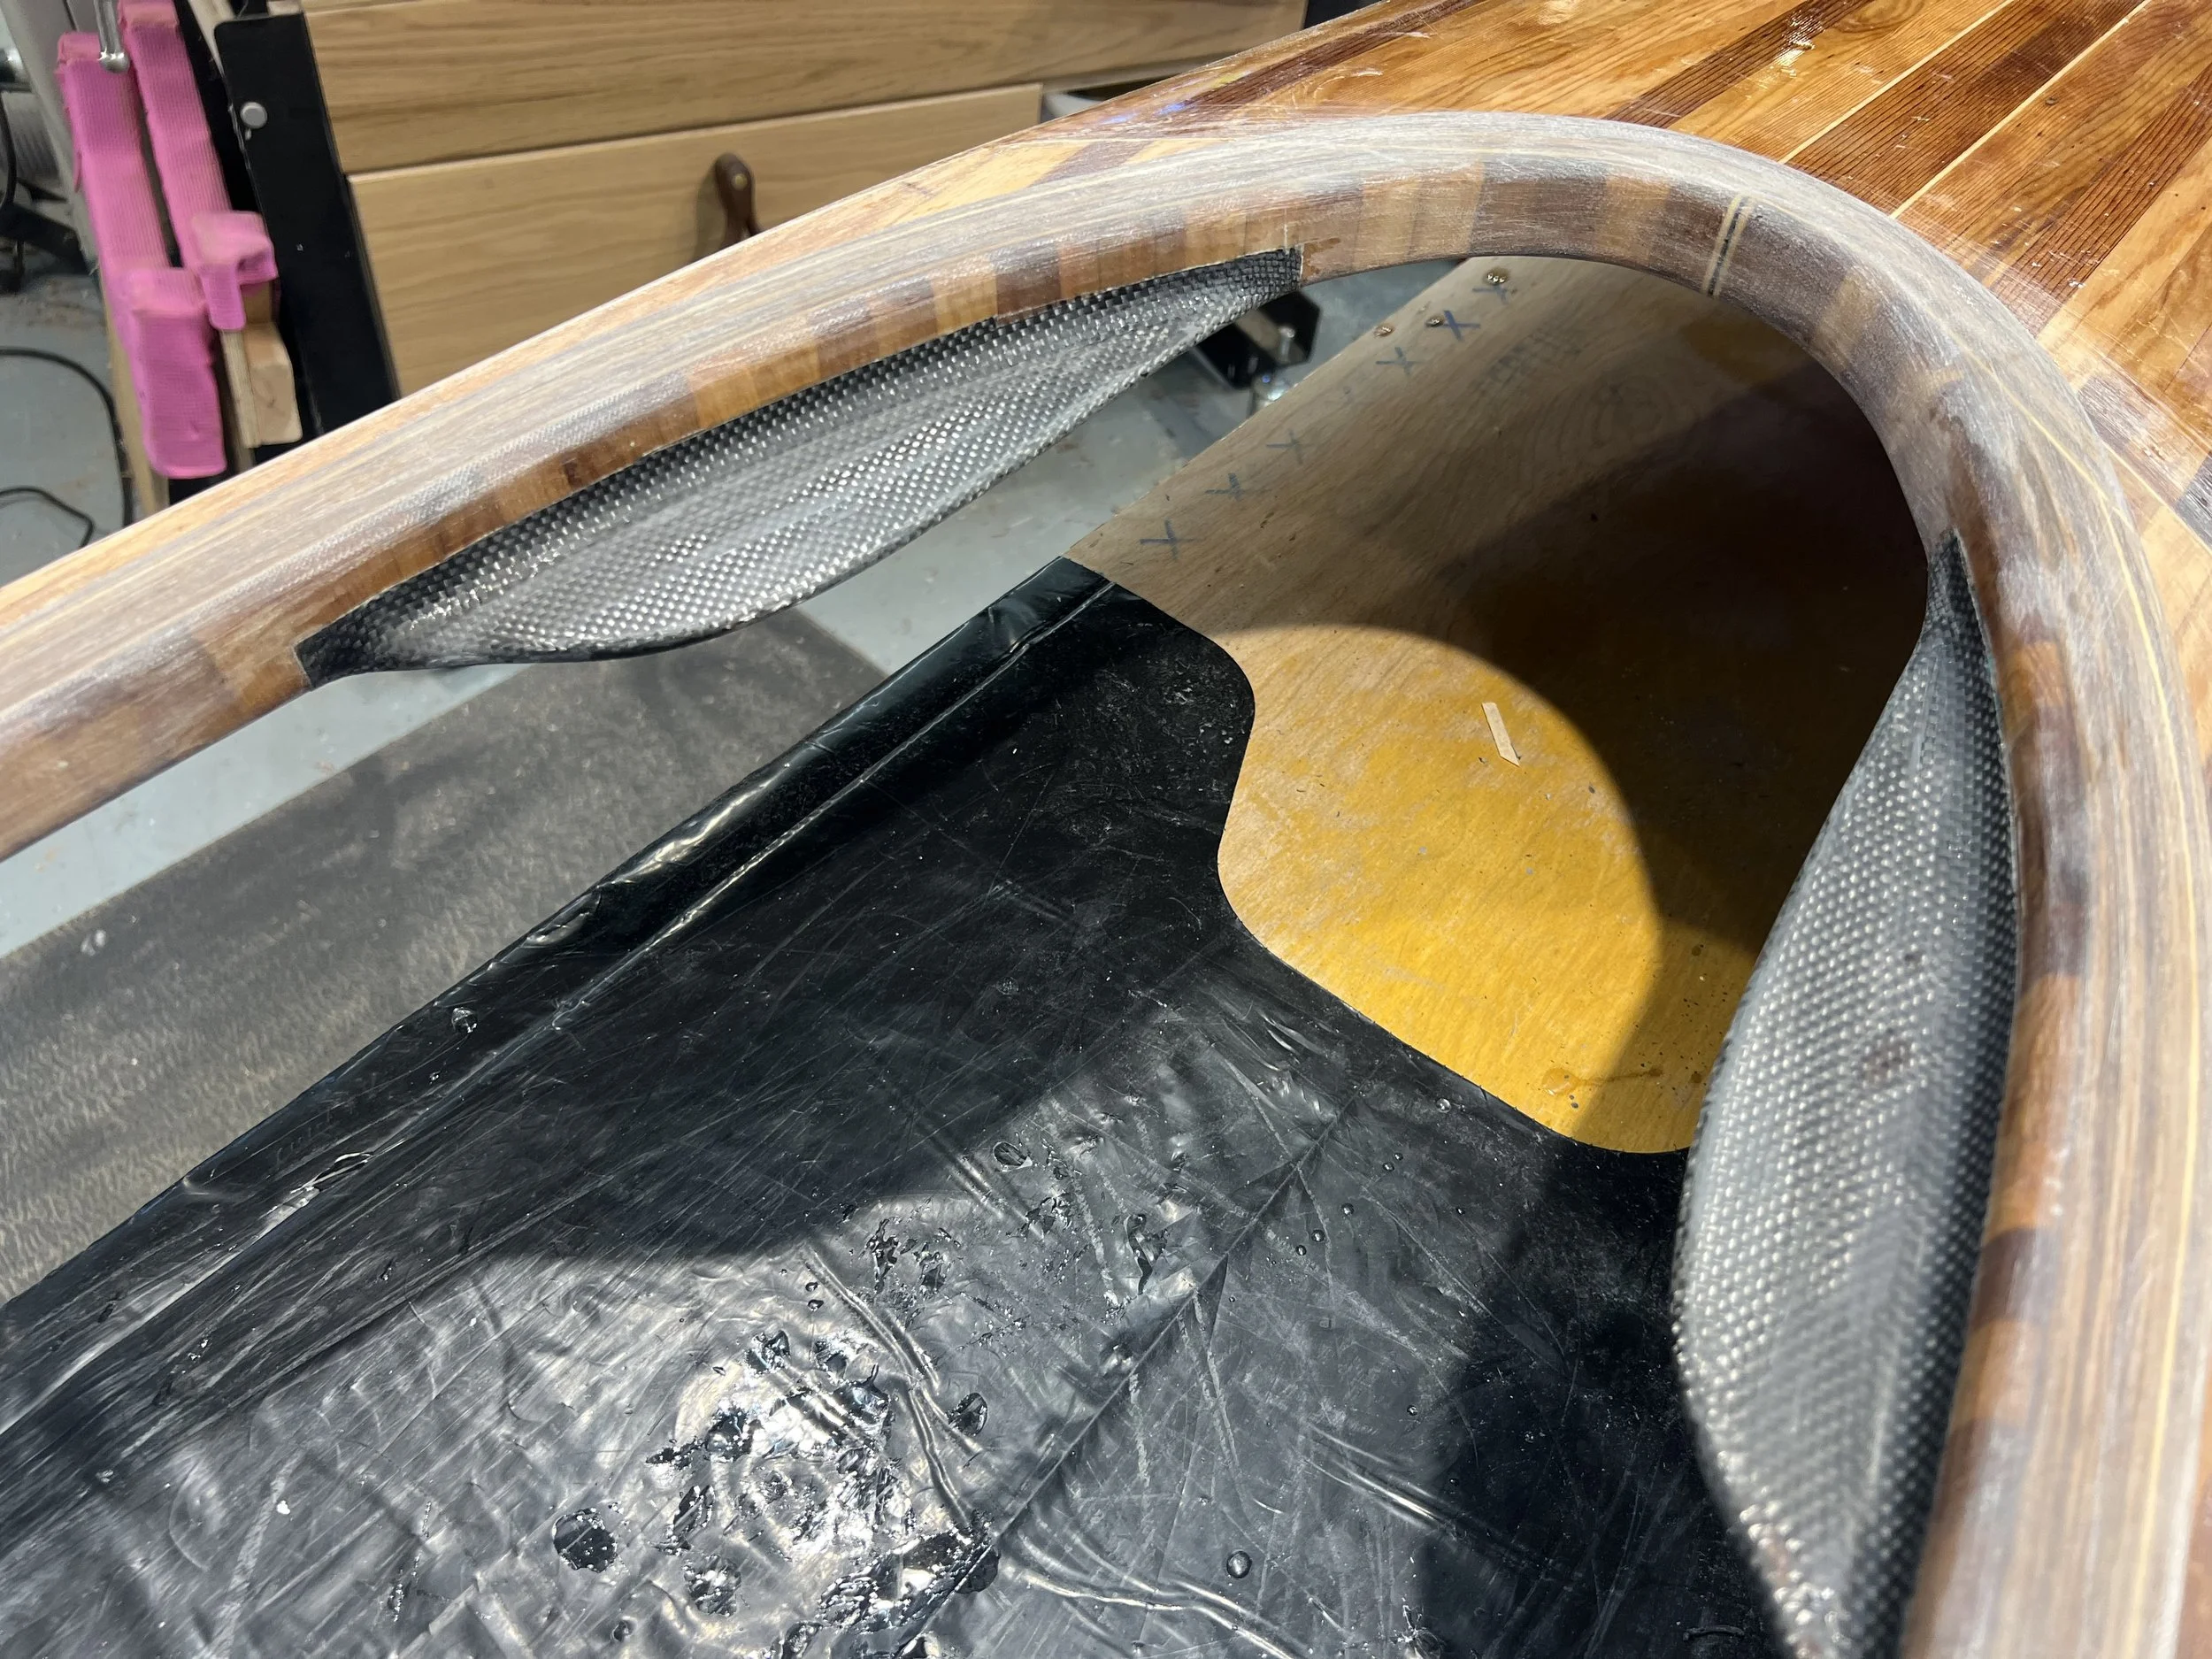
Clamps removed carbon fiber trimmed and sanded. Need trim pieces to cover raw carbon fiber edges. Discovered it was very easy to sand thru fiber and expose wood below.
-
![]()
Thin Sitka Spruce and Dark Western Red Cedar accents. Covered in 2 coats of epoxy. Ready for light sanding and Spar varnish.
-
![]()
BEGINNING THE FIBERGLASS CLOTH AND EPOXY LAYERS ON THE DECK AND HULL . Deck separated from hull. Amazing strength-to-weight ratio of Western Red Cedar.
-
![]()
Mostly dust free shop preparation for first fiberglass cloth and epoxy lay up.
-
![]()
Bill Young helping spread MAS system epoxy to 4 0z fiberglass cloth to hull on a slight bias. Shop temperature at 85 degrees for better flow of epoxy.
-
![]()
Once epoxy is slightly hard and partially cured to a leather like consistency another thin layer of epoxy is spread to cover the pores in 4oz cloth.
-
![]()
Torching thick epoxy layer with MAAP gas on the deck to pop bubbles. Once on a large table epoxy pour I used dry ice to pop the bubbles. No toxic fumes.
-
![]()
View looking down bow 1st epoxy/cloth layer

